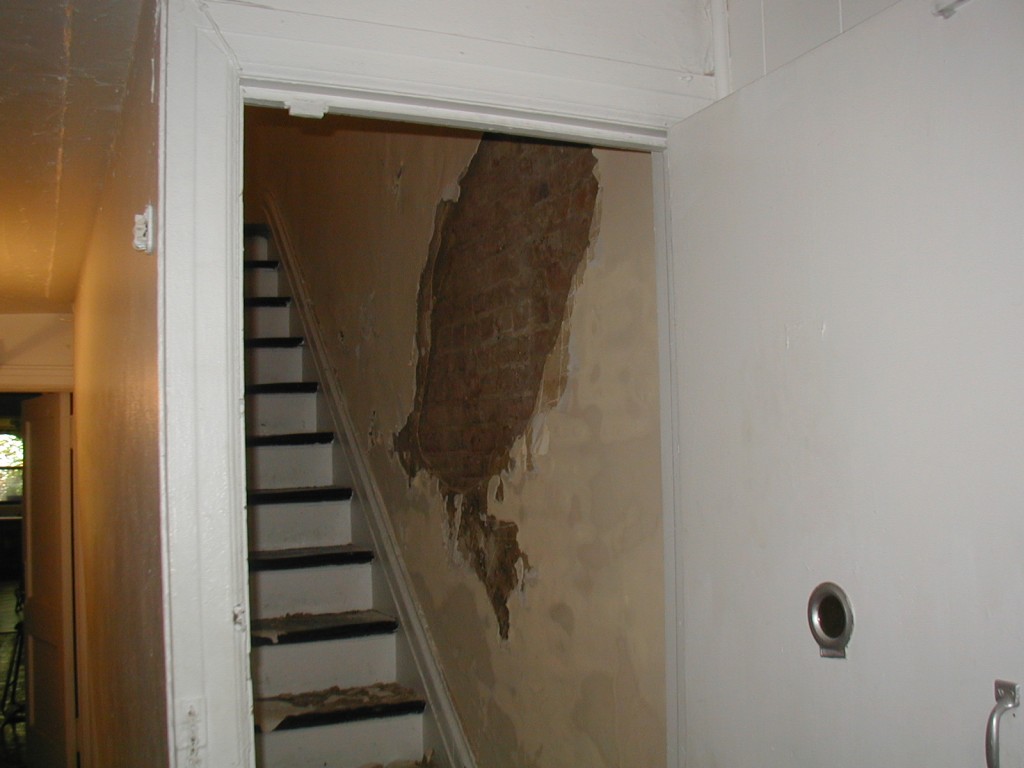
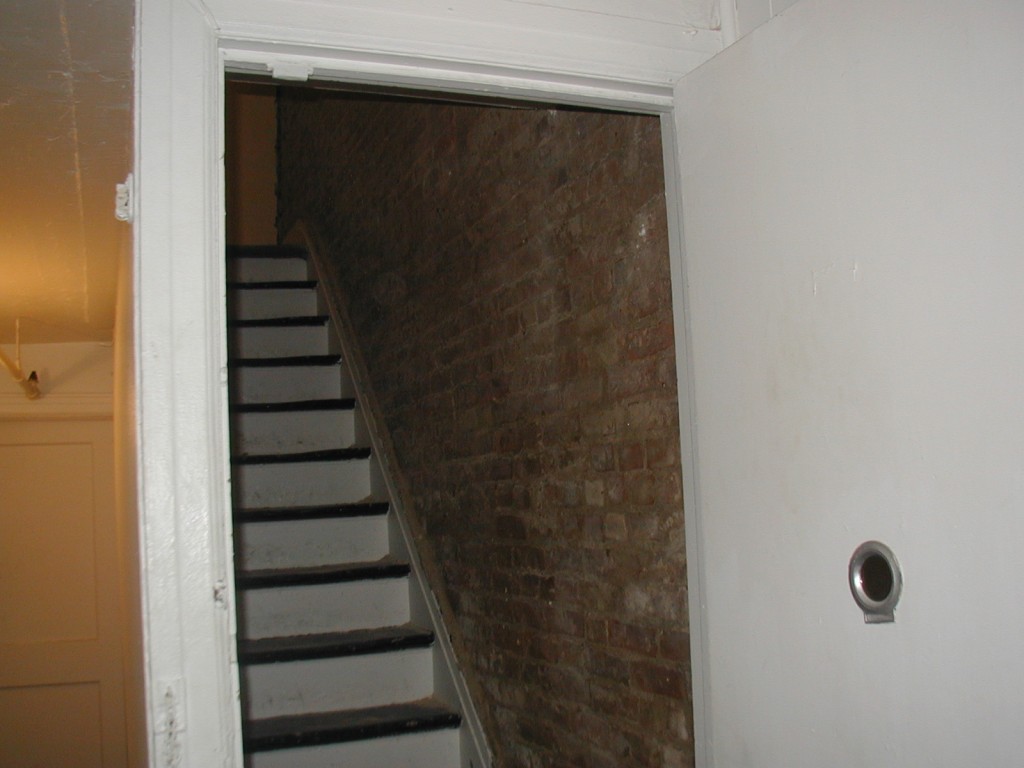
This a stairway that leads from the ground floor, partially lower than street level, up to the first floor proper of this 4 story walk-up on W 51st. Awesomely, this place has a full basement under this, and a nice patio yard in the back.
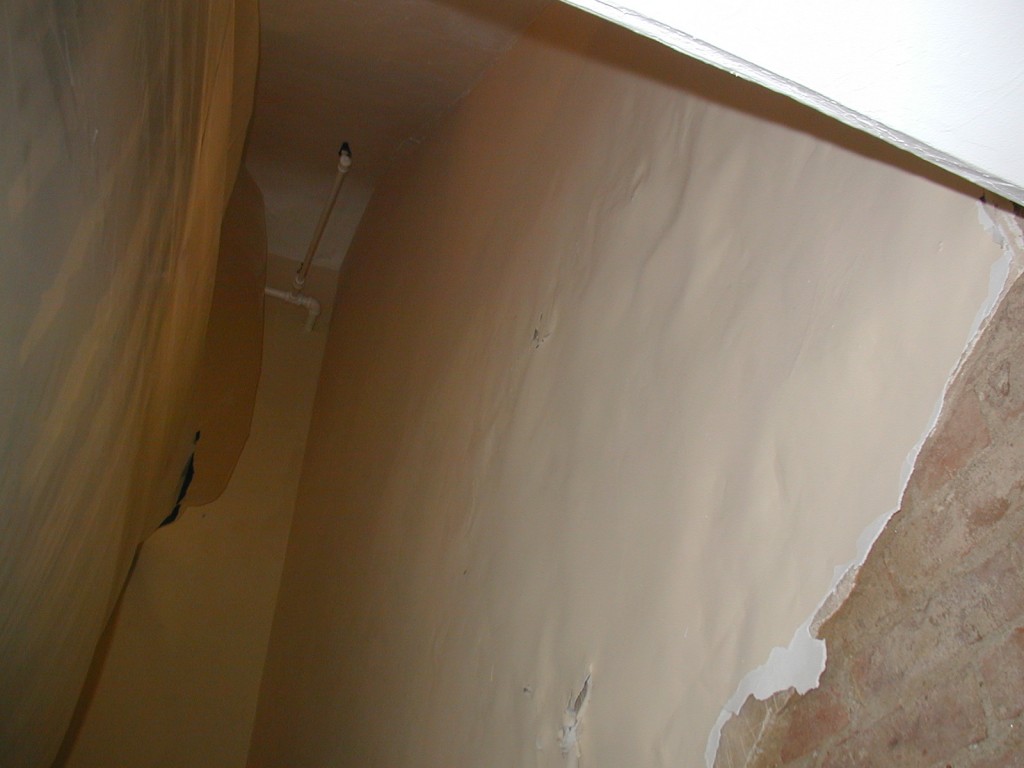
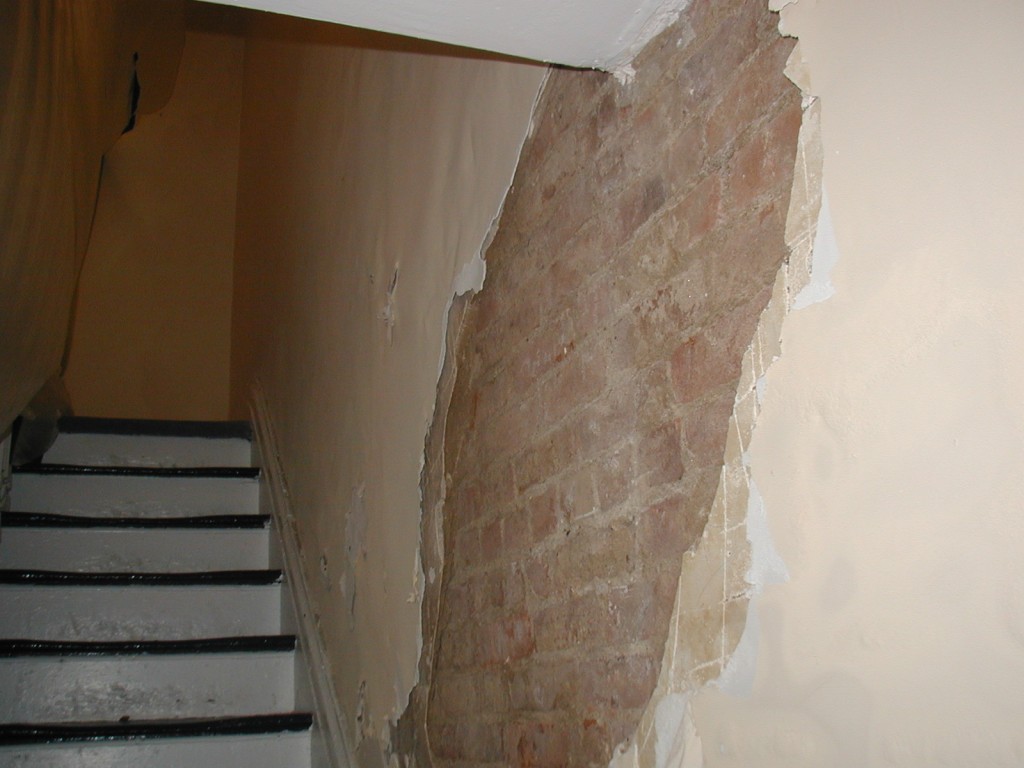
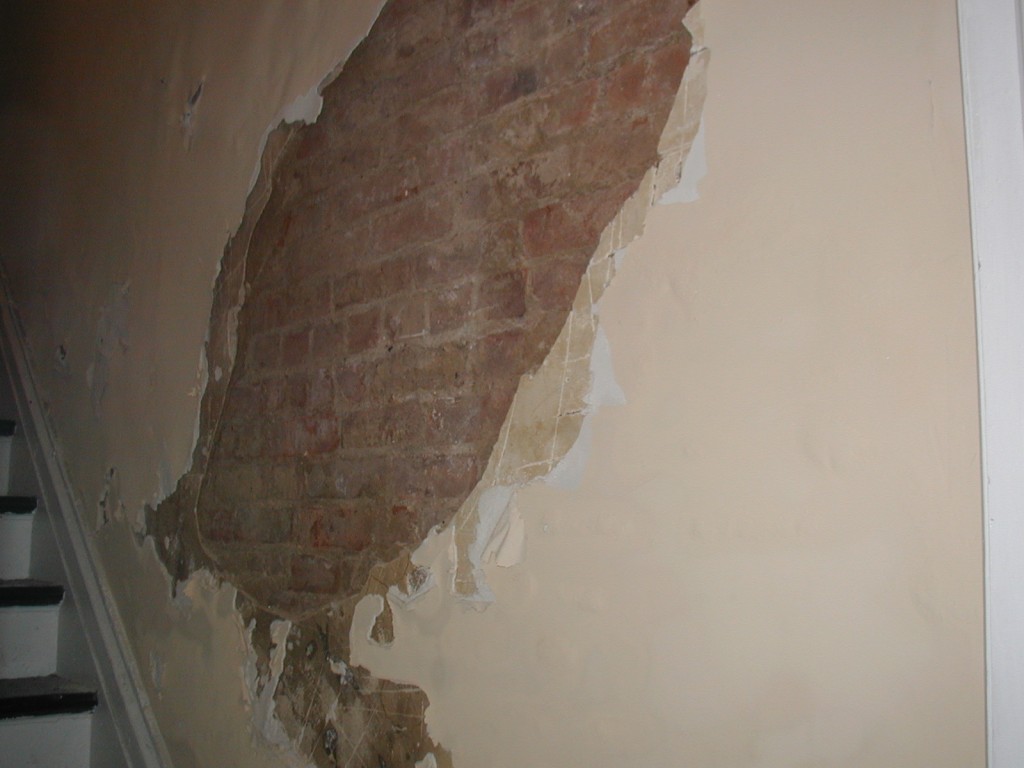
You can see here how rippled the wall has become from moisture leaking through the brick wall into the plaster.
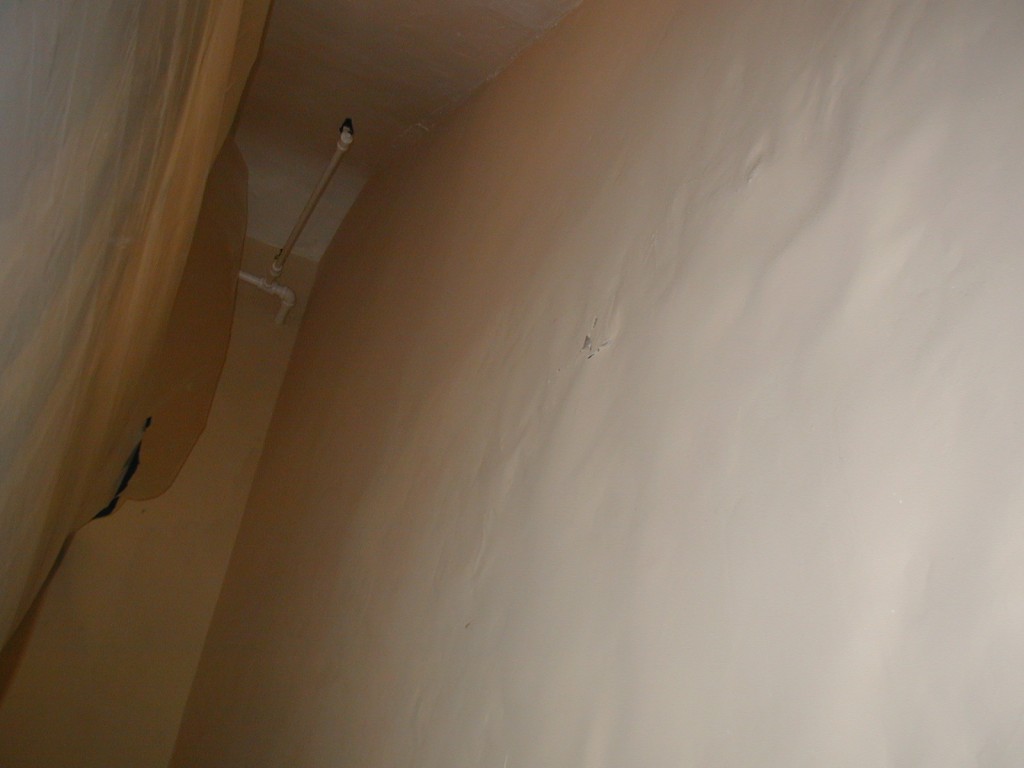
Part of the problem experienced here comes from the fact that this building was built row house style, and then the building next door was torn down to make a back parking lot for a post office. A wall never built actually be exposed to the elements became exposed.
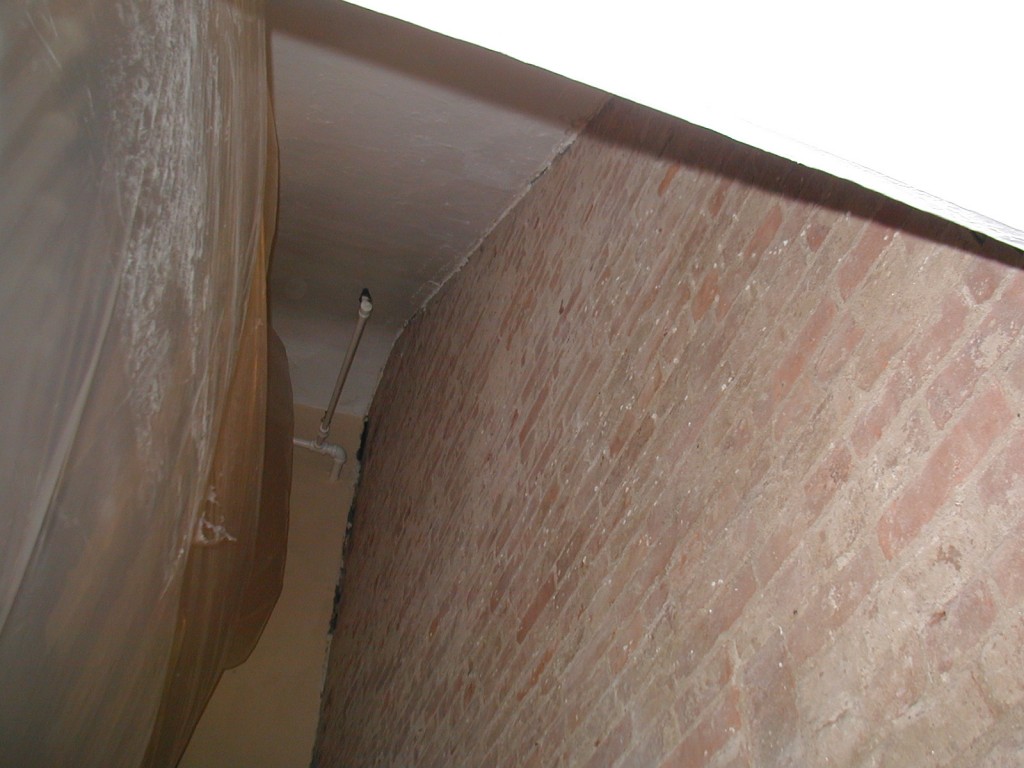
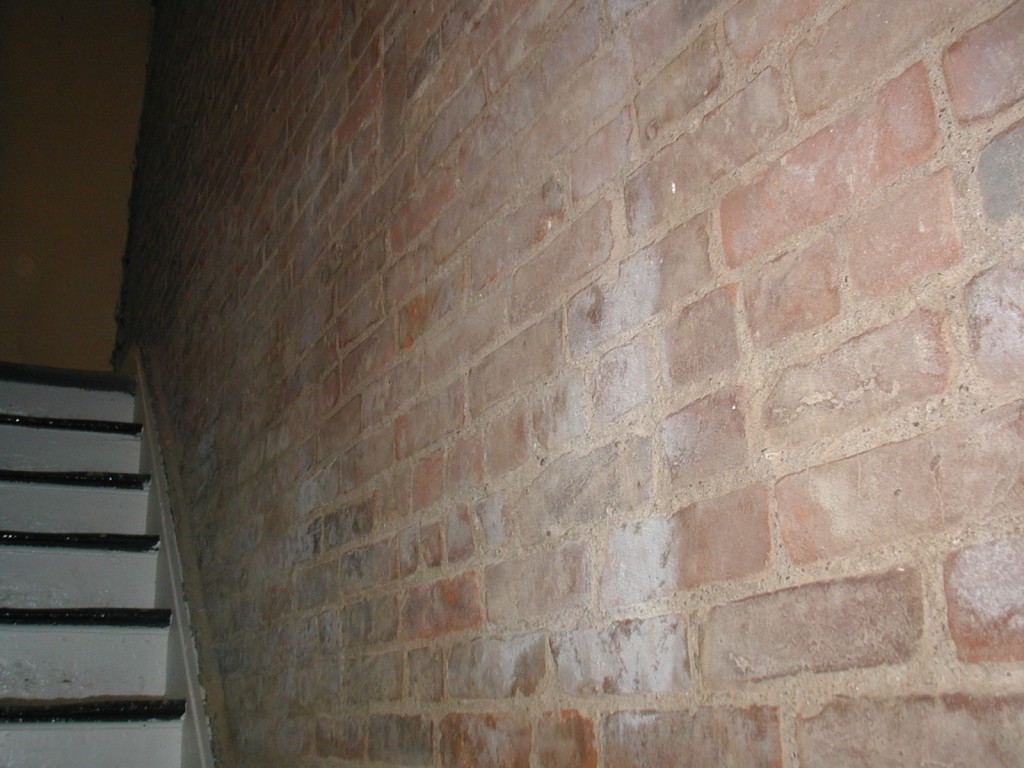
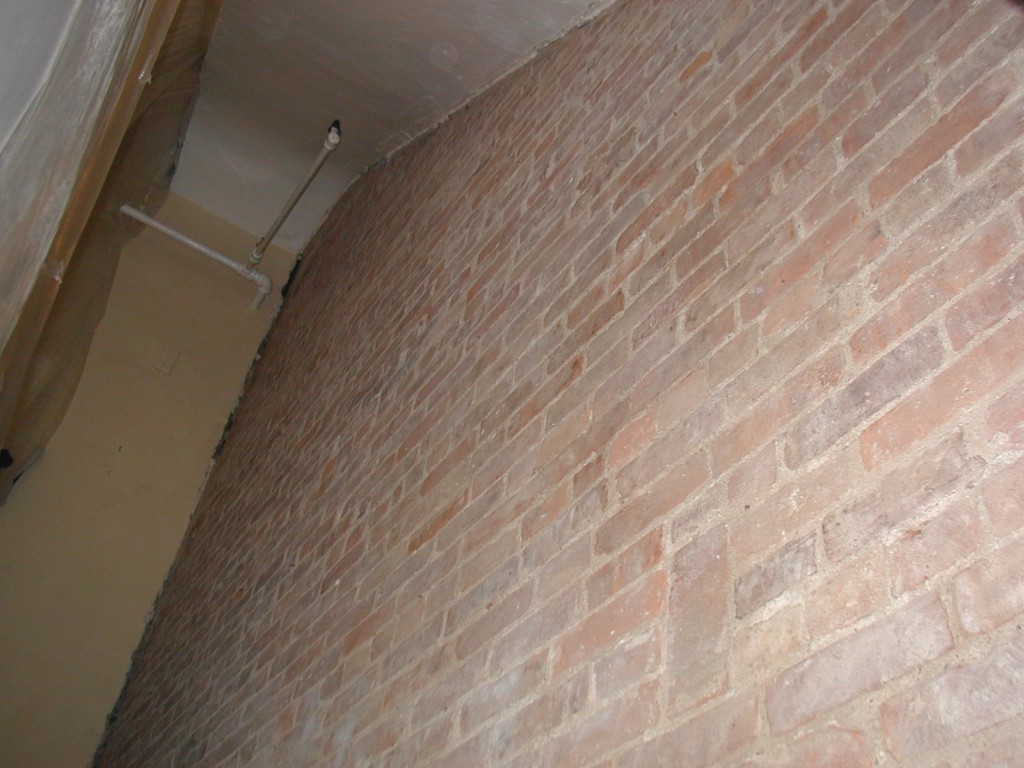
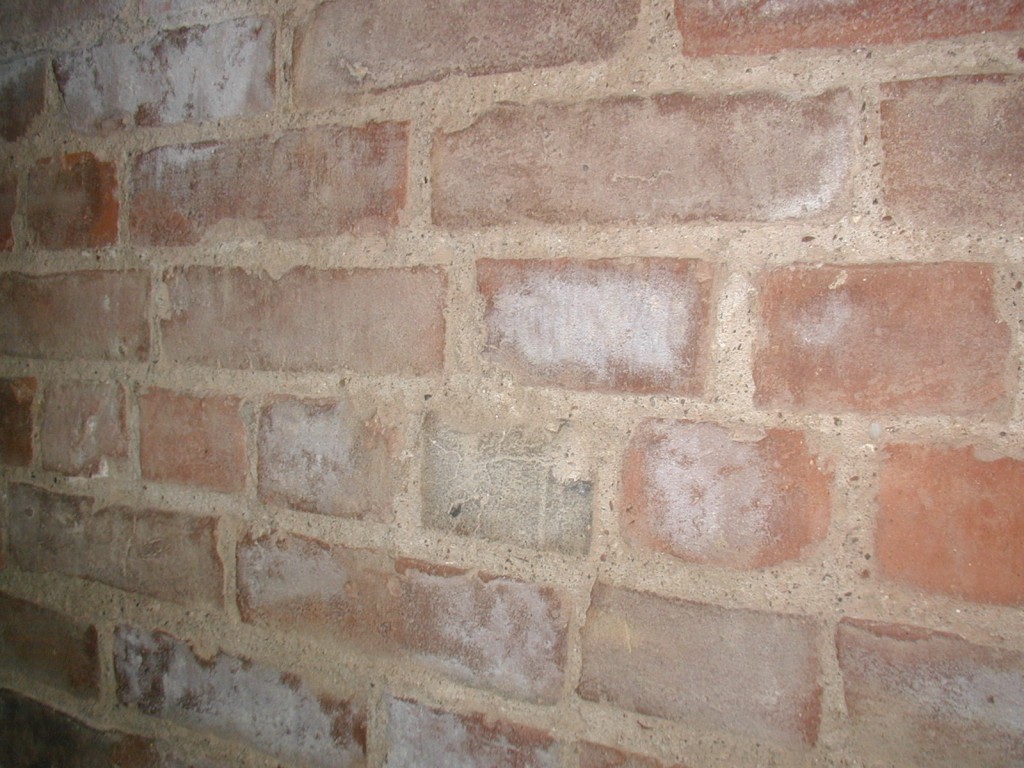
After a great deal of chiseling and sanding, we now have a completely exposed wall, that is in really good shape.
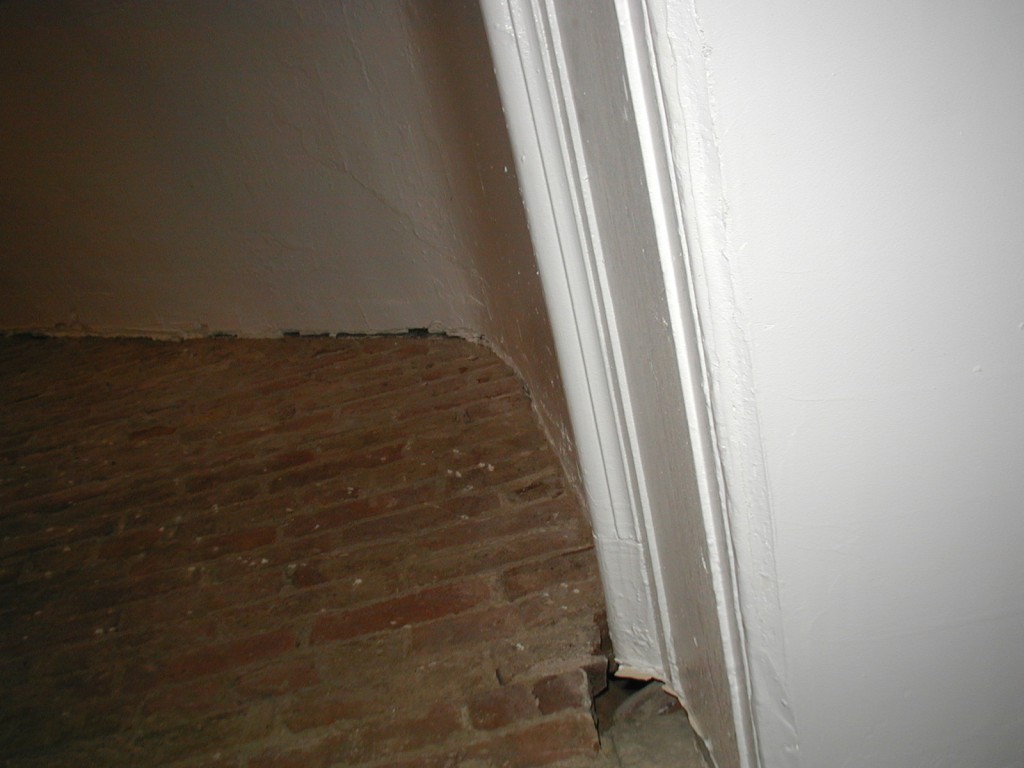
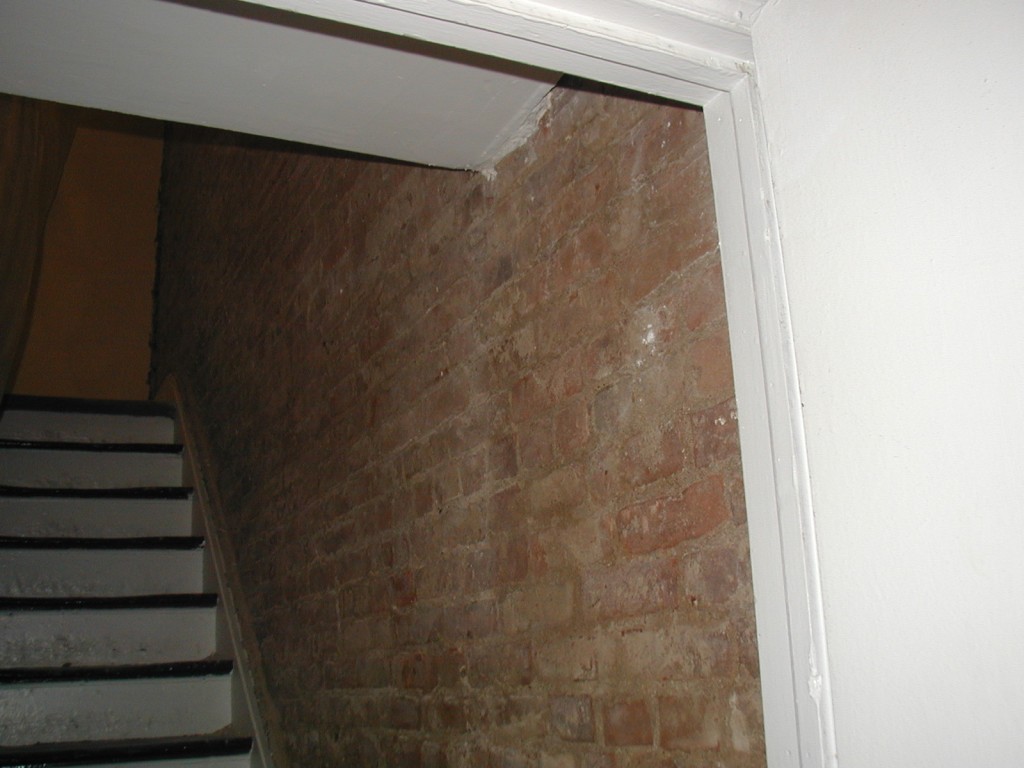
The only part of the wall that I needed to repair was this little bit above the door frame, which was obviously never actually finished when the building was built.

After exposing the bricks, we never really saw any moisture come through the wall which might help us identify where water was getting in through the bricks on the outside. Apparently the leak was light enough that the moisture that got through simply evaporated, instead of collecting in a plaster coating. I lived in an apartment where I had the same problem that went of for years. Ultimately the building had scaffoldings up for 4 years before they finally did enough work that they managed to stop the phantom leaks. I’ll show a few pictures of what my walls looked like every few months at the end of this article.You’ll see a big sheet of plastic draped to the left of the wall to block off the dust from inundating the rest of the building while the work is in process.
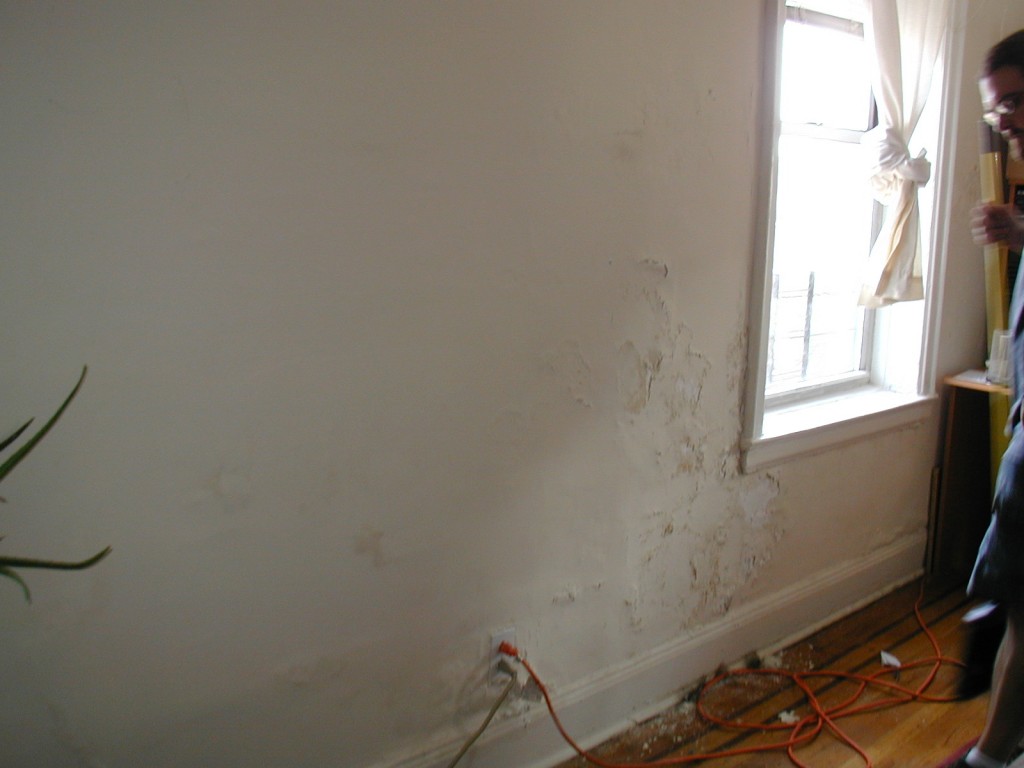
What follows here a couple of pictures from my apartment where I had the same problem with my walls. I’m pretty sure what is pictured here was the third time in four years that my walls went crazy. Apparently I didn’t bother to take pictures the first two times.
Allow me to go off briefly on what not to do. The first time the management company sent workers over to fix the wall, the “fix” was doomed to failure from the start, and it was 4 months later that they came back to “fix” my walls again. I made the mistake of leaving the house before the workers finished the first time. They knocked out a bunch of old plaster, and filled it in thick with new plaster. Then they waited an hour or two, and then painted over the plaster (same day), and split saying the job was done. So we have wet plaster, sealed up by paint where water is leaking in from behind. The second time workers came over they tried to do the same thing again. I let them do their plaster work, and then made them come back a few days later to finish and paint. That job held up for almost 2 years, until heavy rains brought the following. I ended up fixing it myself because the building was taking forever, and my daughter was about to be born and begin hanging out beside these crazy walls.
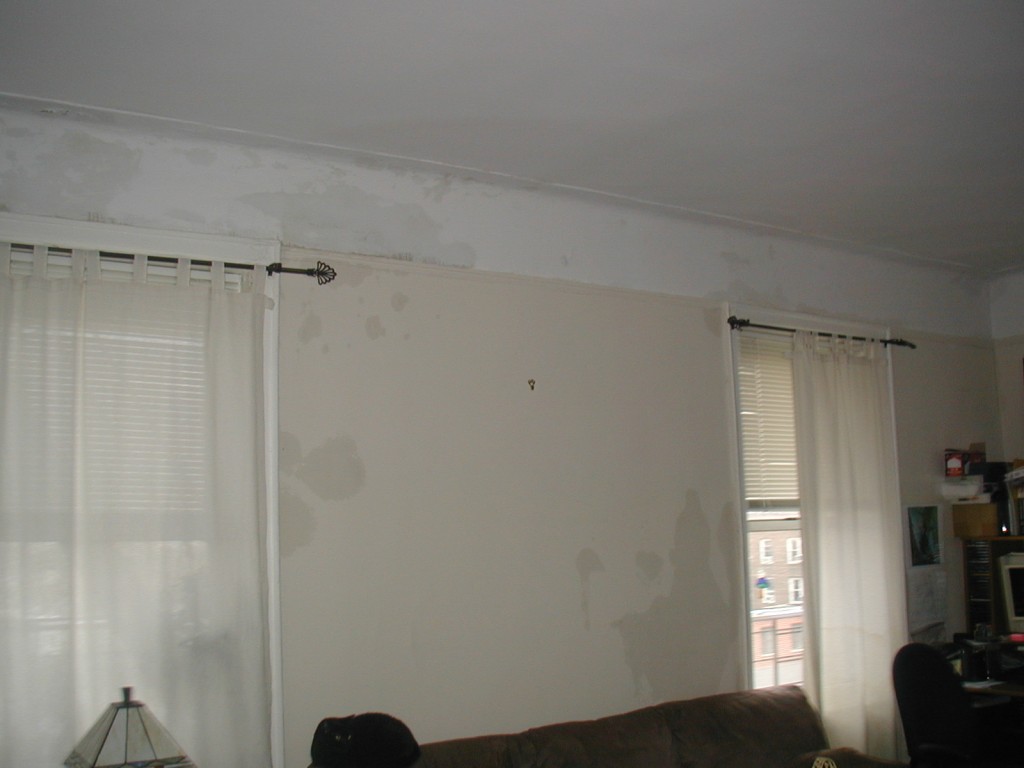
Everything discolored is where moisture is leaking in. We actually had this problem on every exterior wall in our whole apartment.
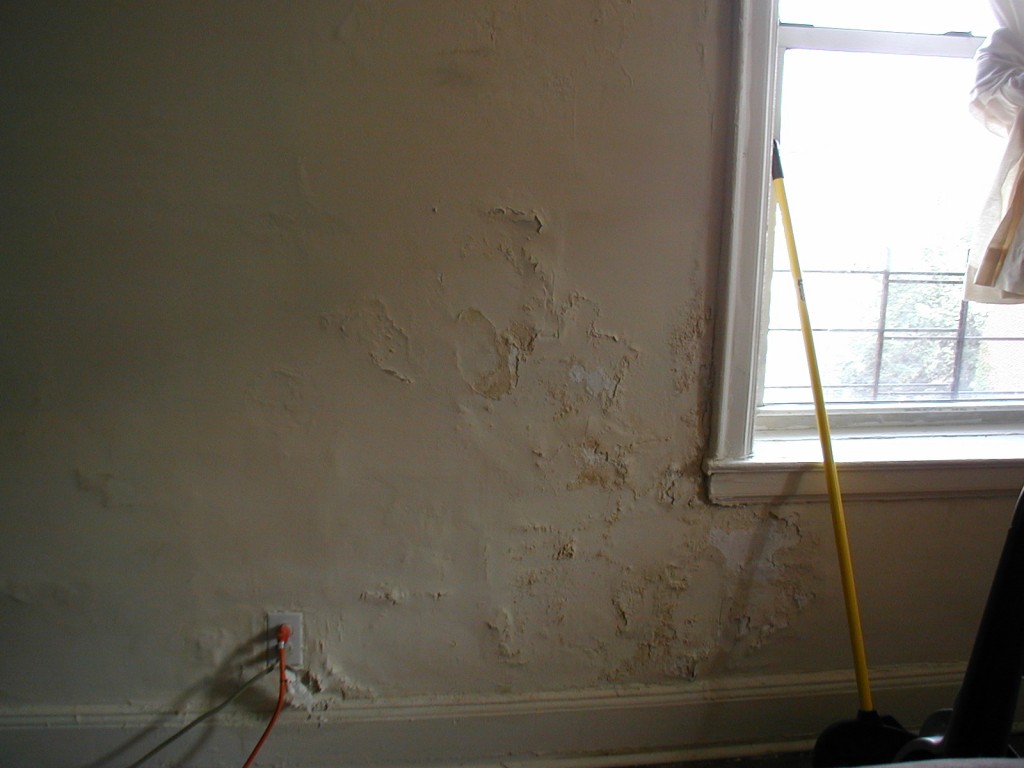
Do you get the feeling that there could be some mold growing in the wall here. I can assure you that from experience that the “joint compound” sold everywhere in 5 gallon buckets gladly grows mold. Just use half a bucket, and then misplace it for 8 months in your basement. Total science project when you open it up. Very creepy.
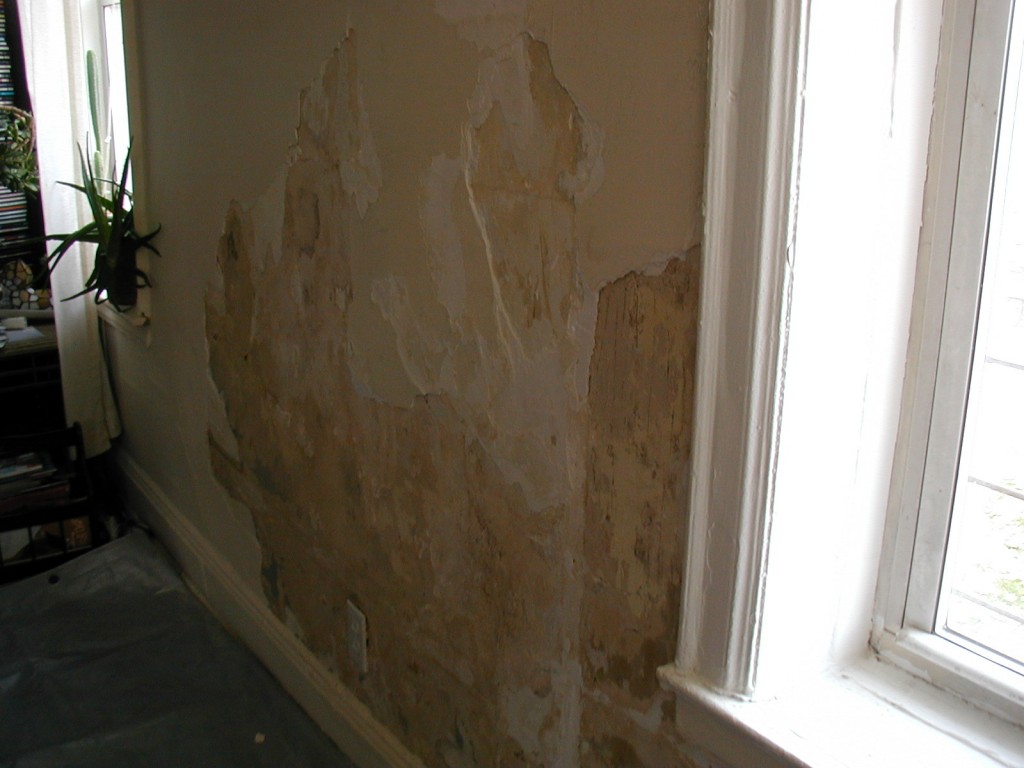
I didn’t want to expose this much. The wall just kept falling off. The layer I got down to here is much more of a cement parging than plaster. That’s why it is holding up where the plaster isn’t.

