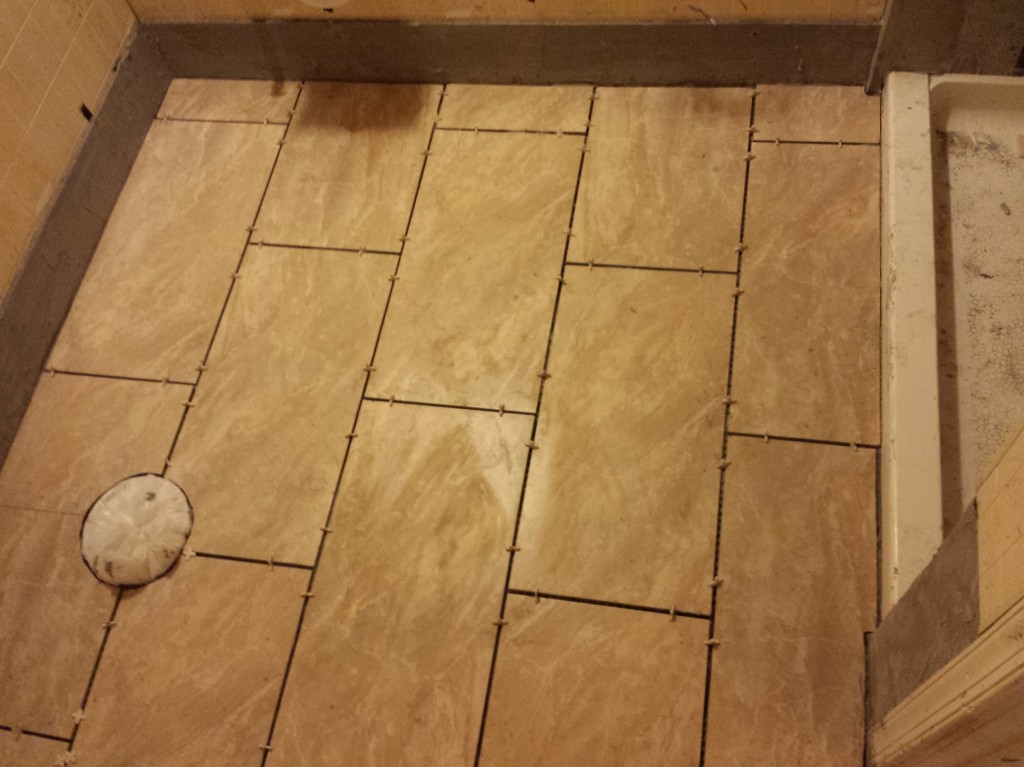
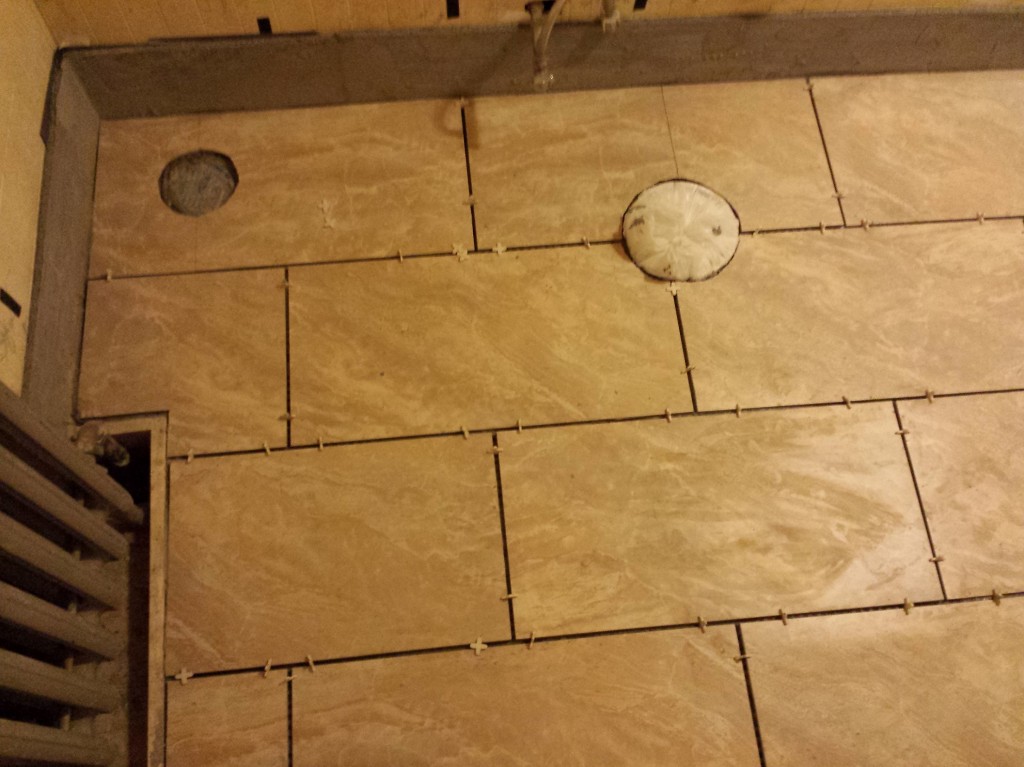
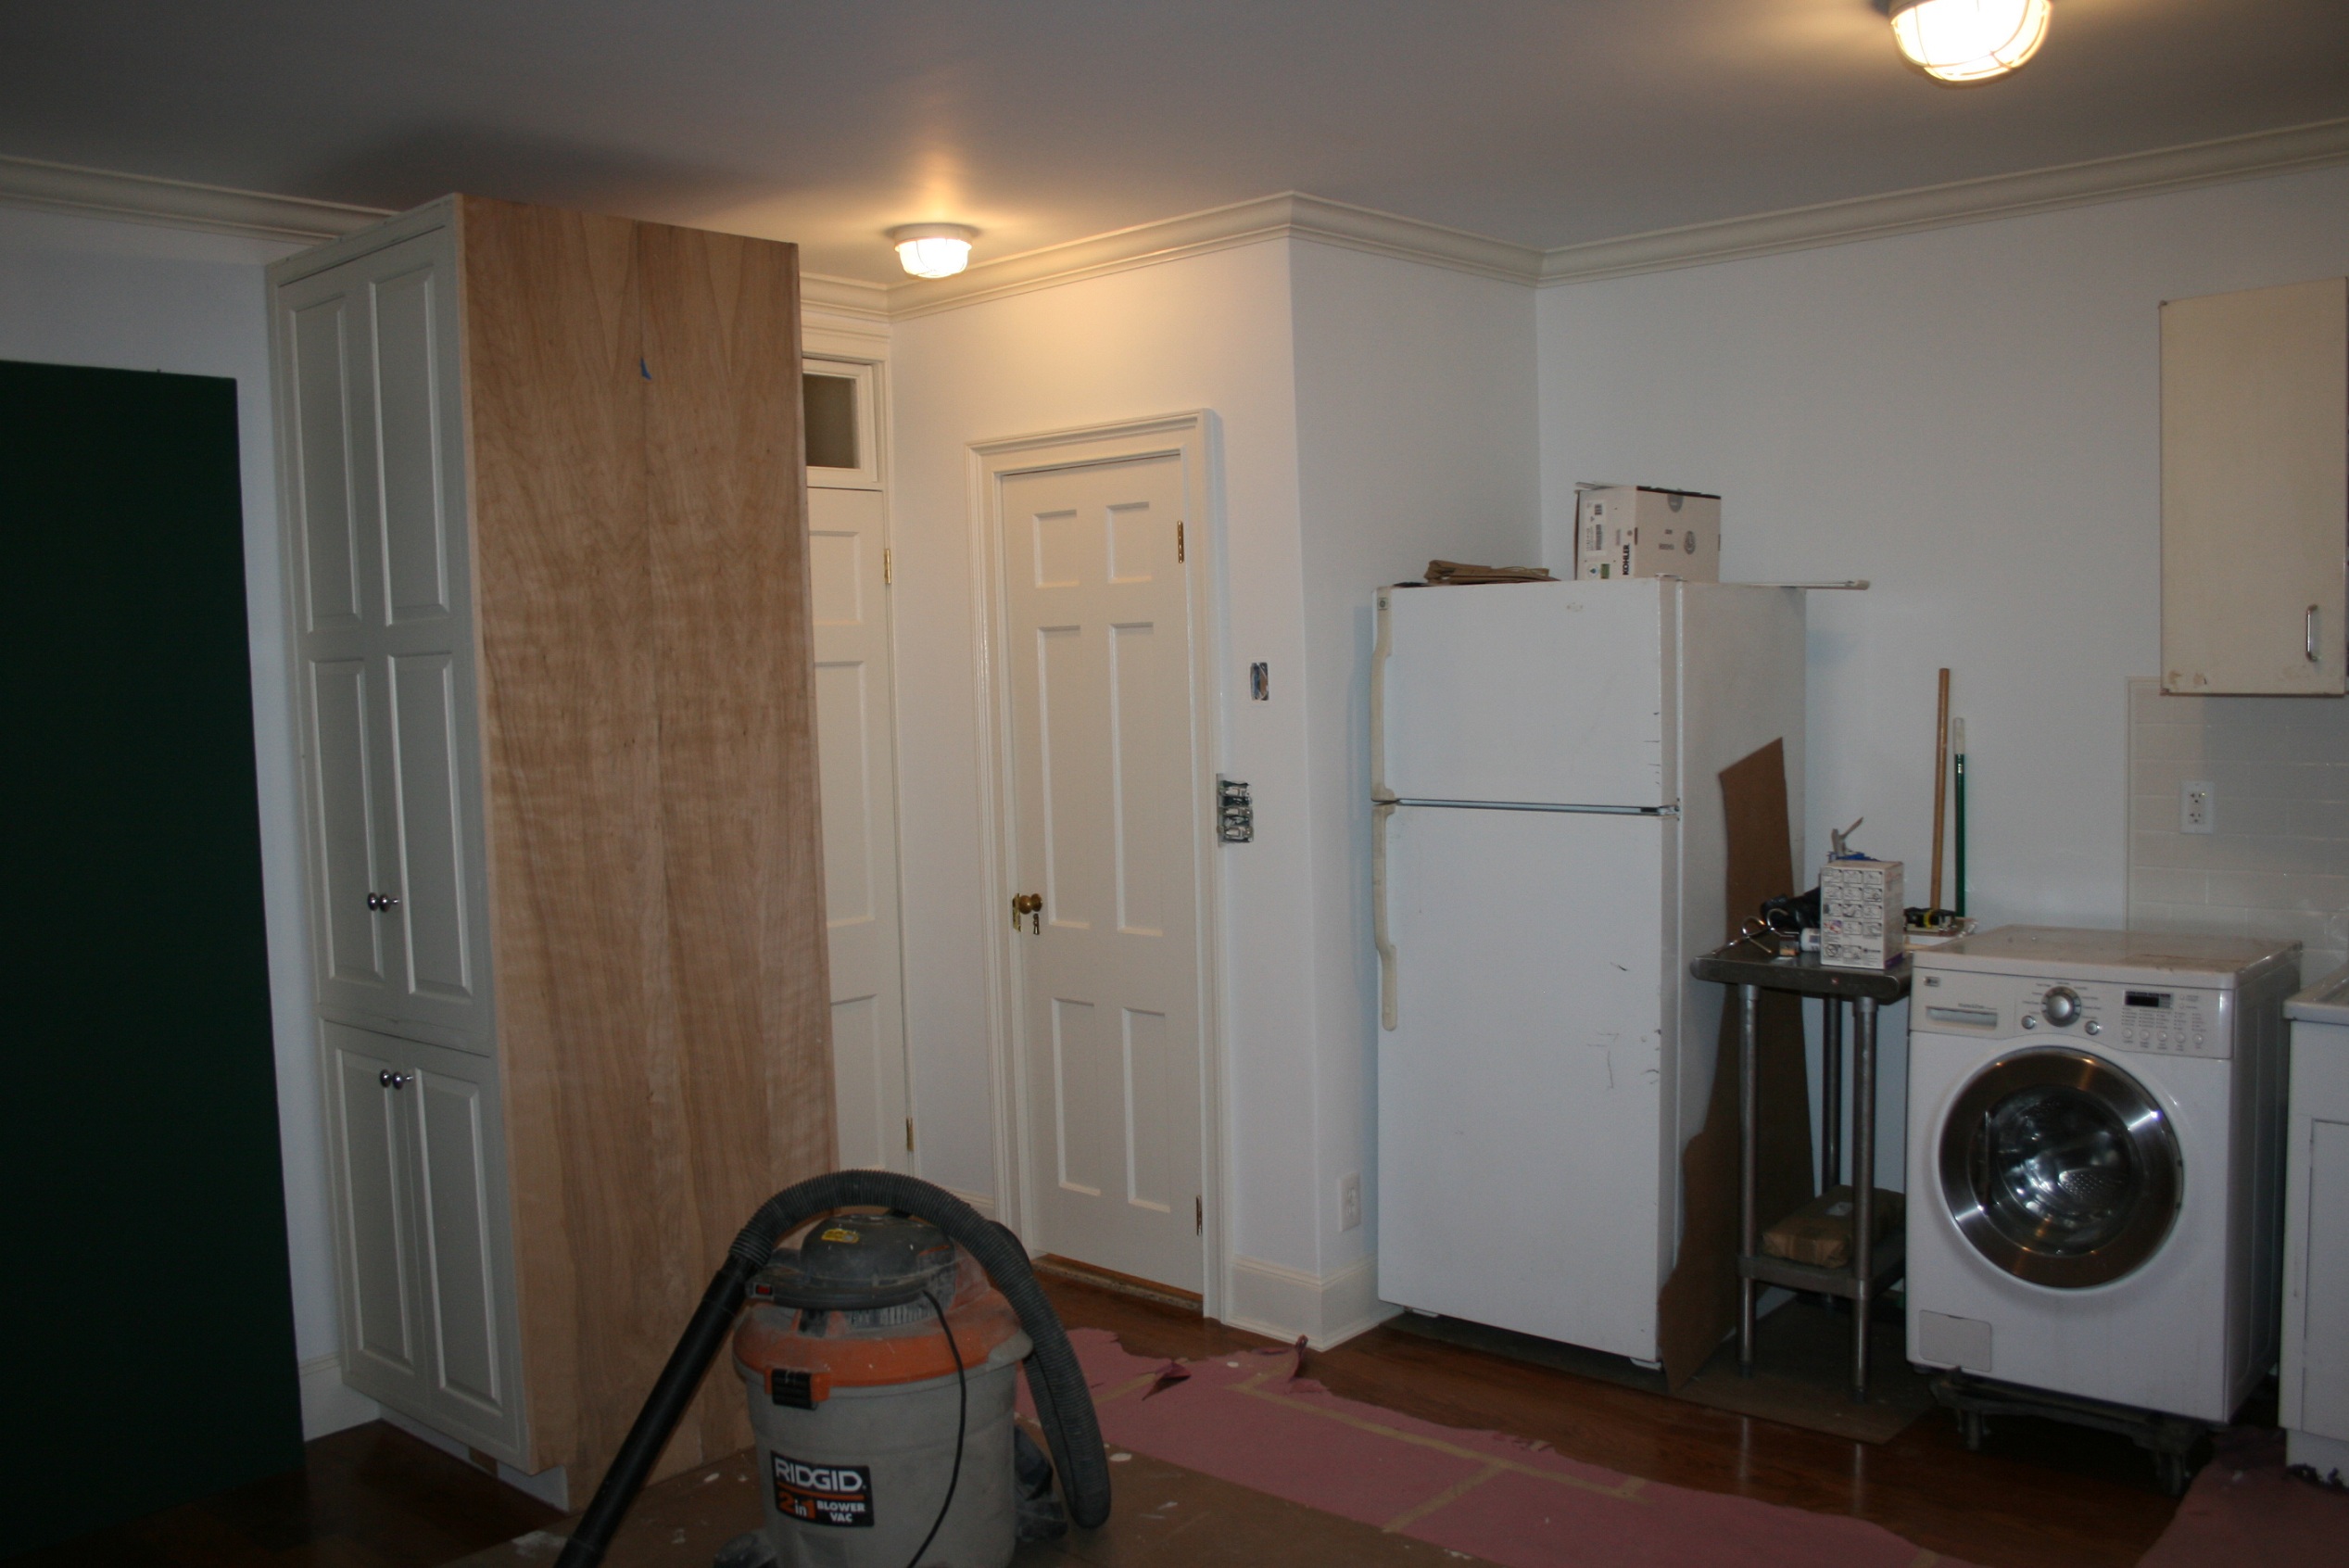
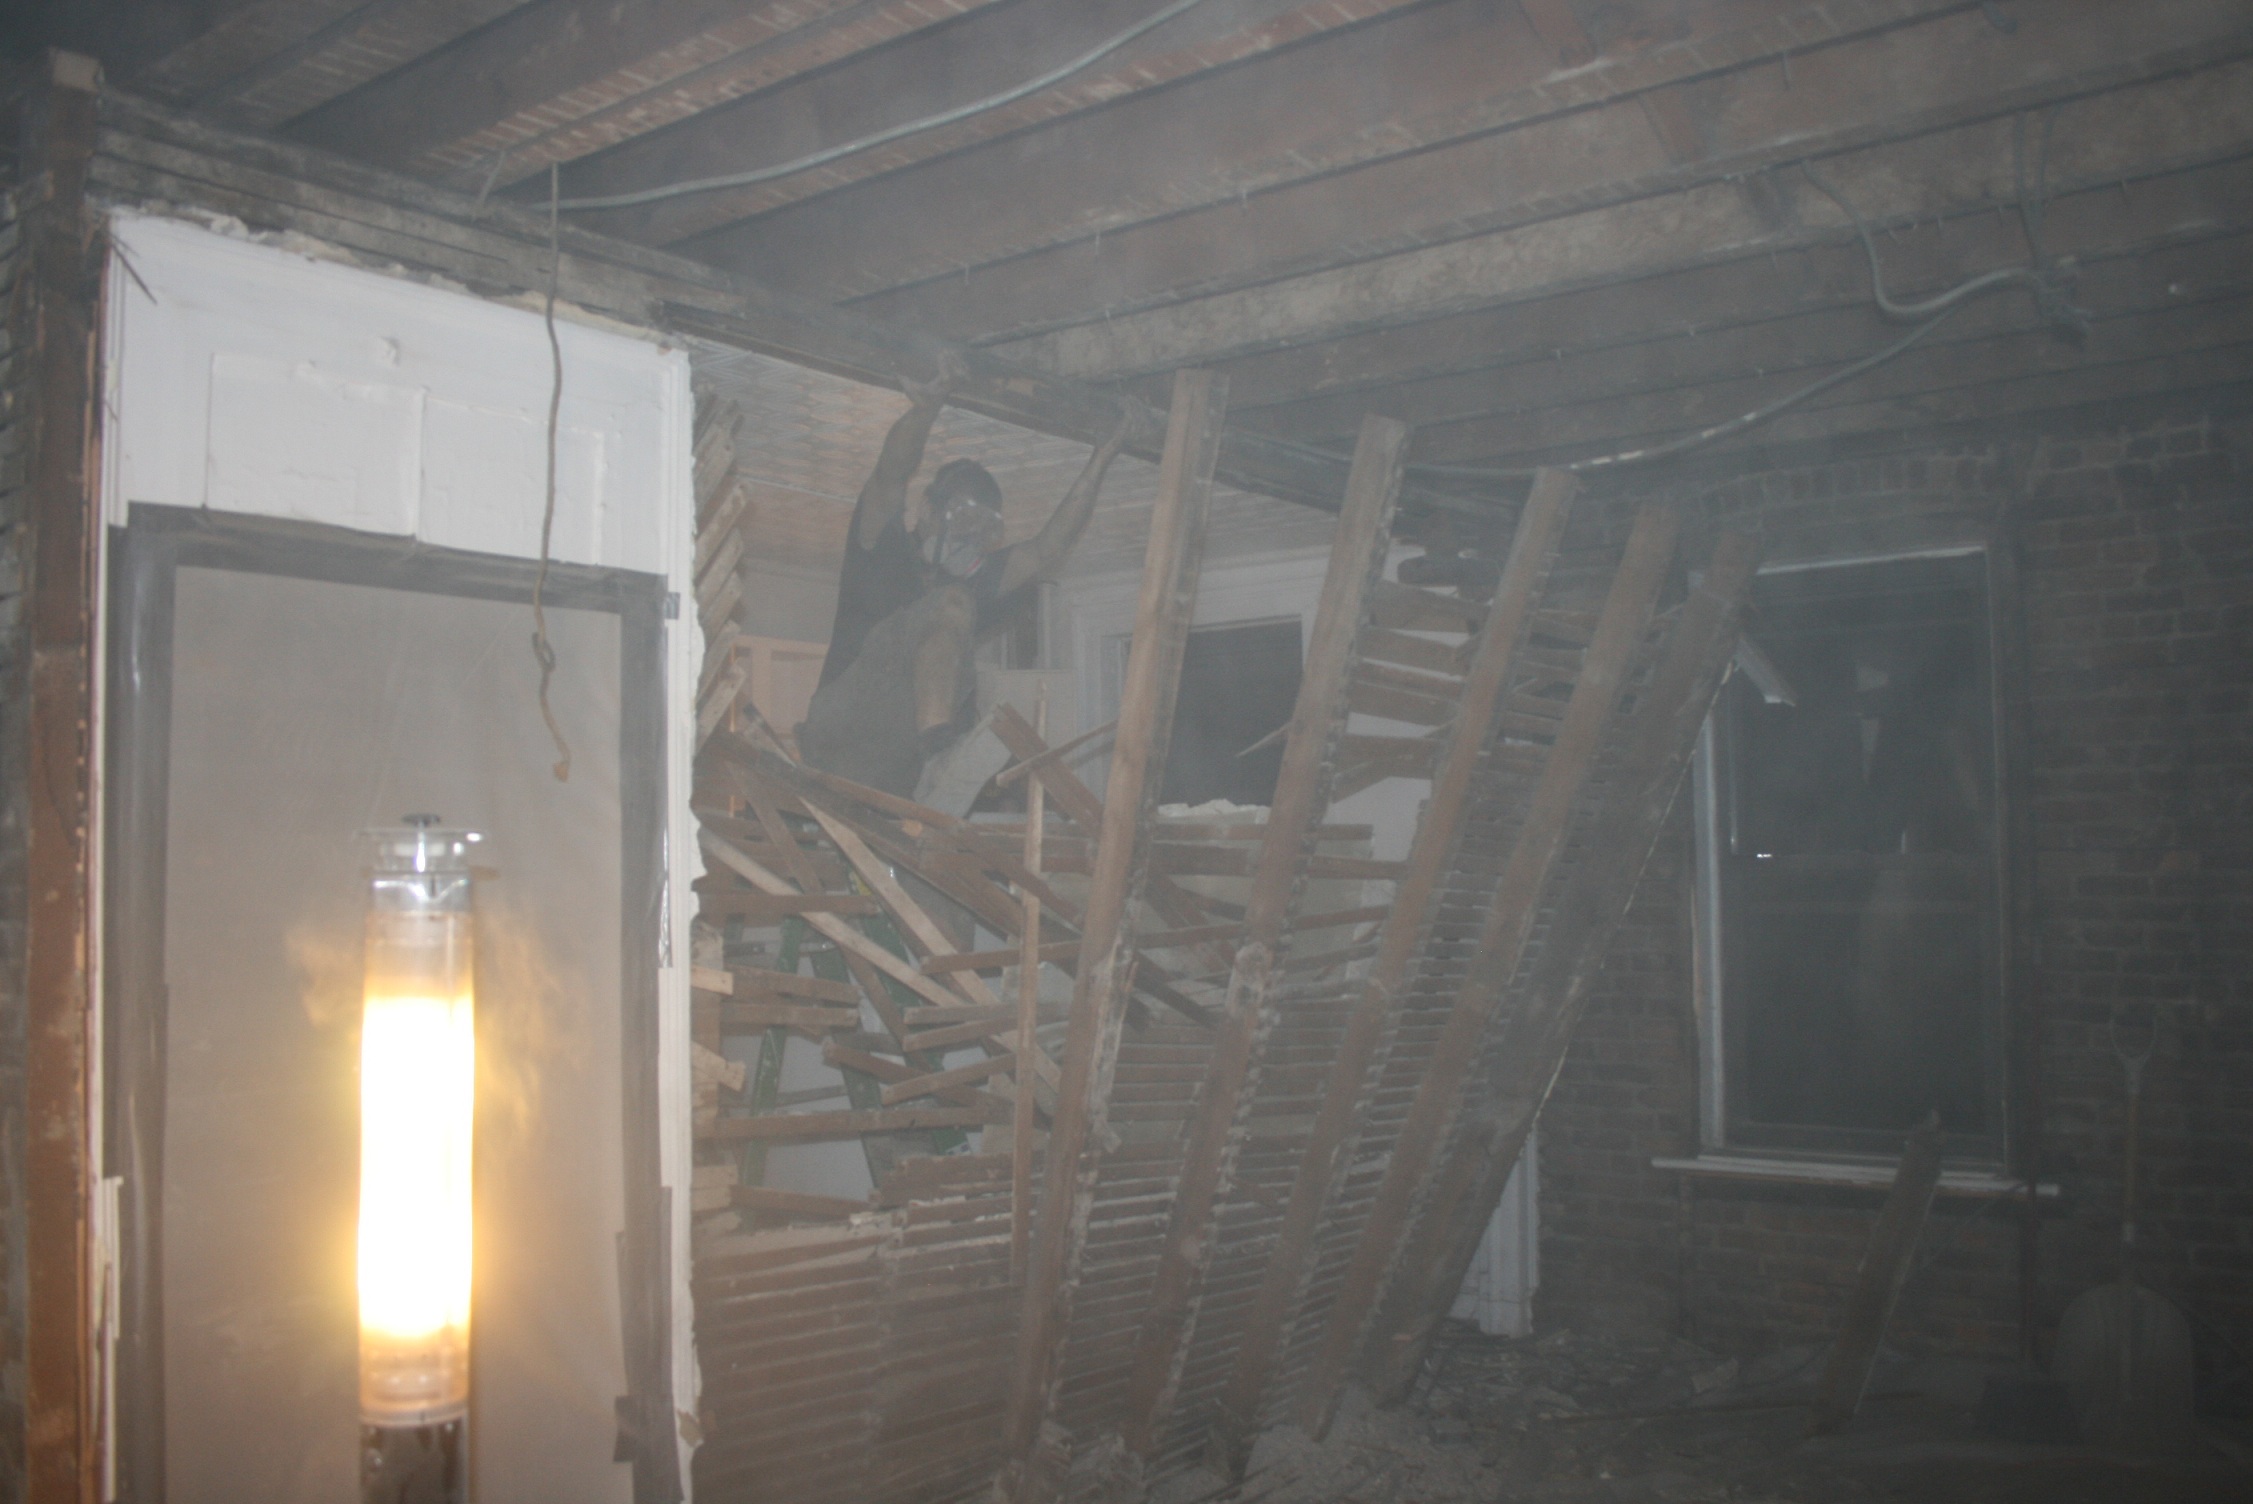
So here is the setup on this project. I working on building a handi-cap accessible bathroom for some nice folk in Washinton DC. In the middle of that project, another rental property had an apartment with a bathroom that leaked into his kitchen below, was vacated. They have wanted for years to fix the problem, and had put in the craziest rubber tarp thing to catch the water leaks. Thus, I am currently working on another project. As I write and get ready to upload pictures I am just a few days work away from finishing up this bathroom. Quite a project.
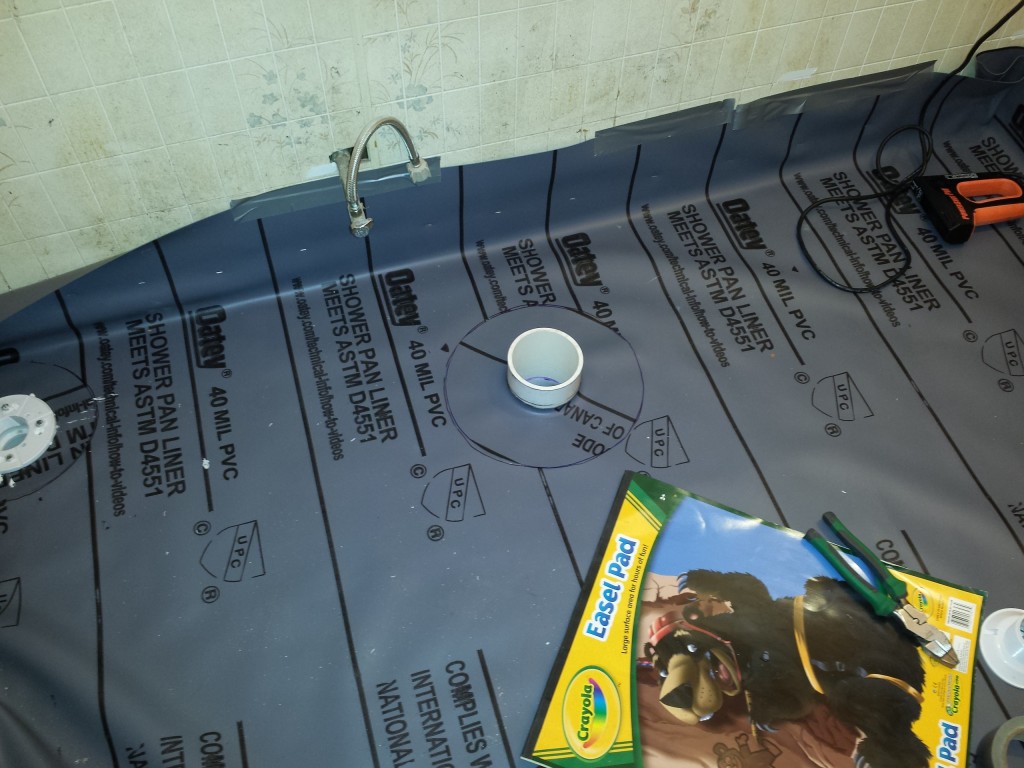
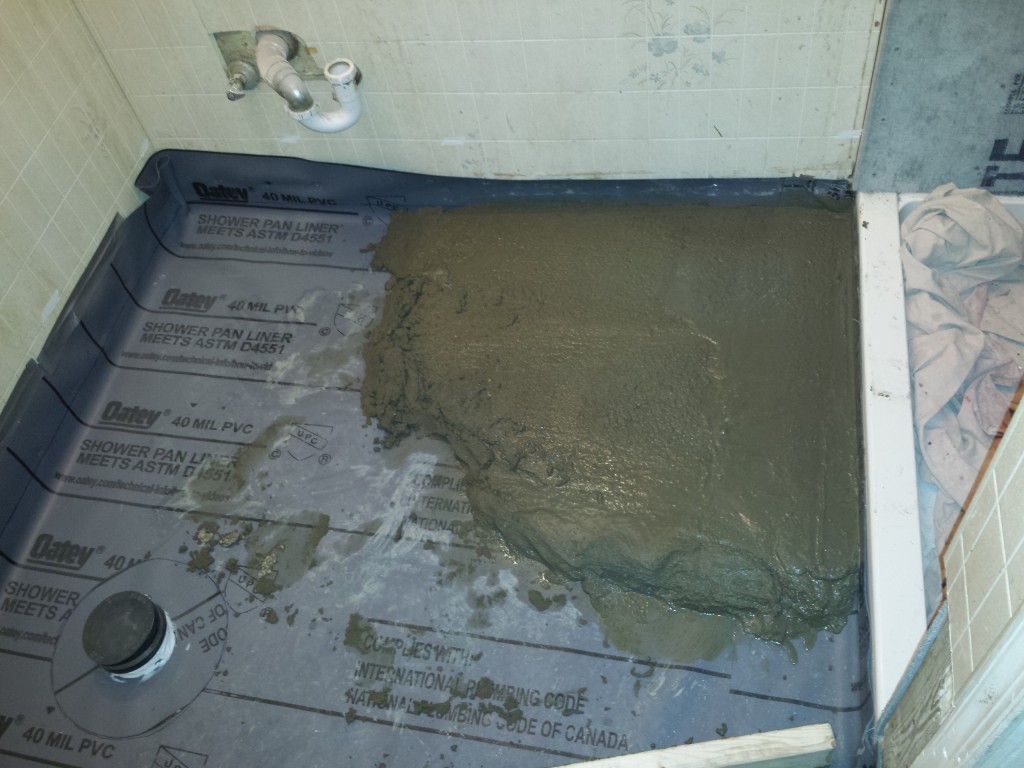
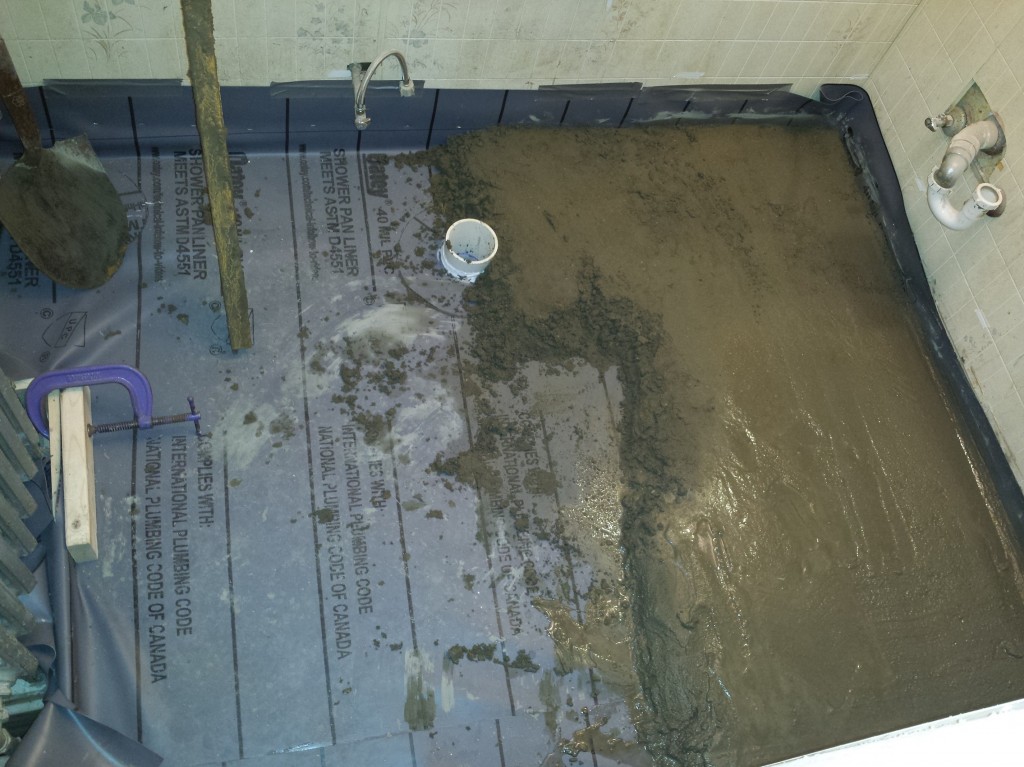
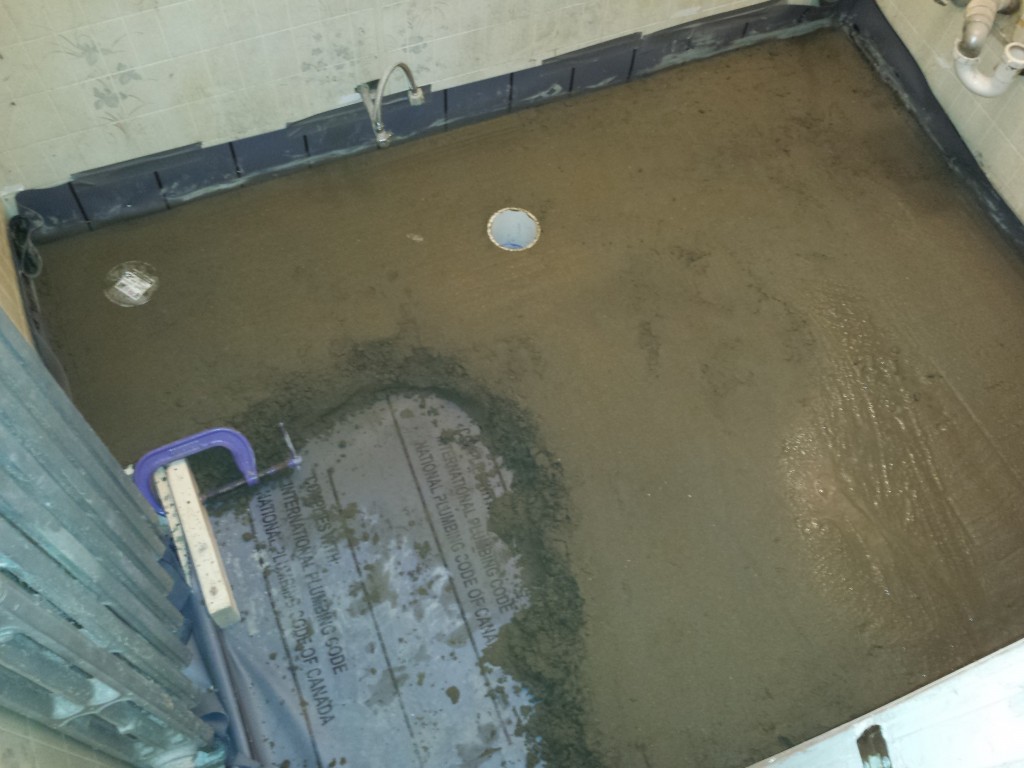
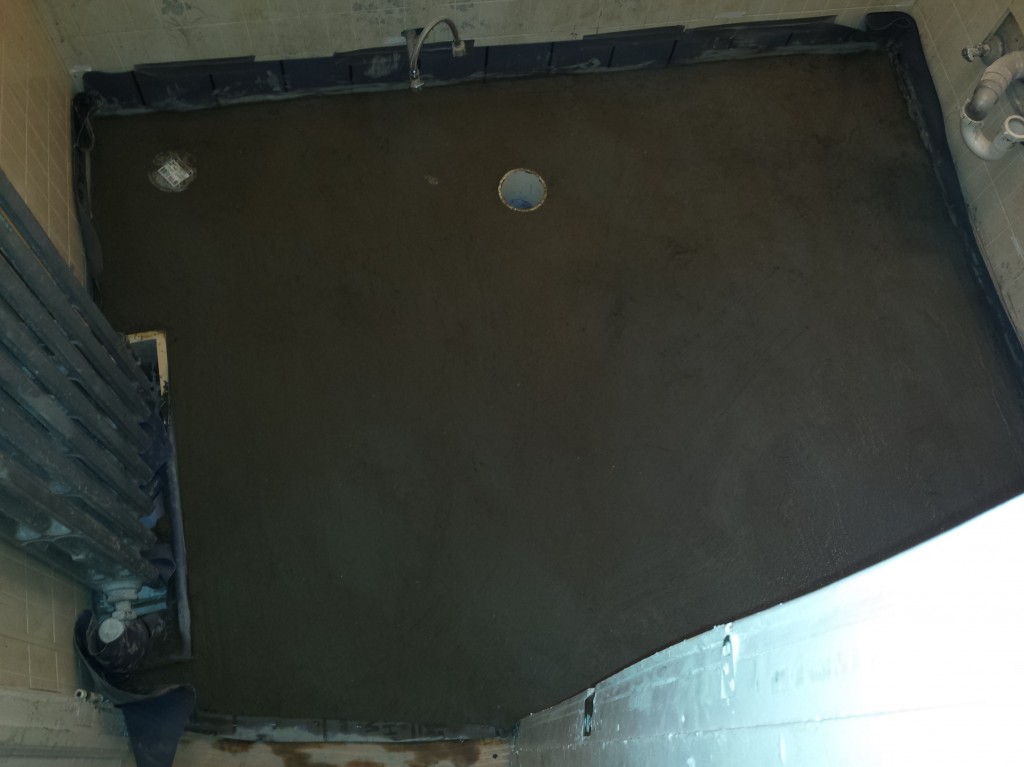
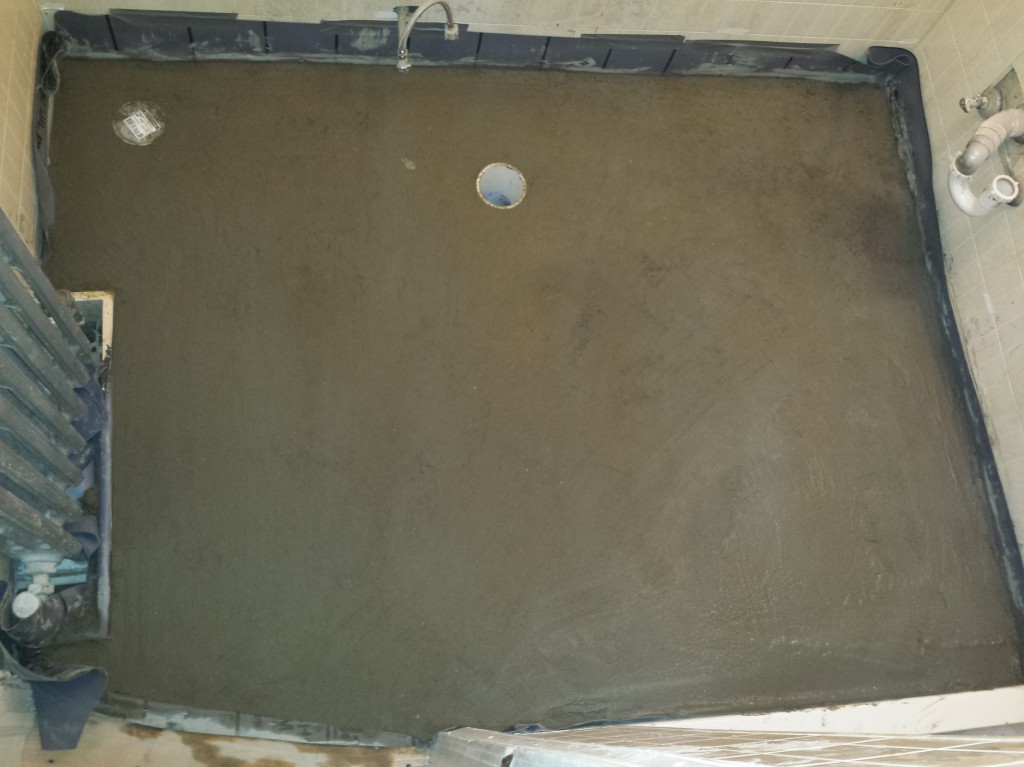
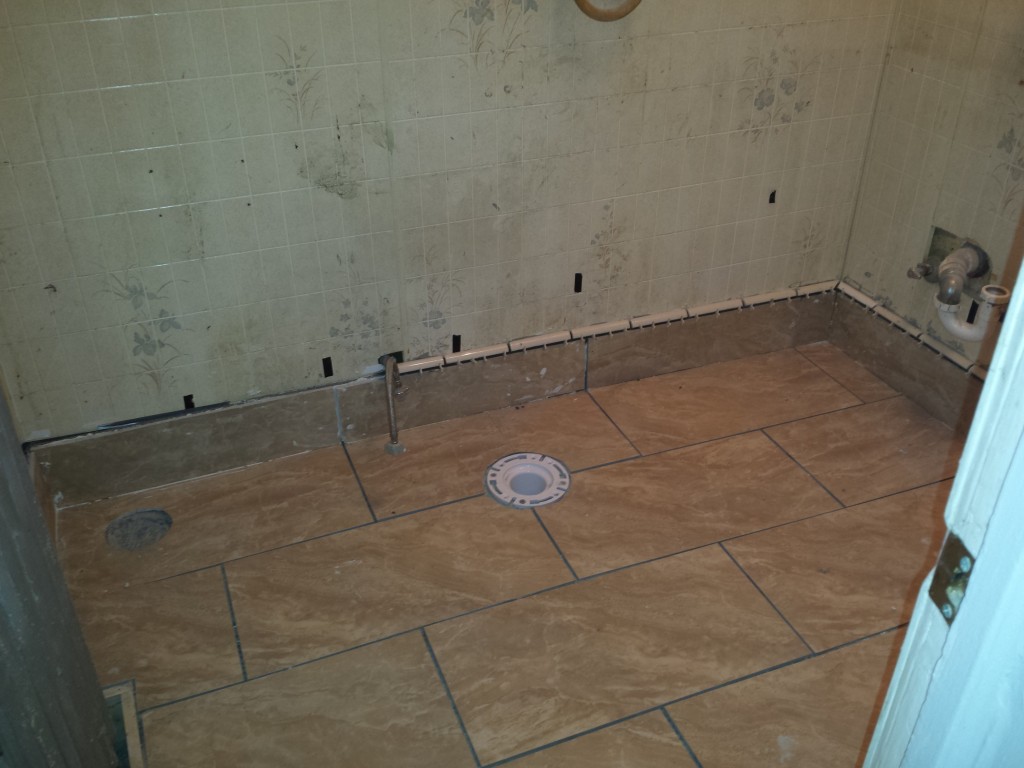
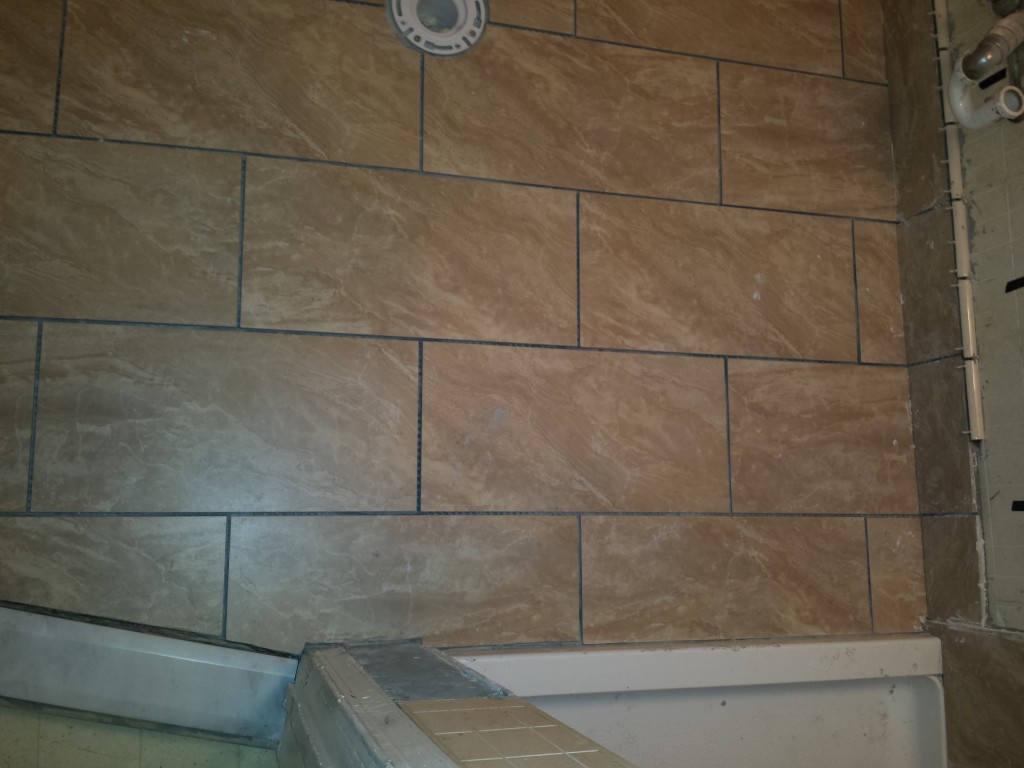
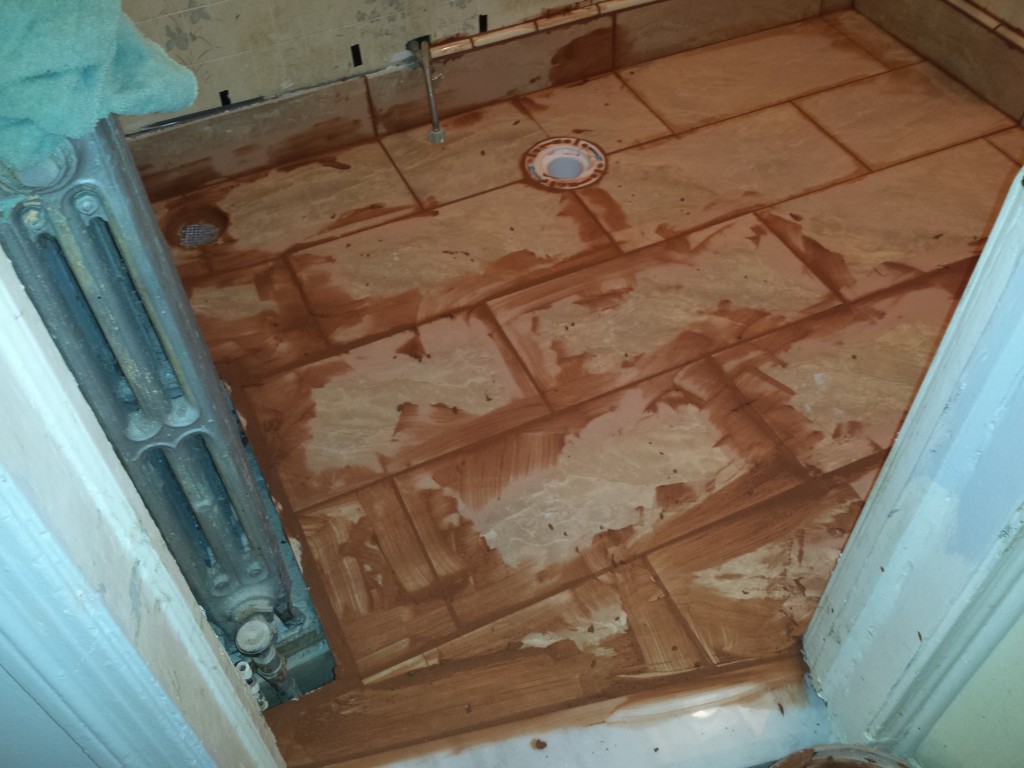
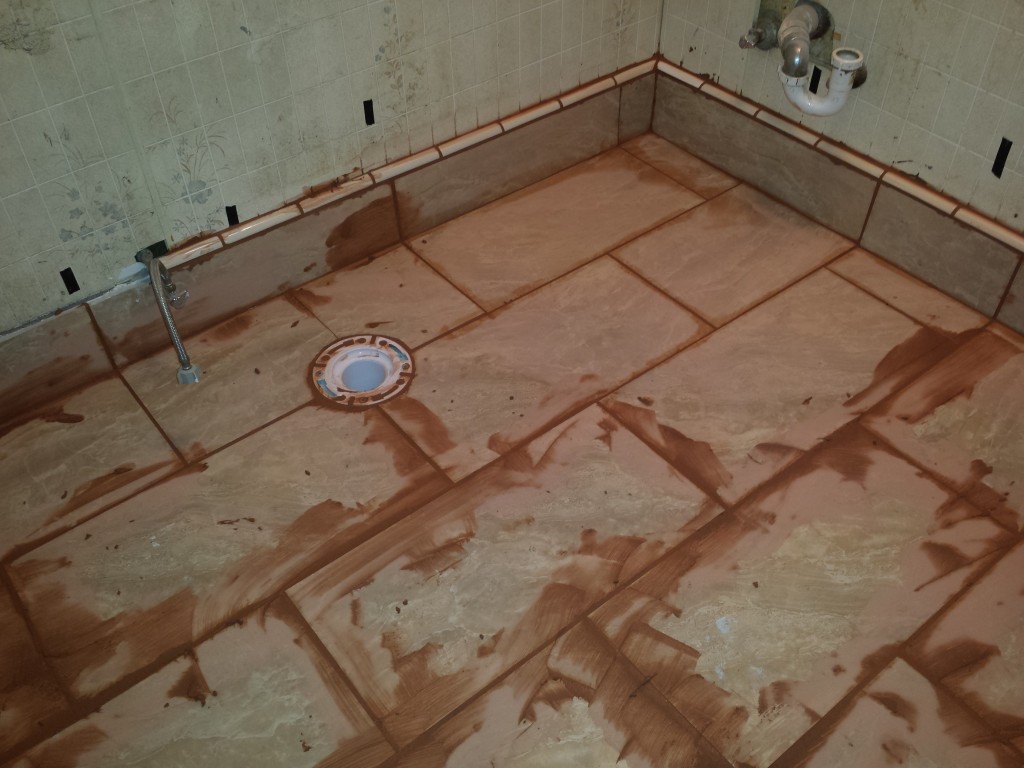
These pictures are chronological from the start of the job through to the end. Not every aspect of the job is detailed, but you should be able to get a feel for all of the different steps that it took to go from the old bathroom to the new bathroom. To eliminate the potential for leakage from this bathroom, the owners wanted me to build an under floor liner and floor drain, just like I am working on in their home. You’ll see that part of the project come into focus later on down the page.
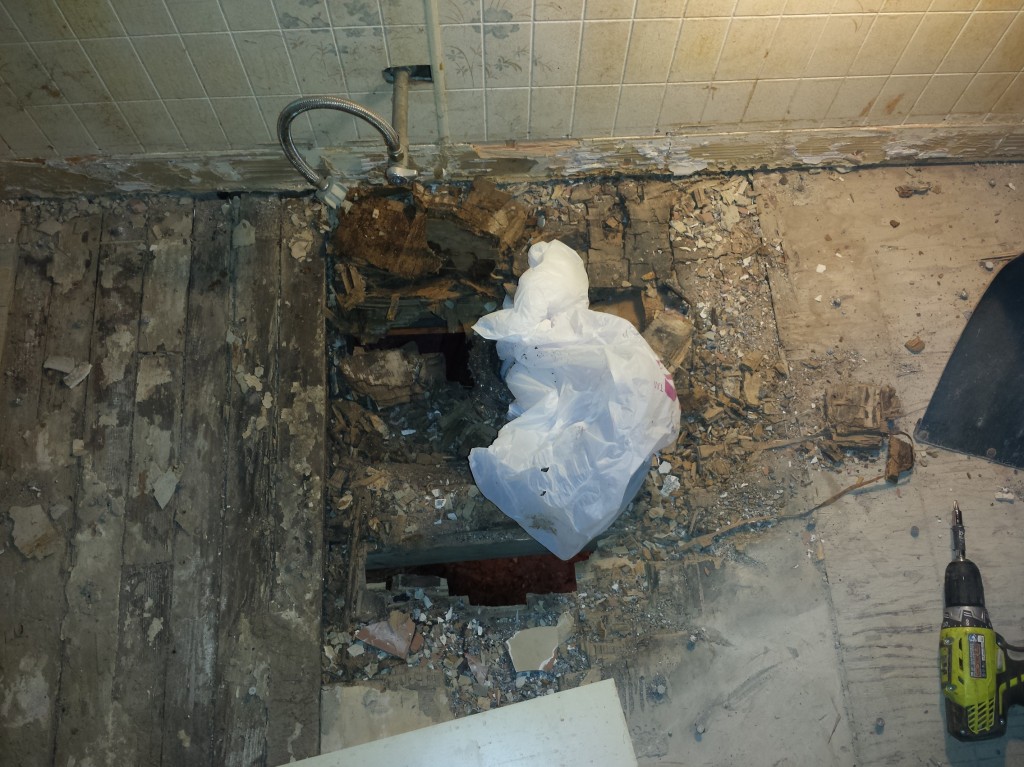
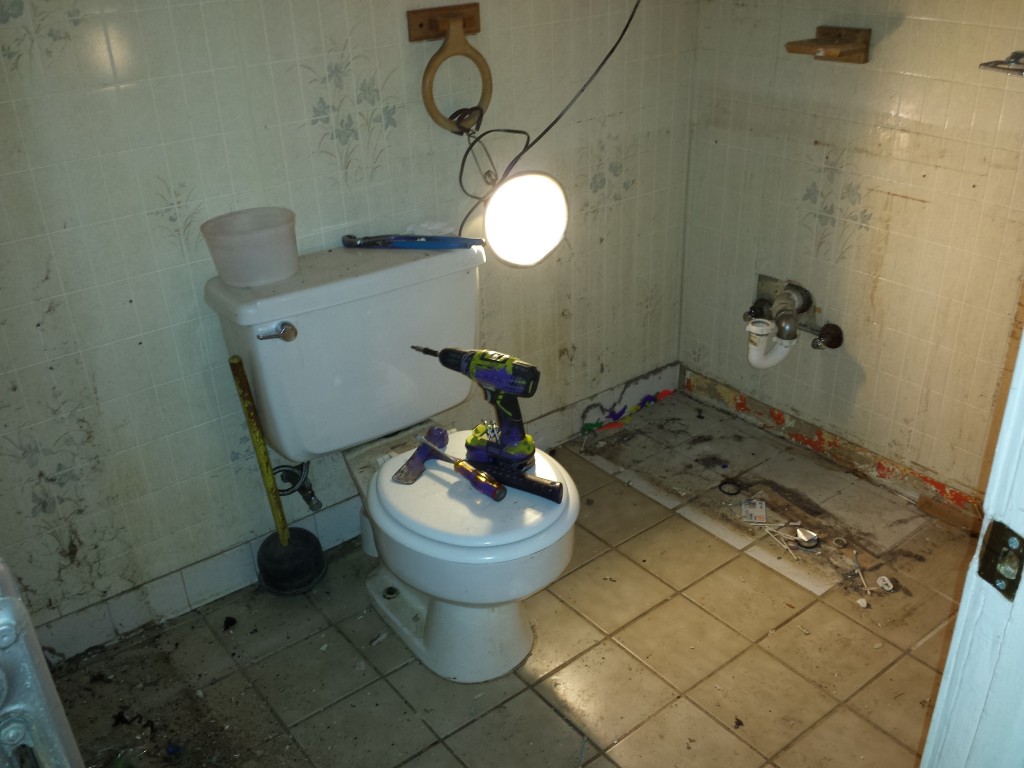
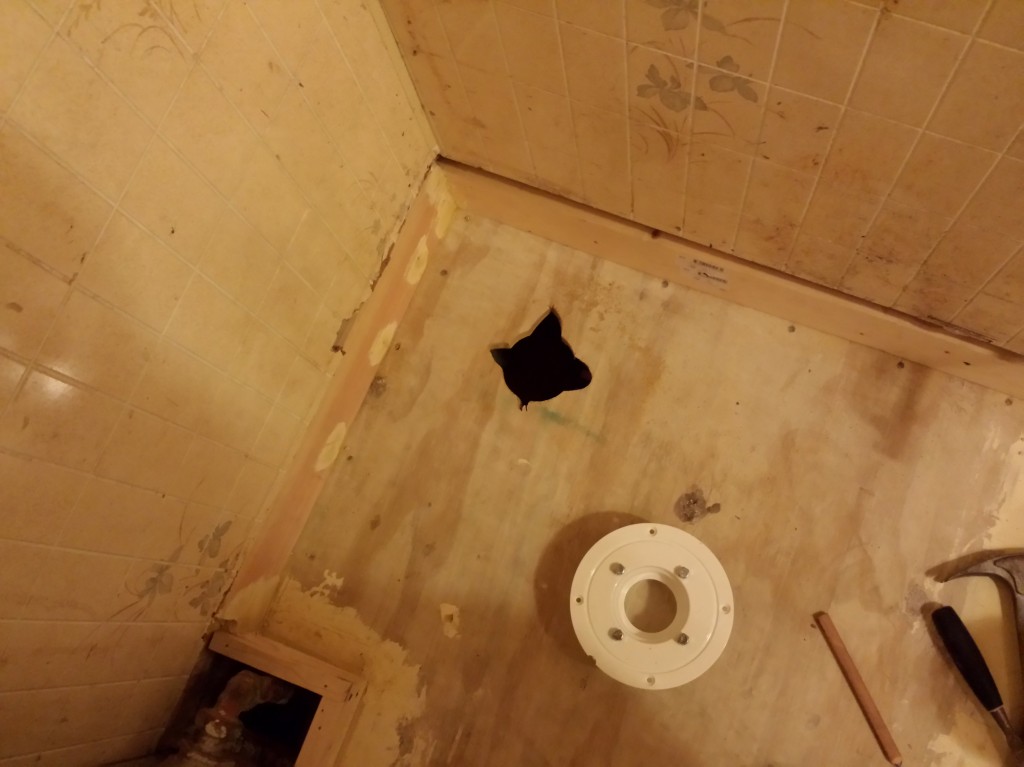
The floor was crumbling underneath the toilet from years of leaking water. It seems like the mortar and tiles were holding everything quasi into place.

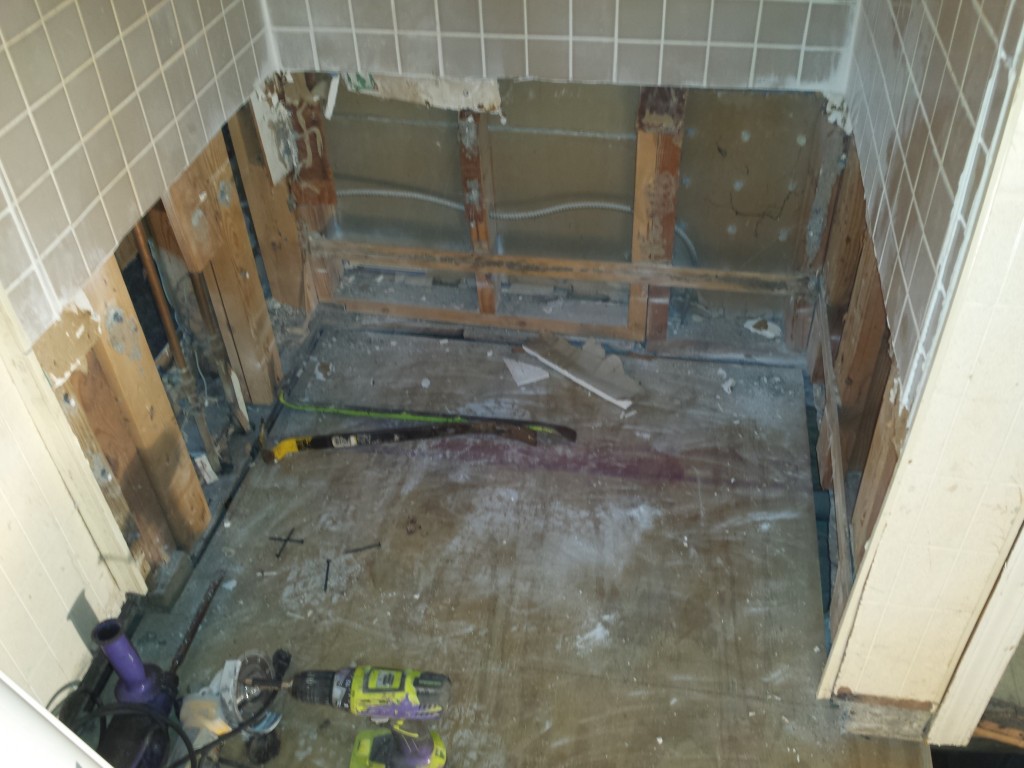
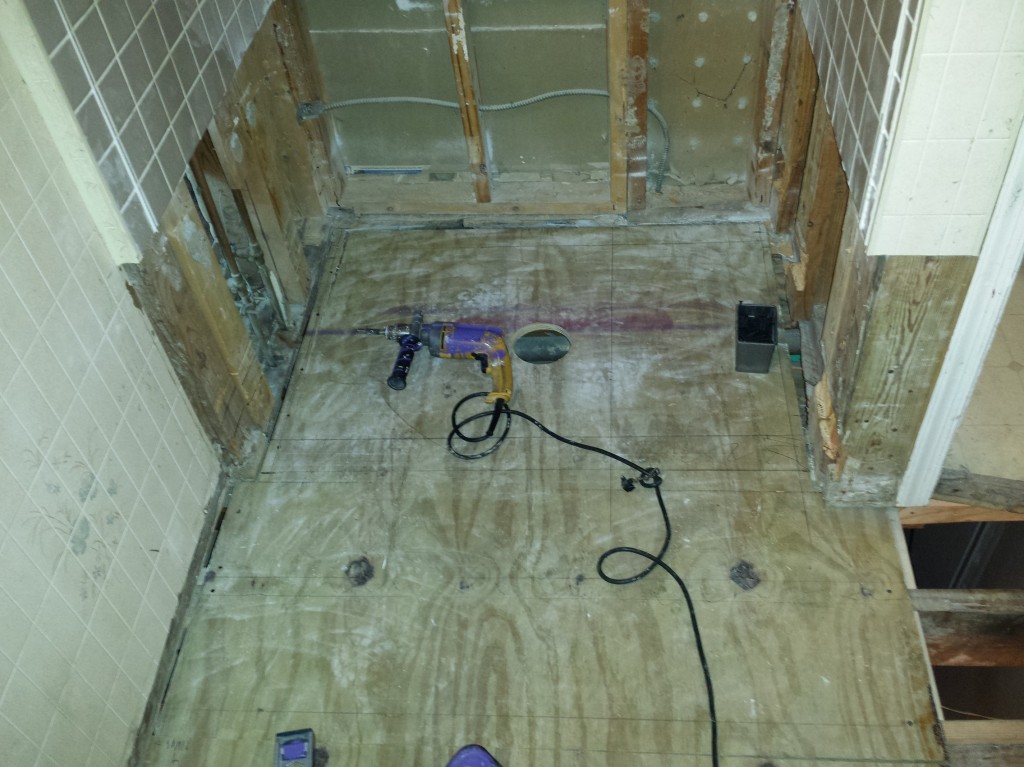
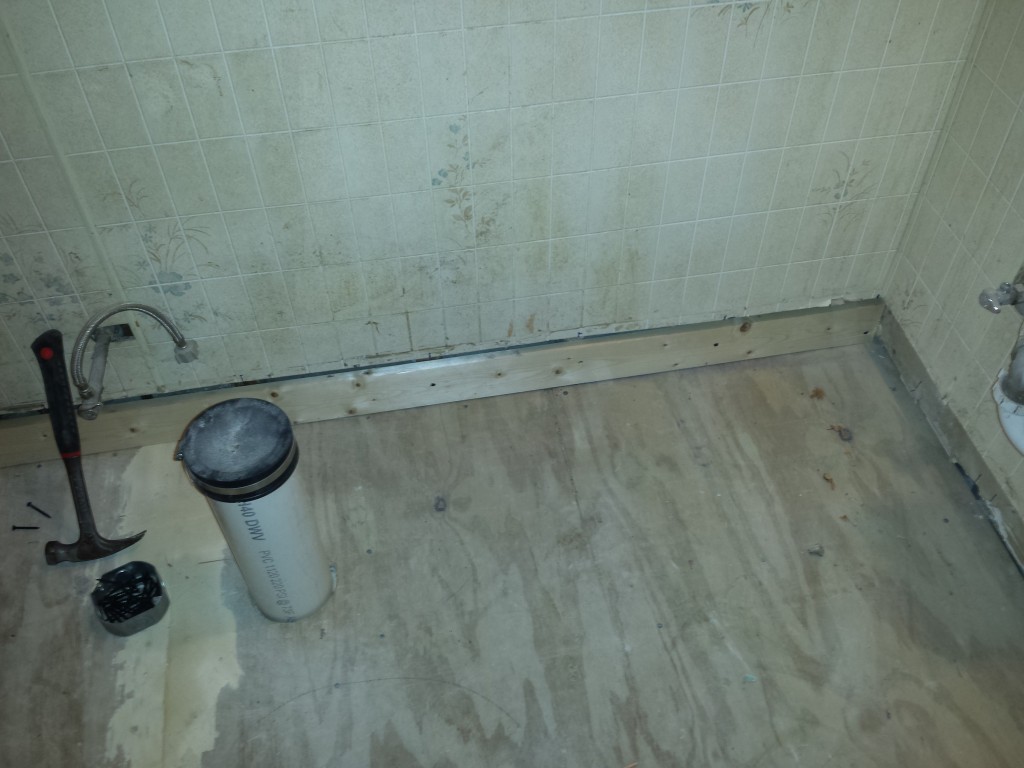
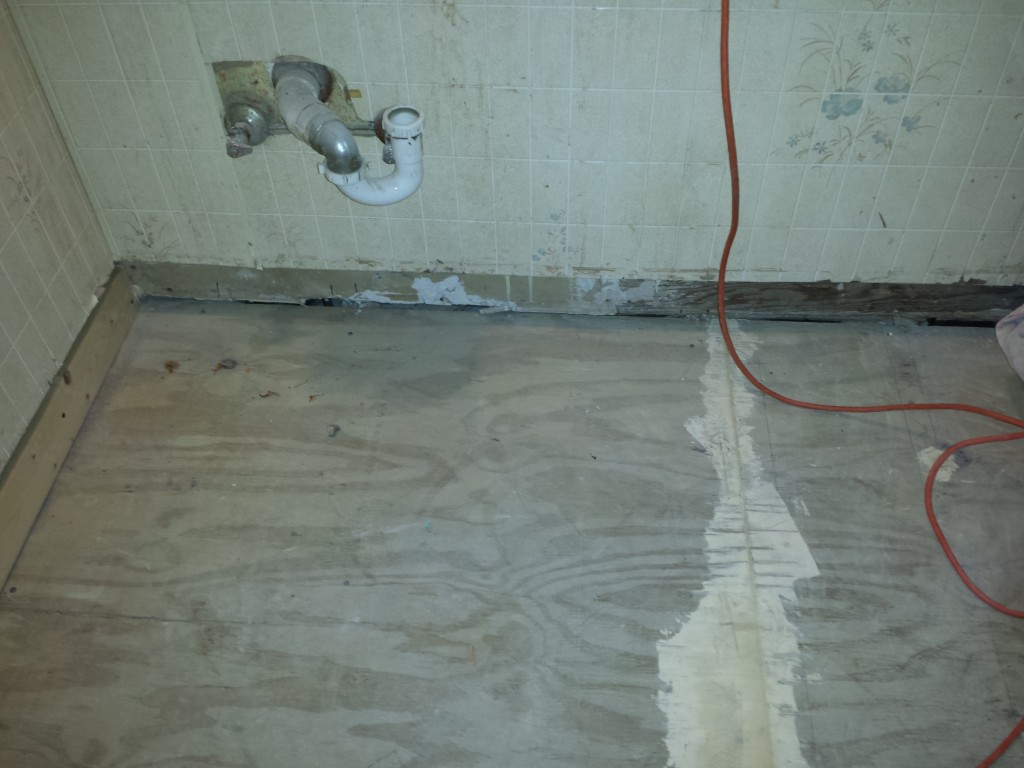
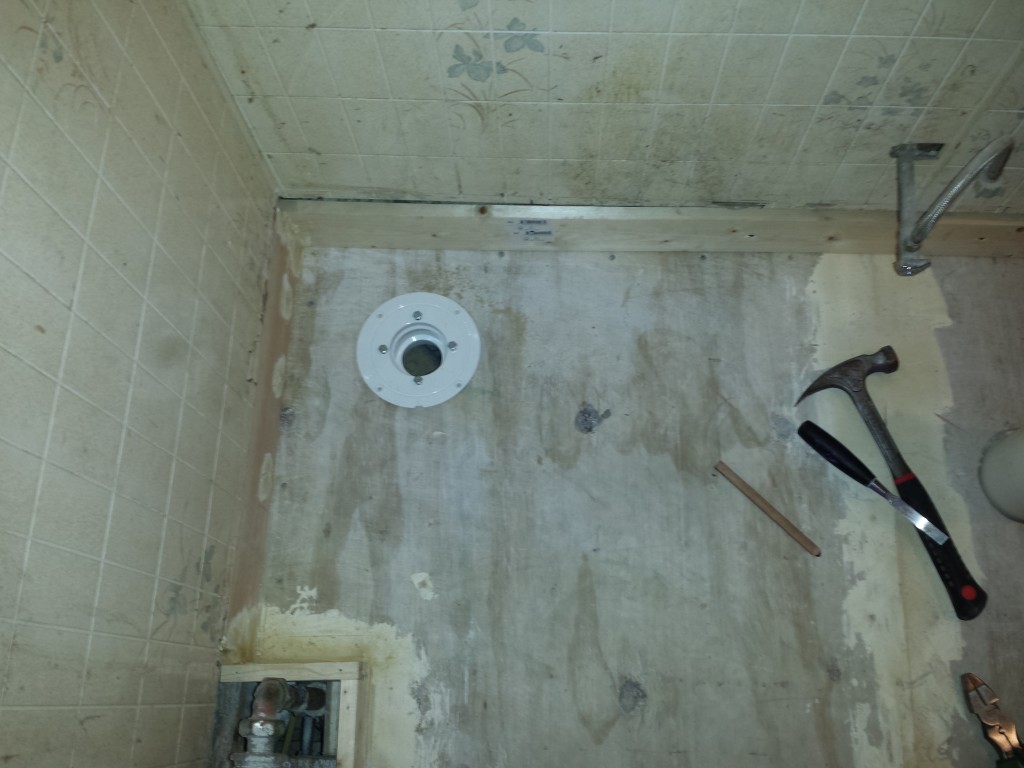
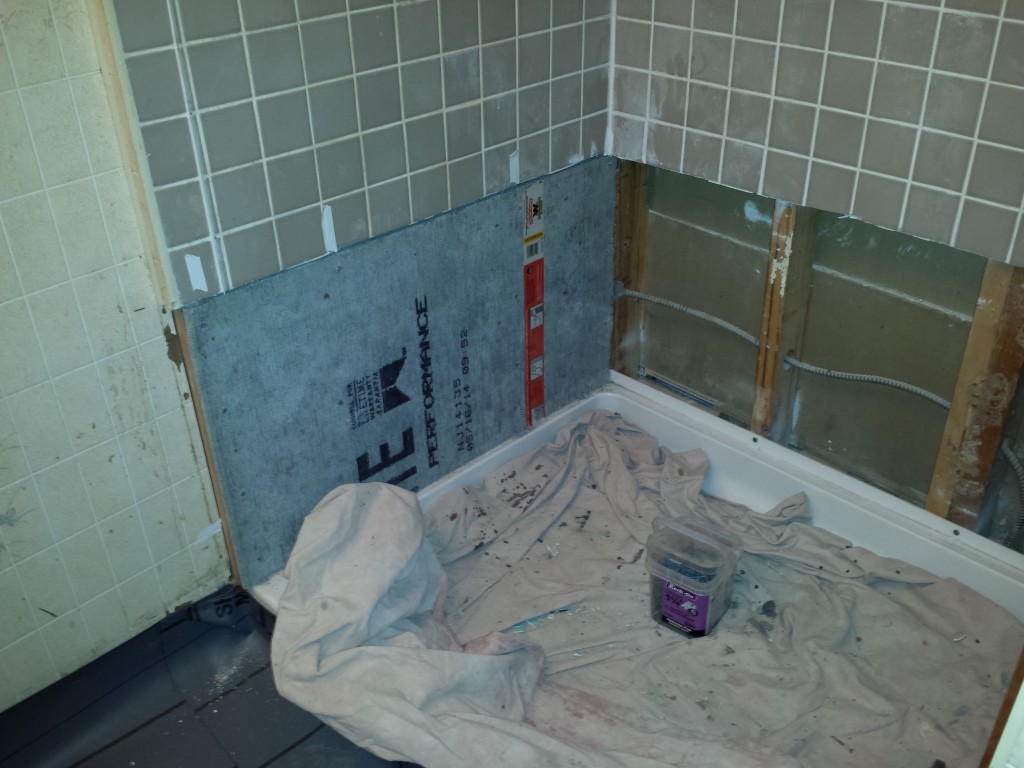
Various problems revealed themselves after I removed the tiles and cement board, and got to the sub-flooring.
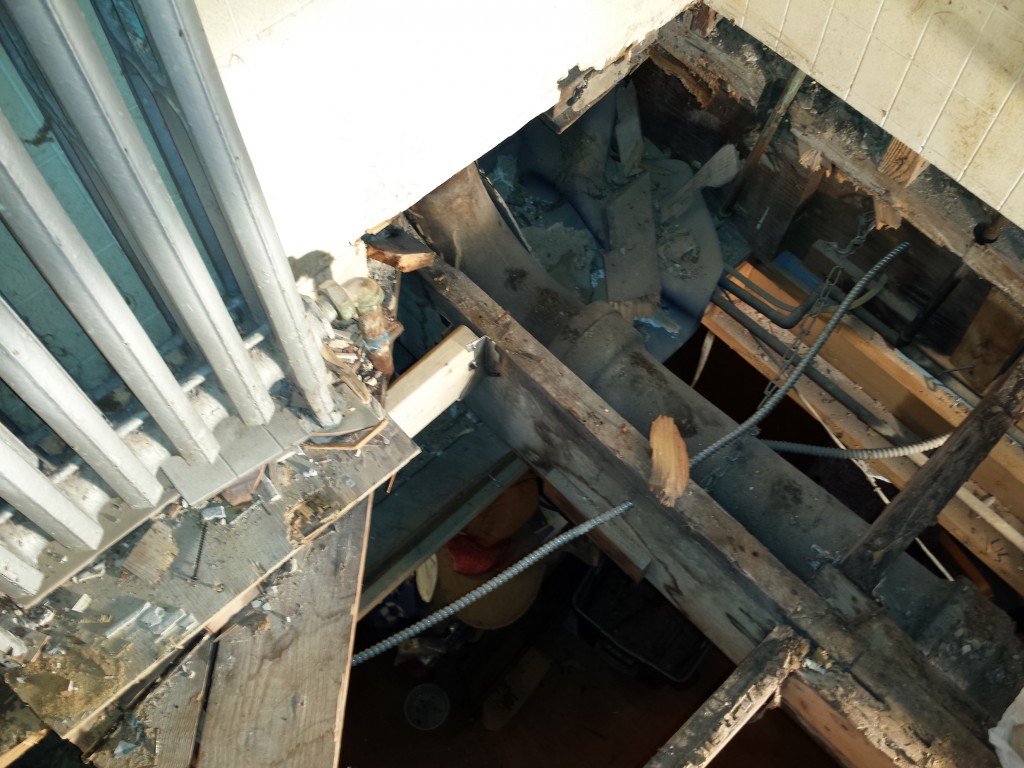
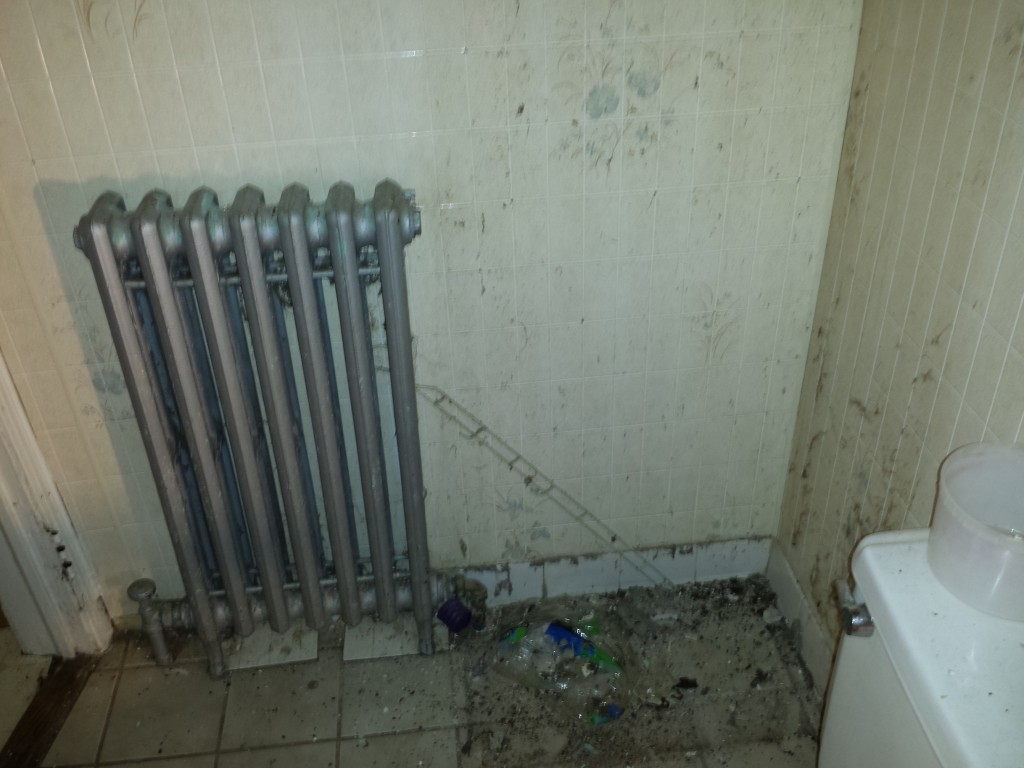
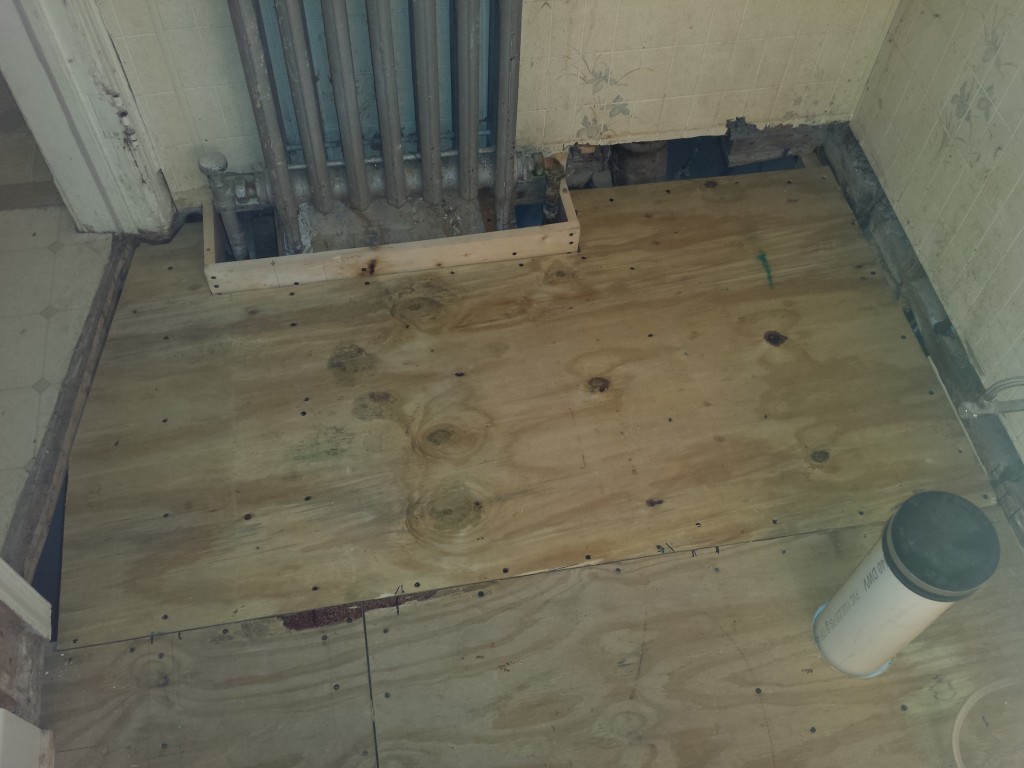
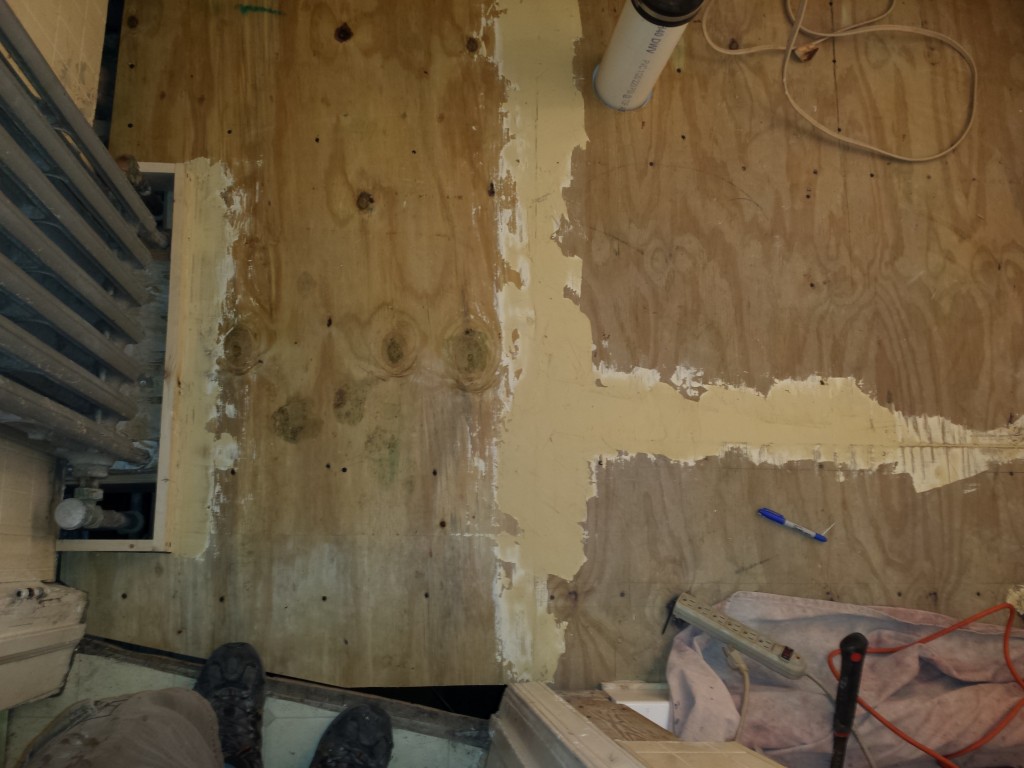
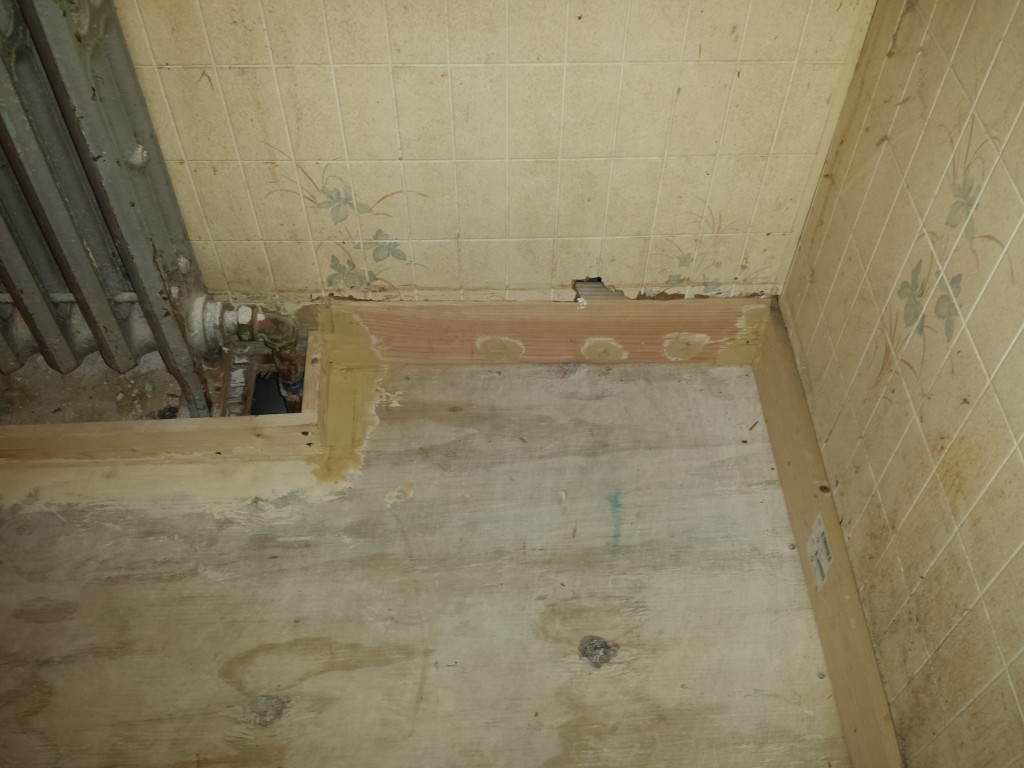
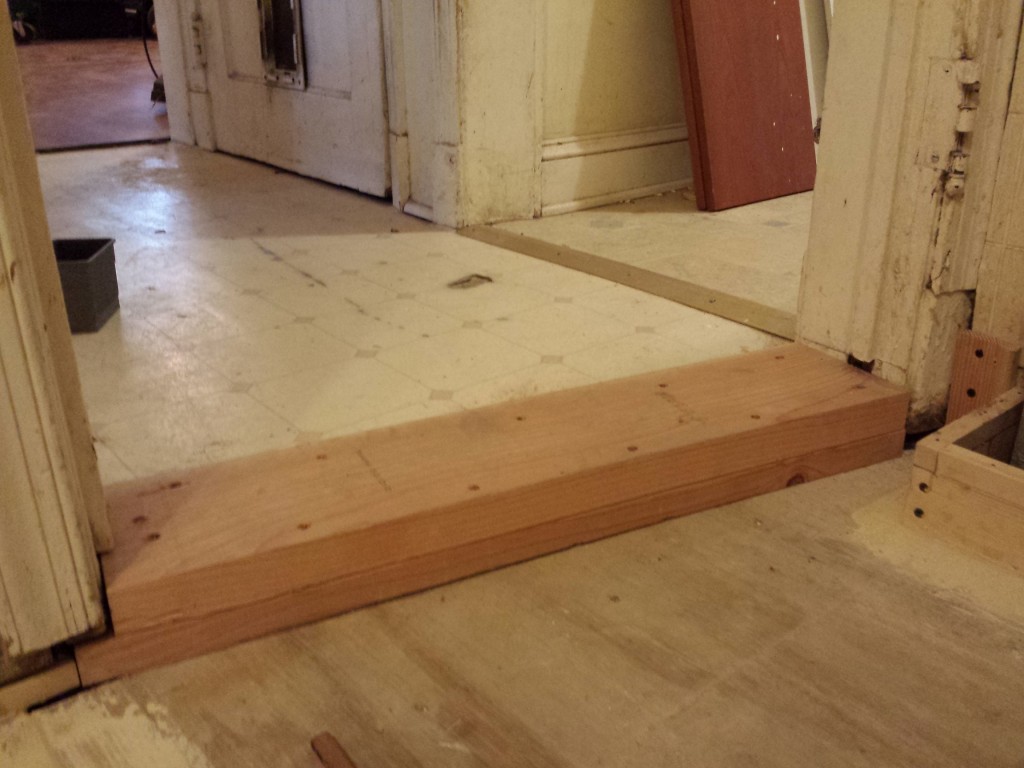
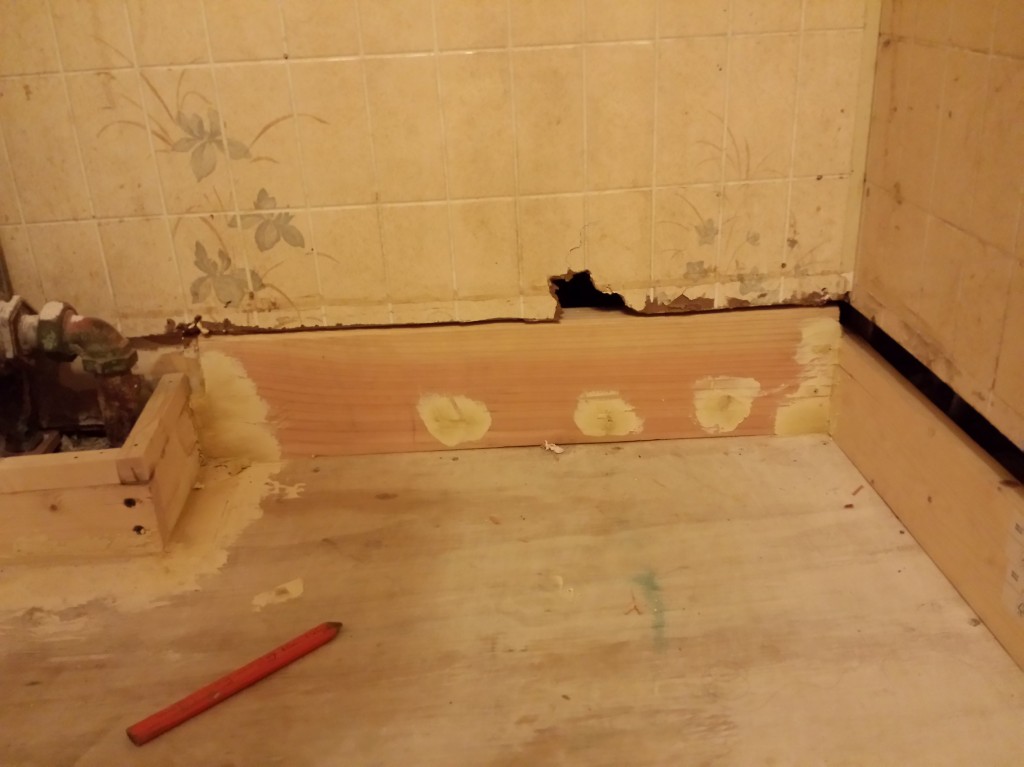
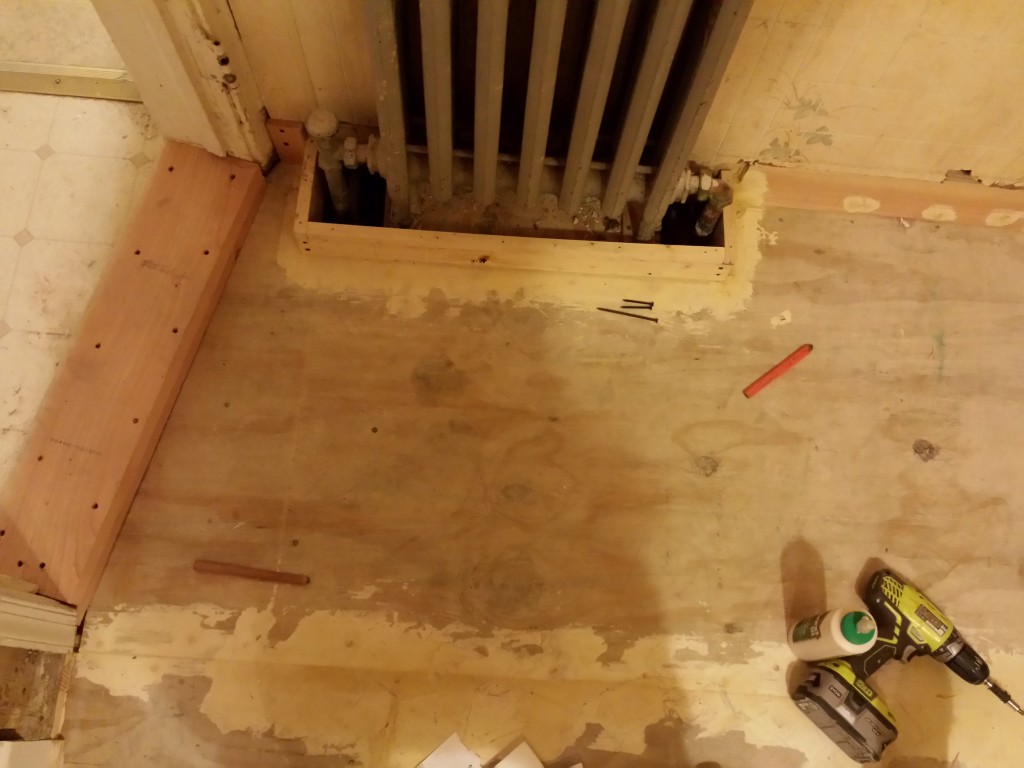
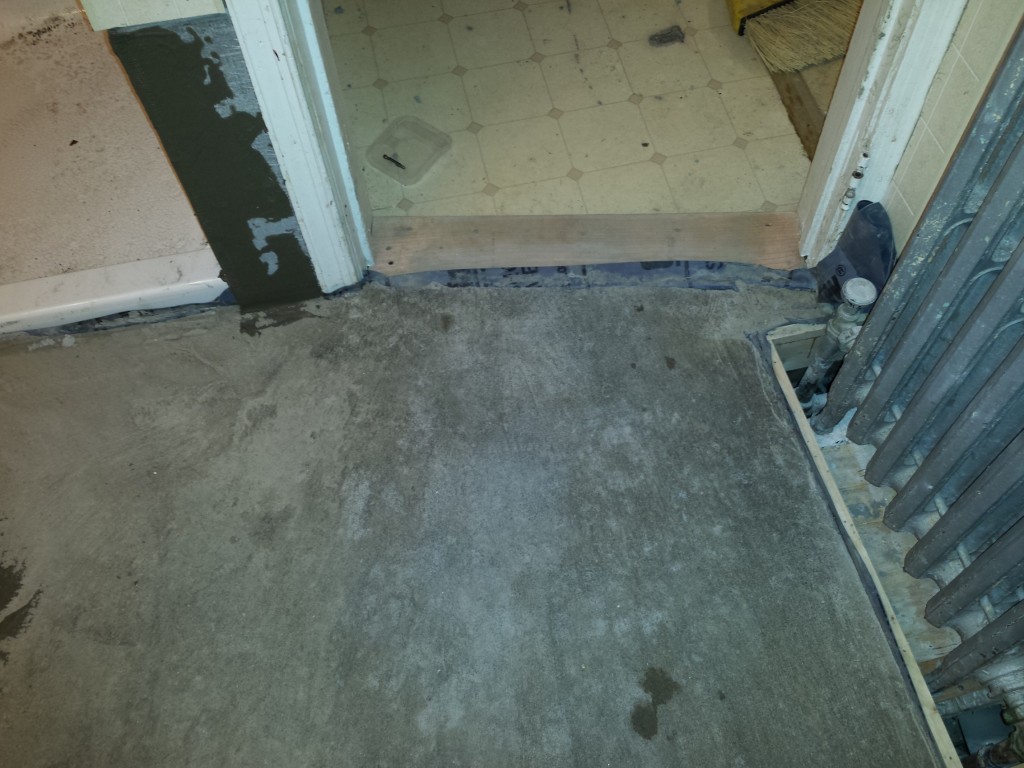
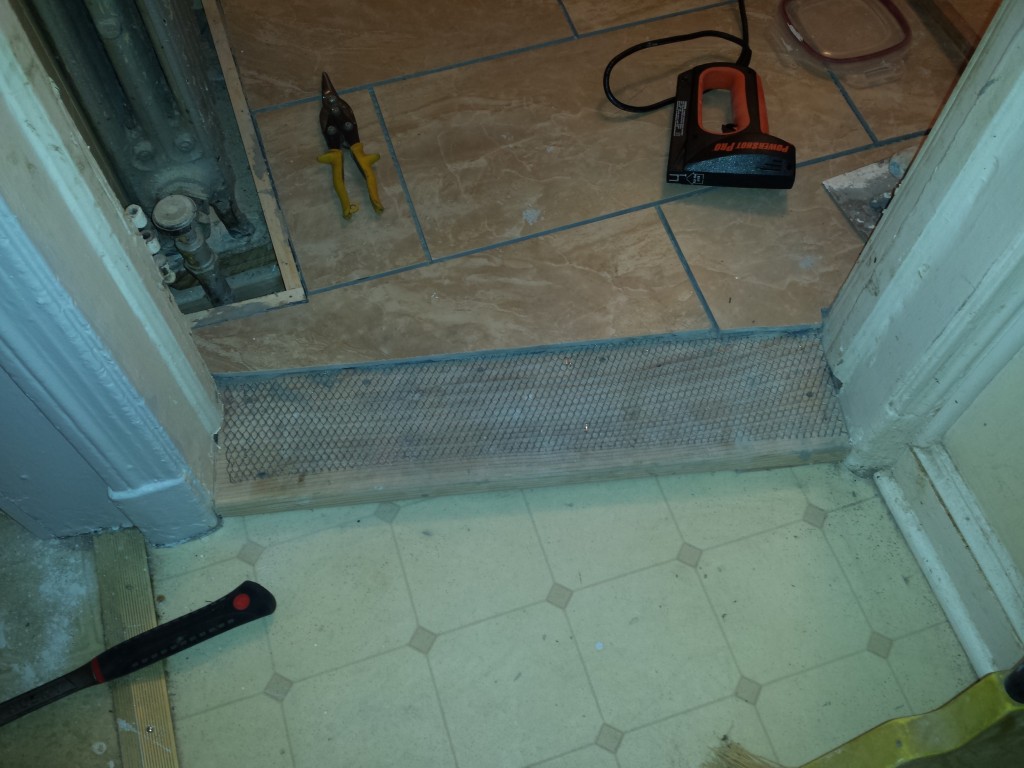
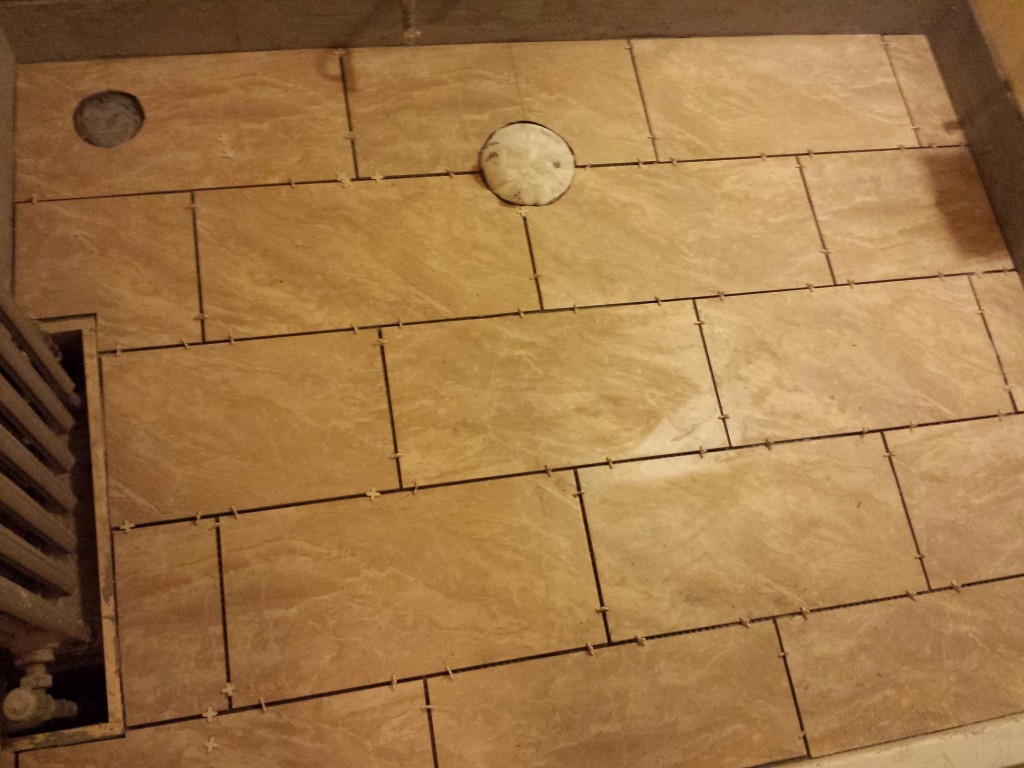
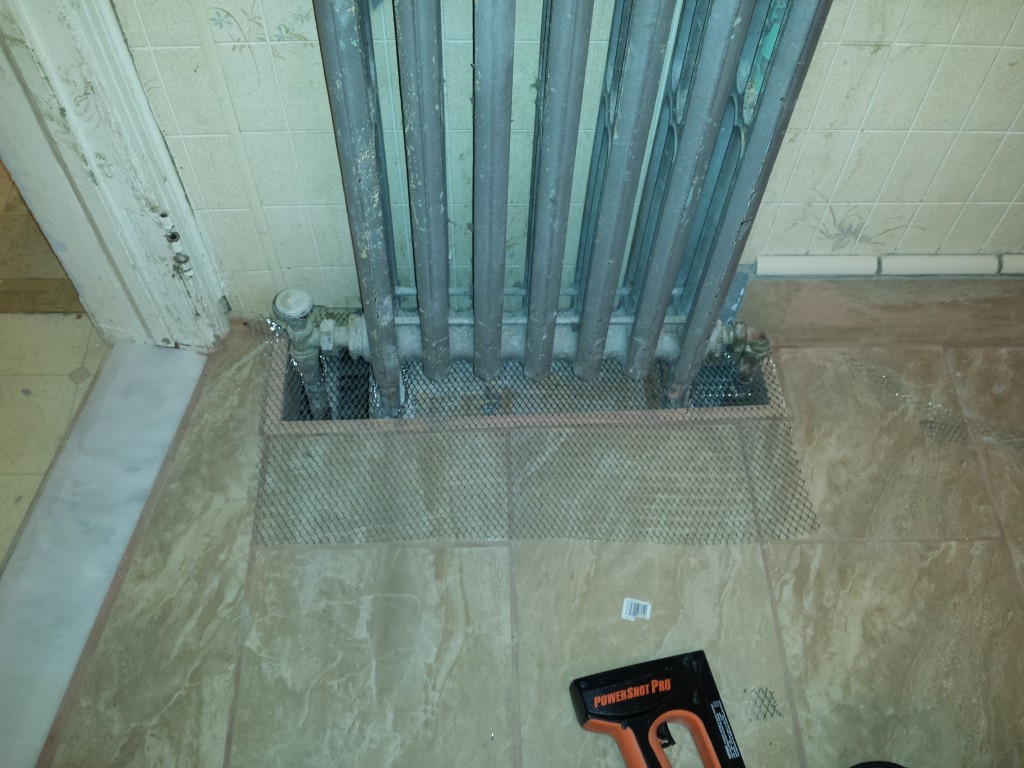
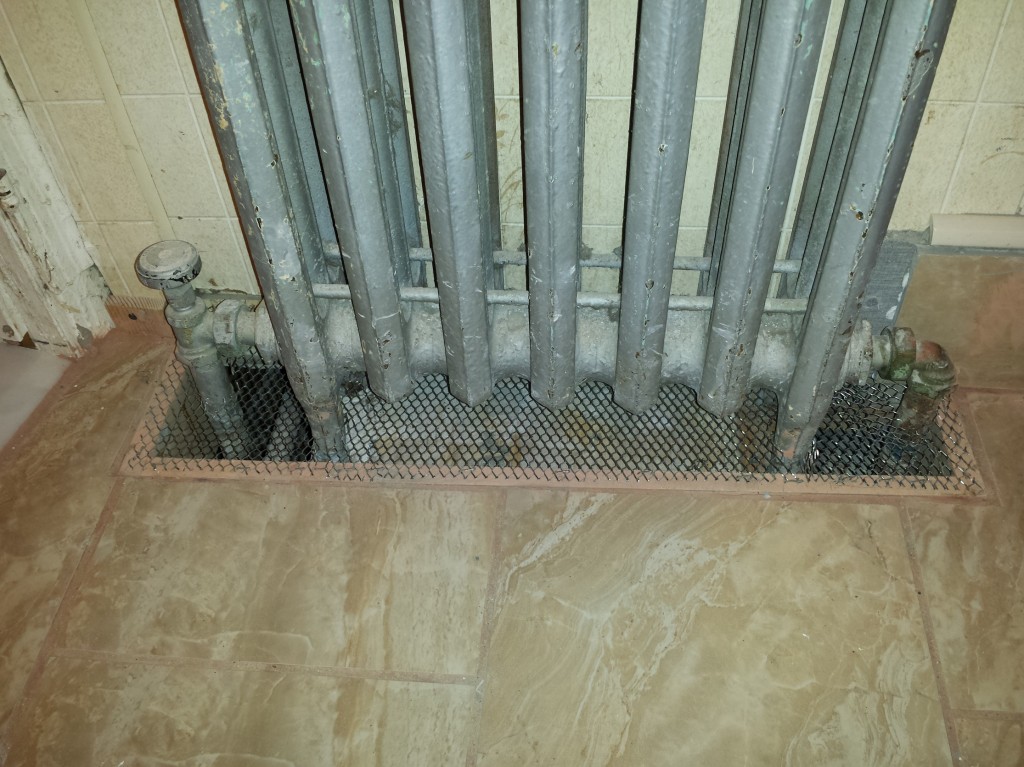
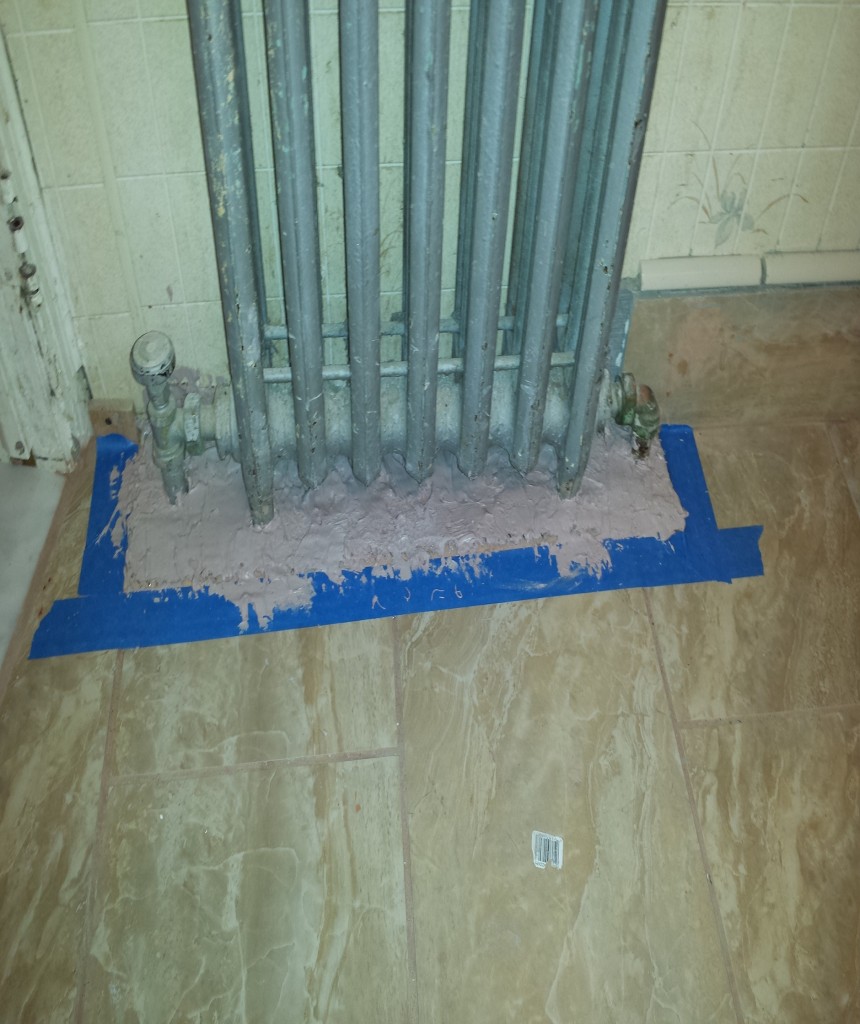
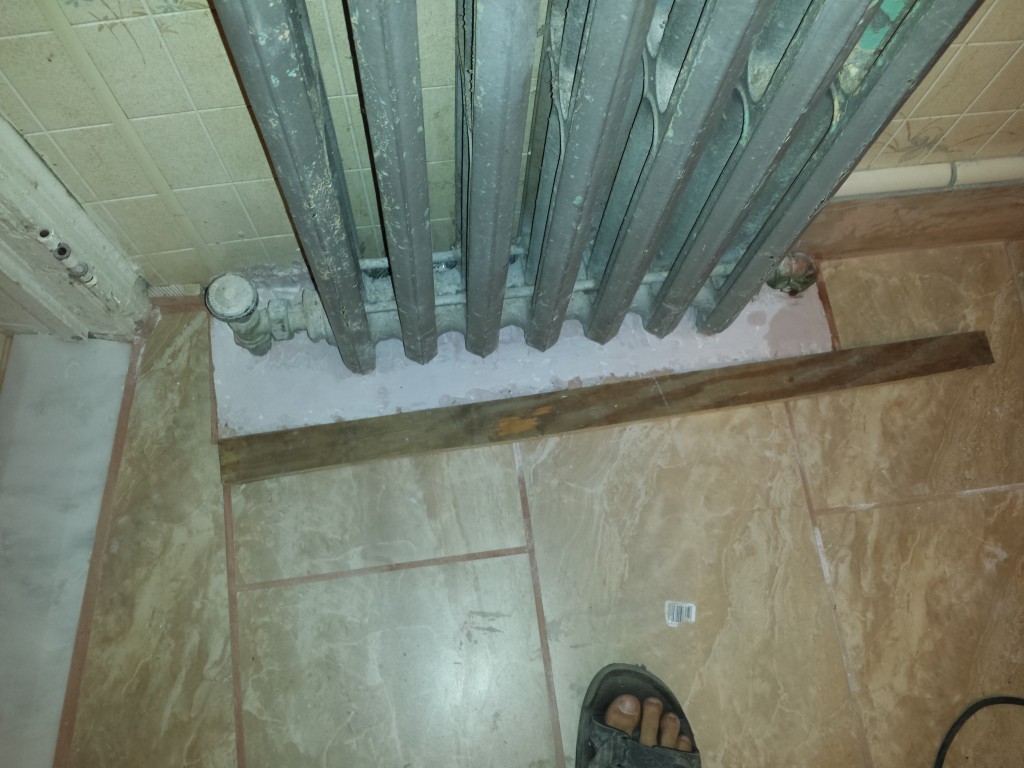
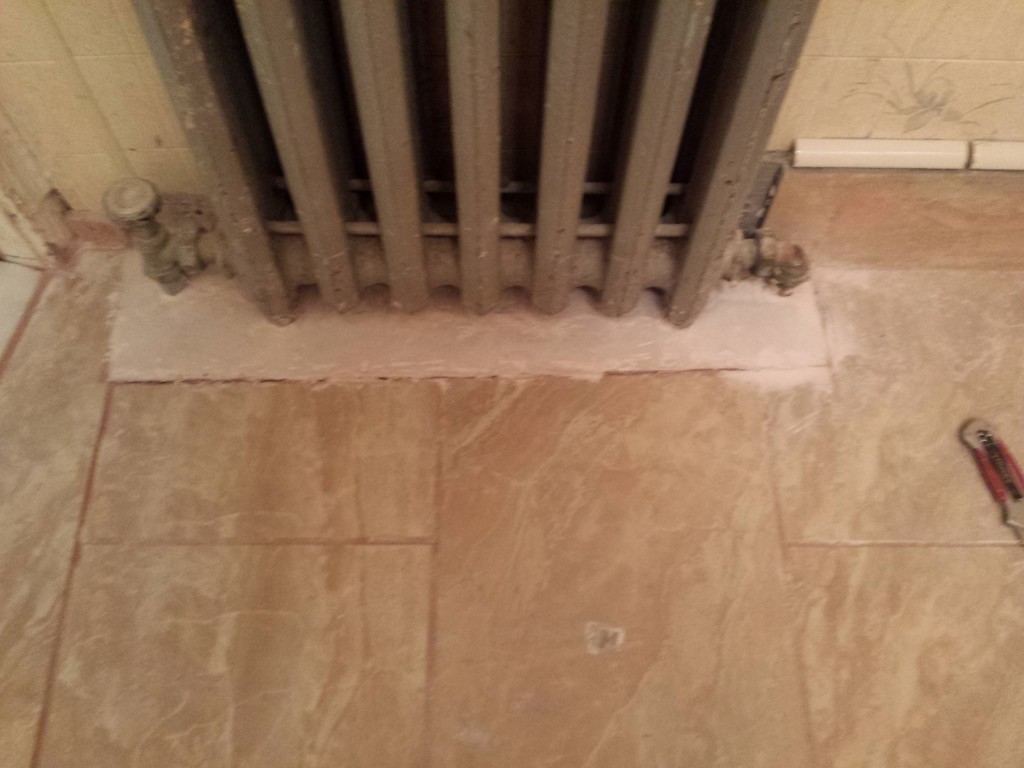
This radiator couldn’t really be moved unless I wanted to drain the entire system (water filled radiator system) and take apart more wall and floor to be able to re-plumb it. That meant that the radiator would have to be set up on a different level than the rest of the finished floor.
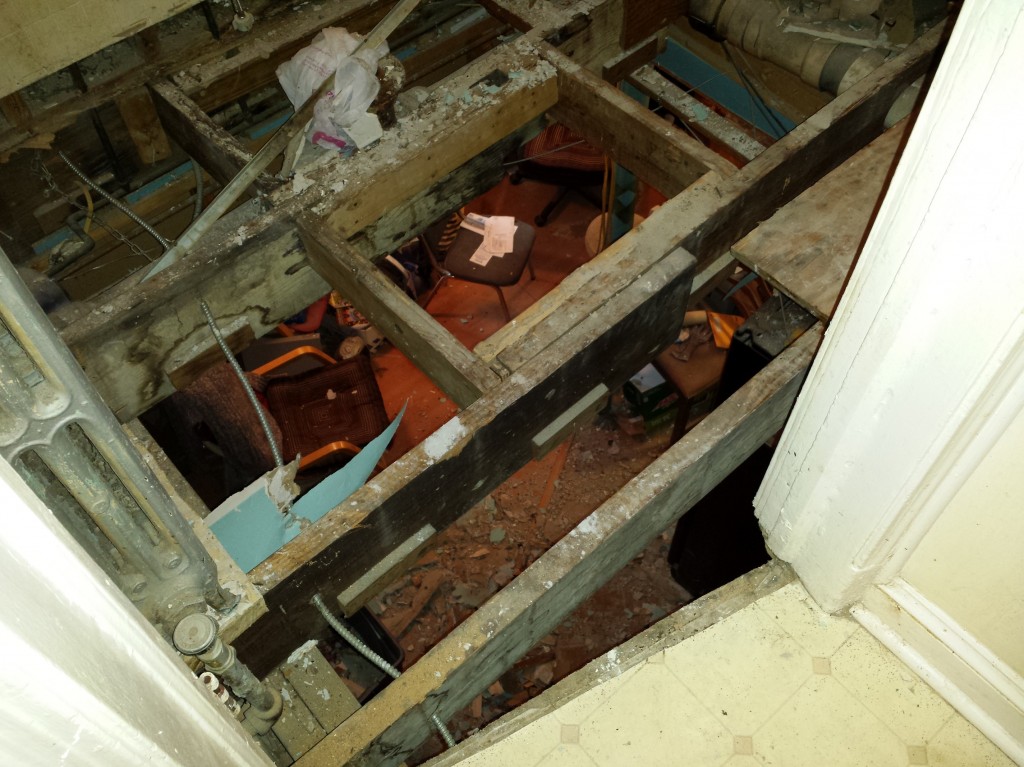
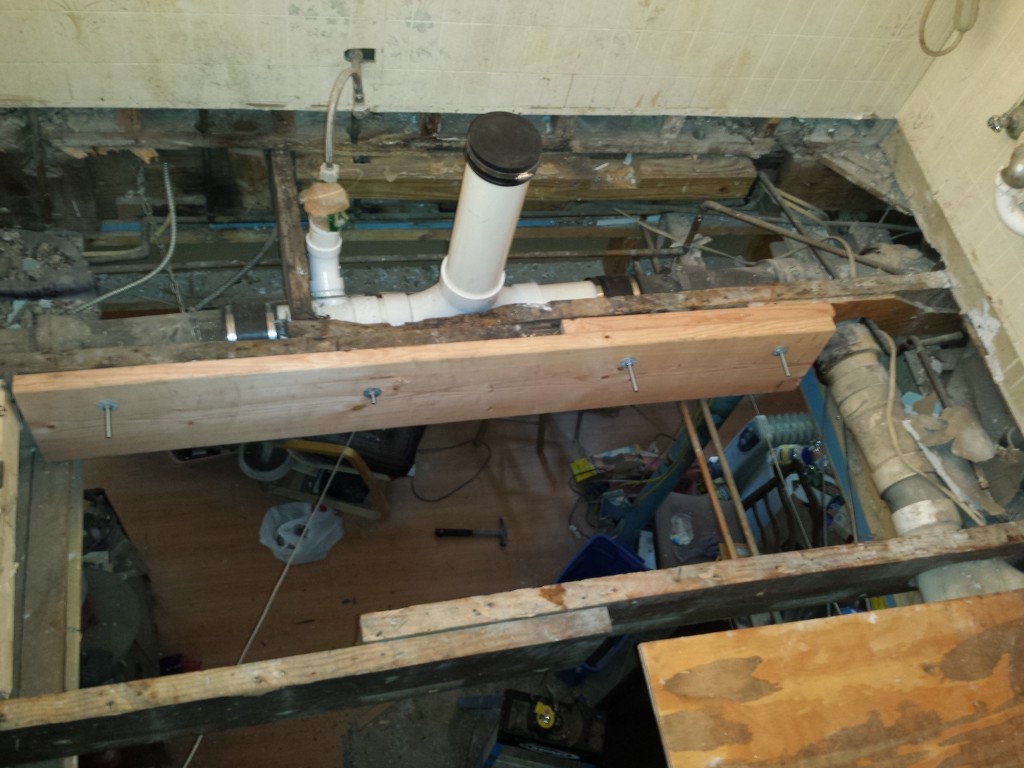
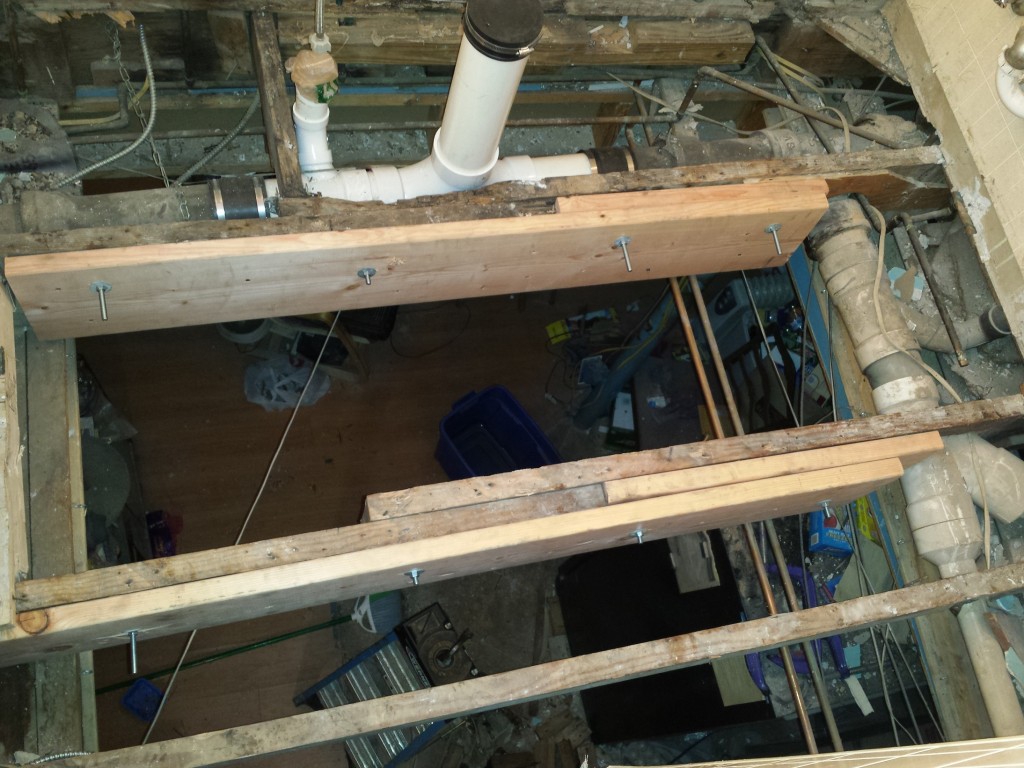
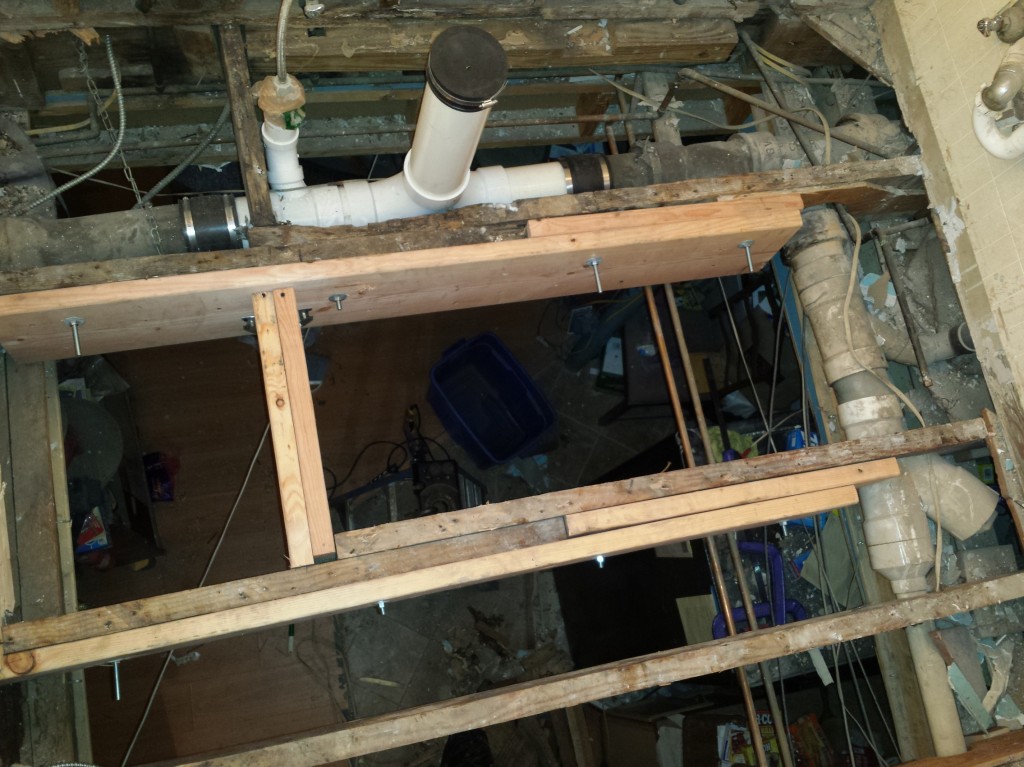
Another problem. Despite the fact that there were I-beams on either side of this bathroom less than 10 feet apart, there were no beams floor beams running accross. Everything was spliced down the middle, with drain lines packed close into the beam area. All the splices were barely nailed together. This floor was going to need allot of work.
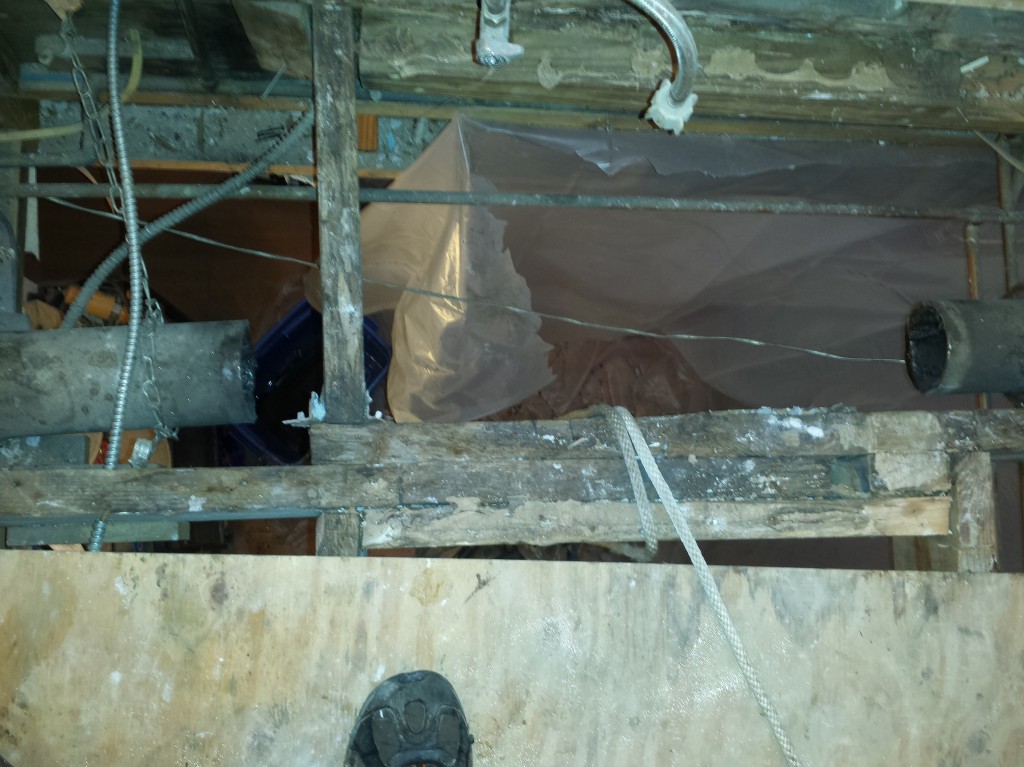
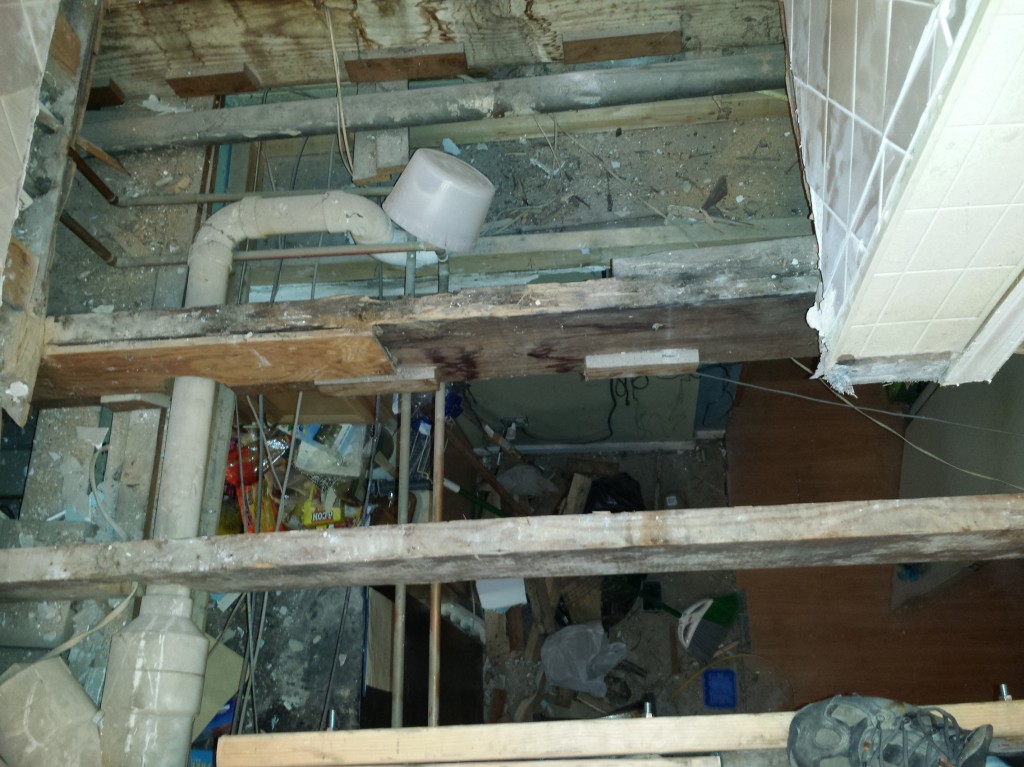
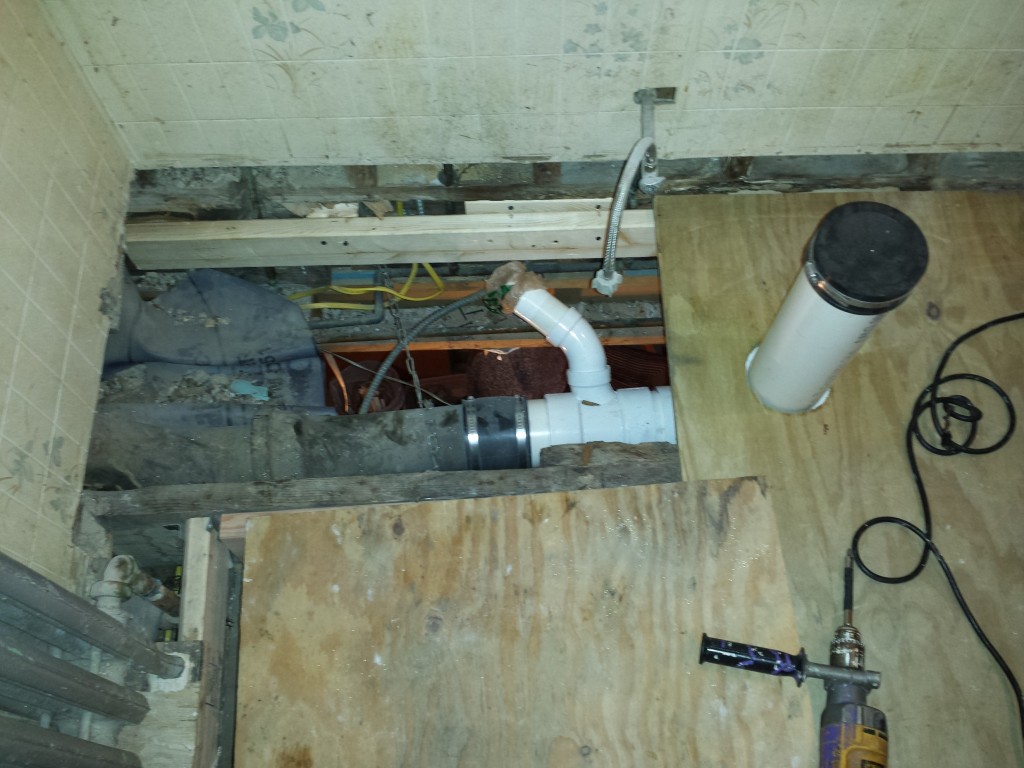
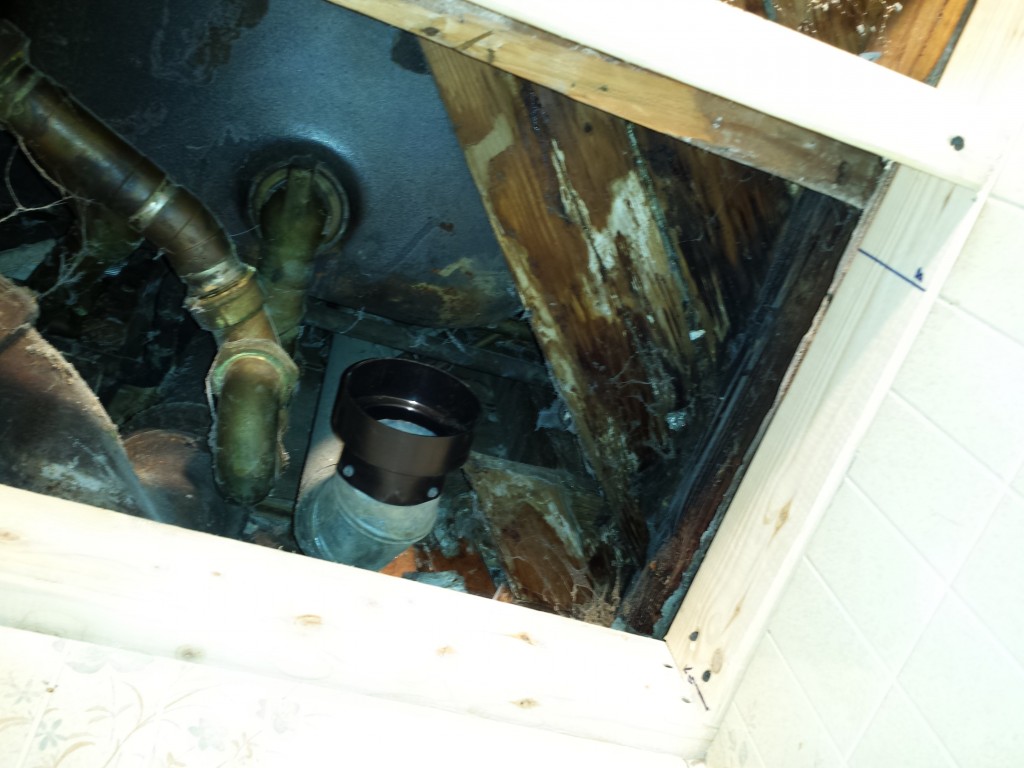
Another problem was the impossibly short distance between the drain lines and the floor. Putting the toilet back in was going to be tricky.
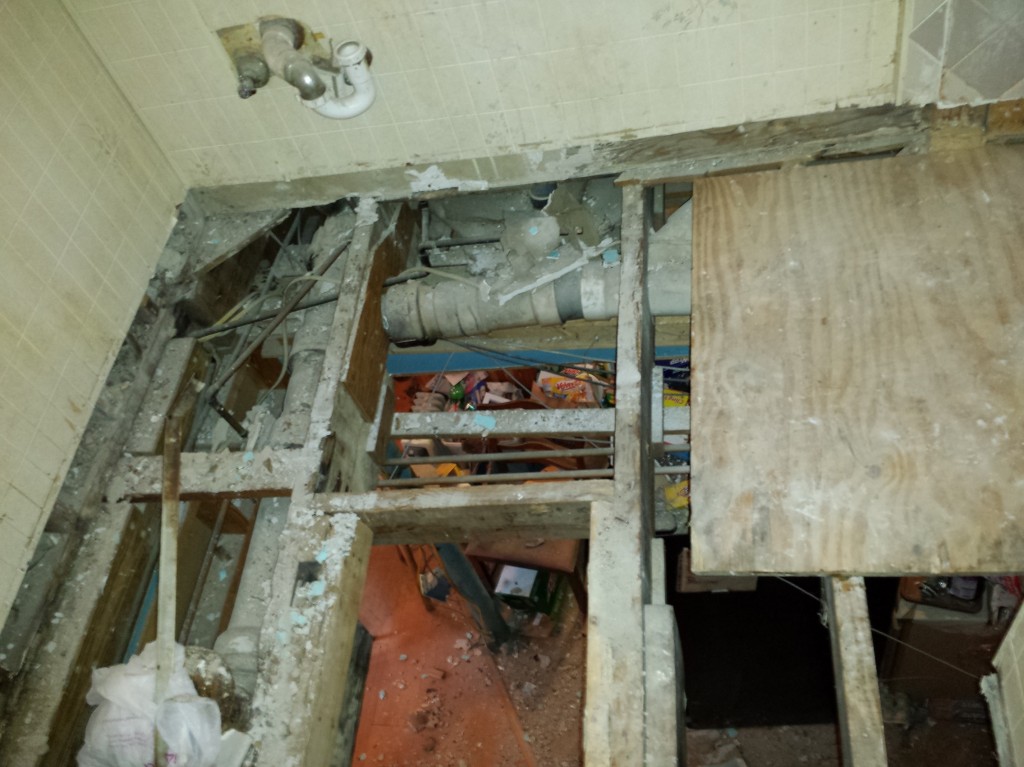
The floor beams were butchered by the drain line you see at the top. I definitely felt the need to do allot of reinforcing.
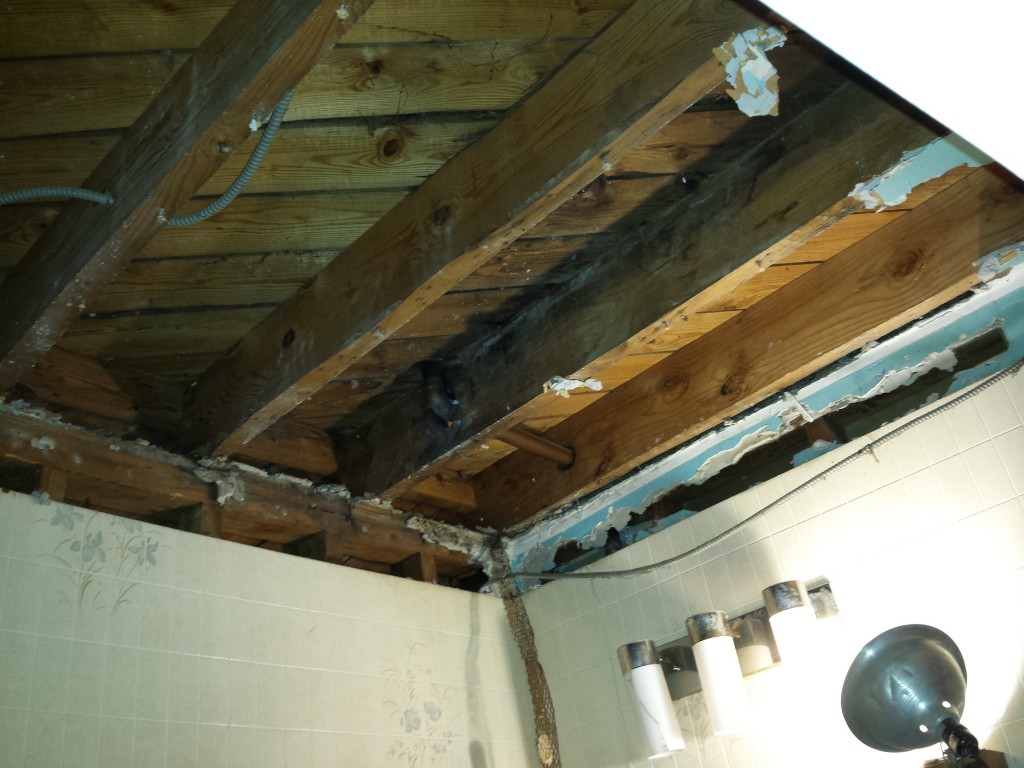
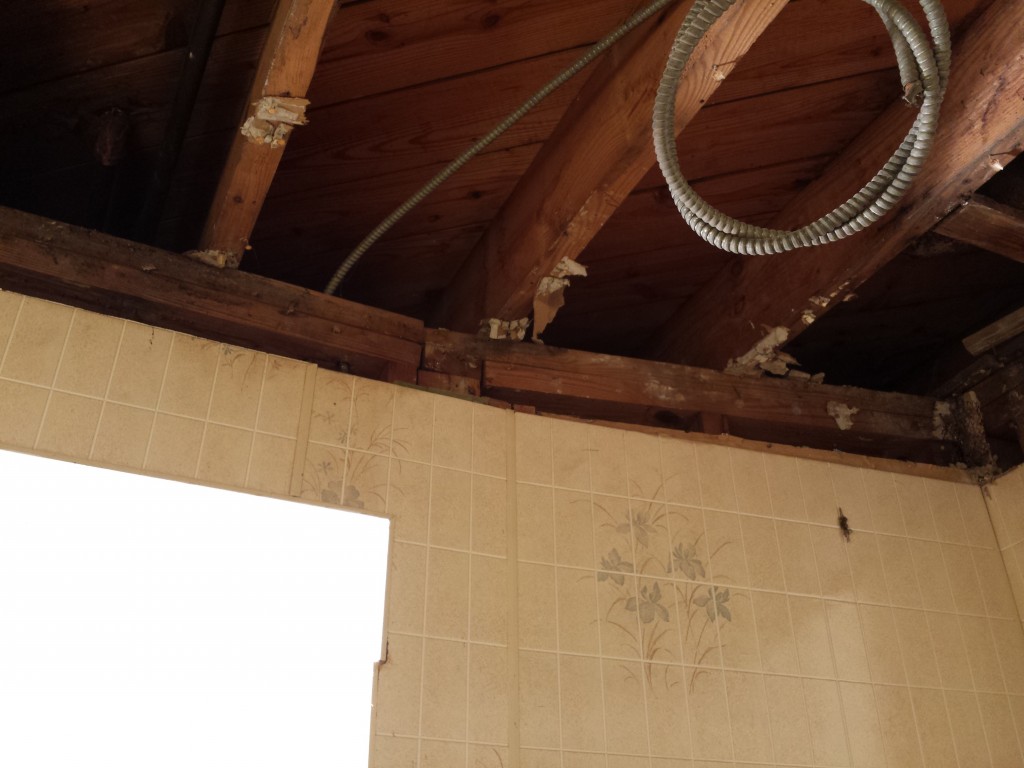
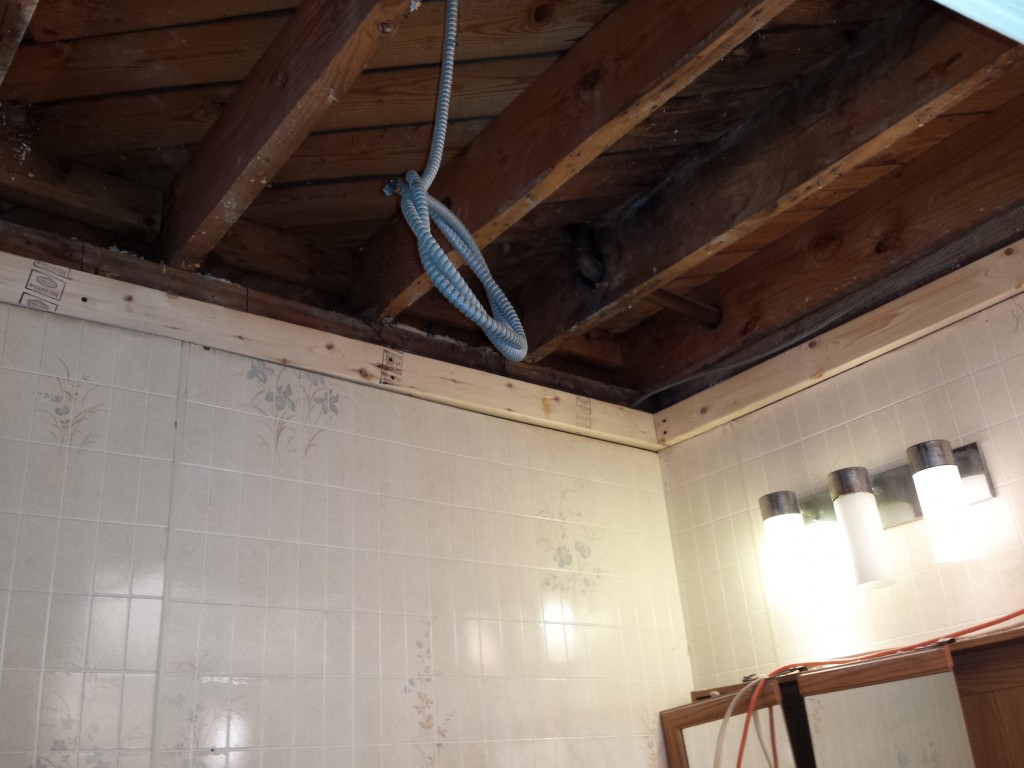
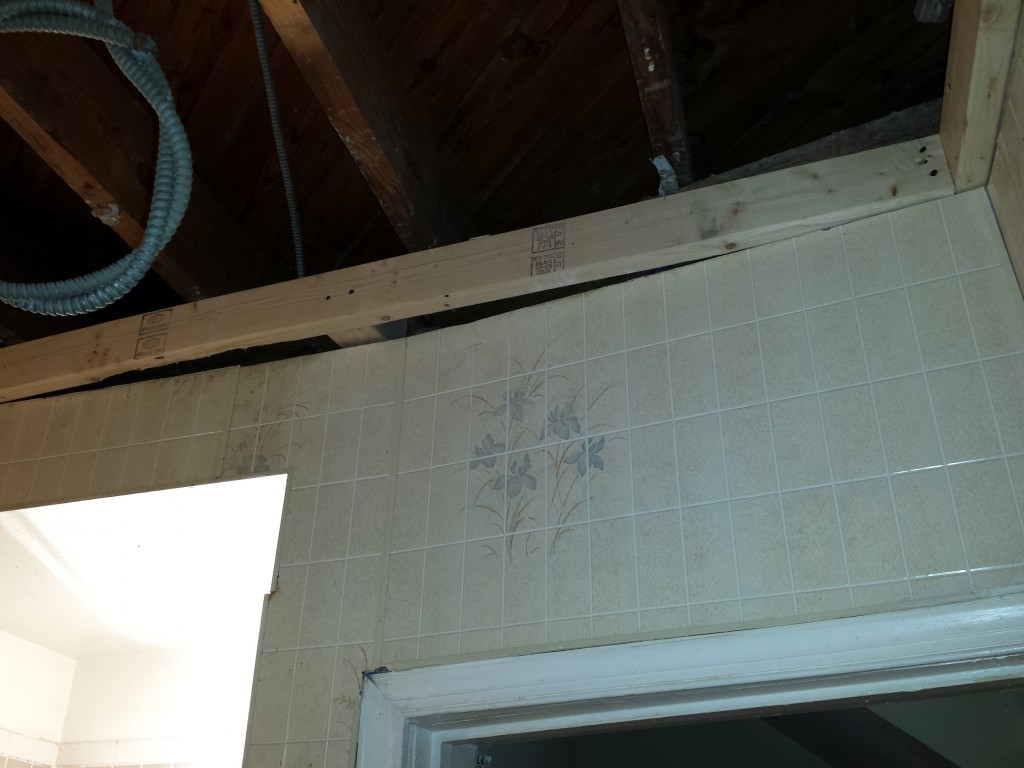
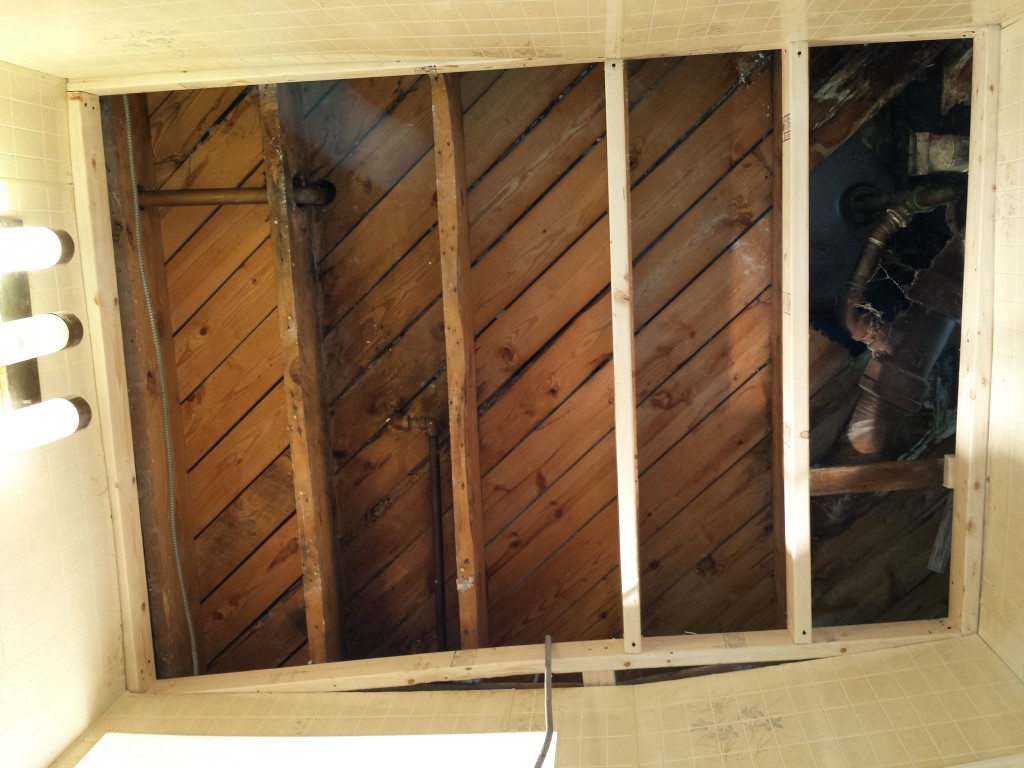
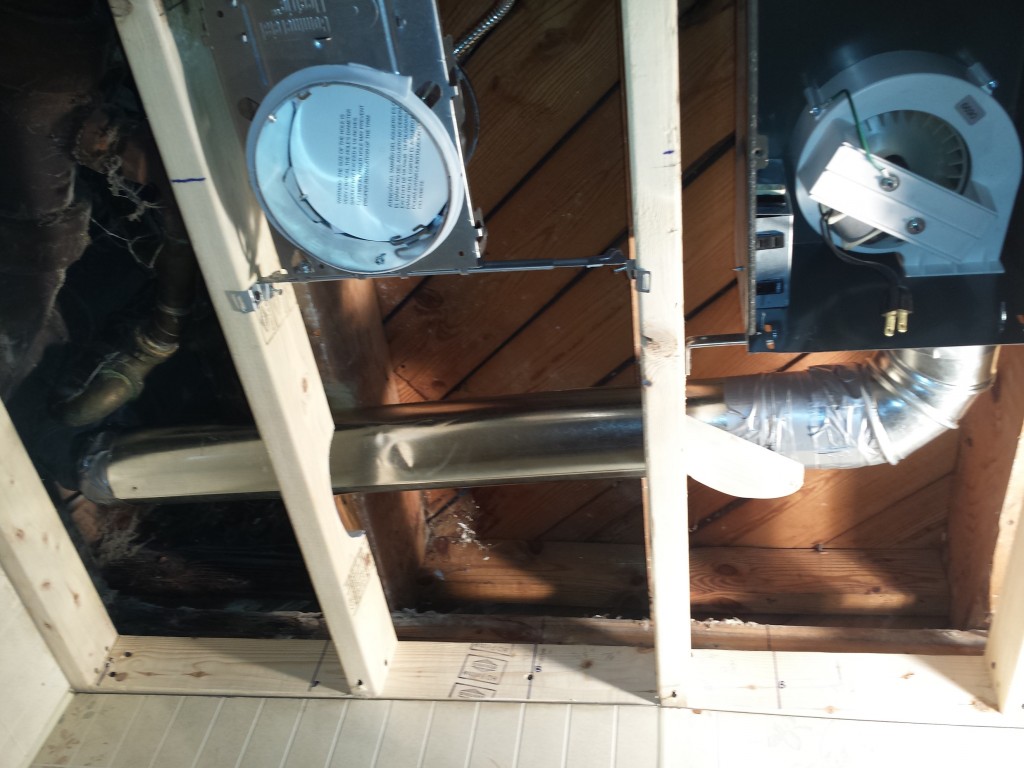
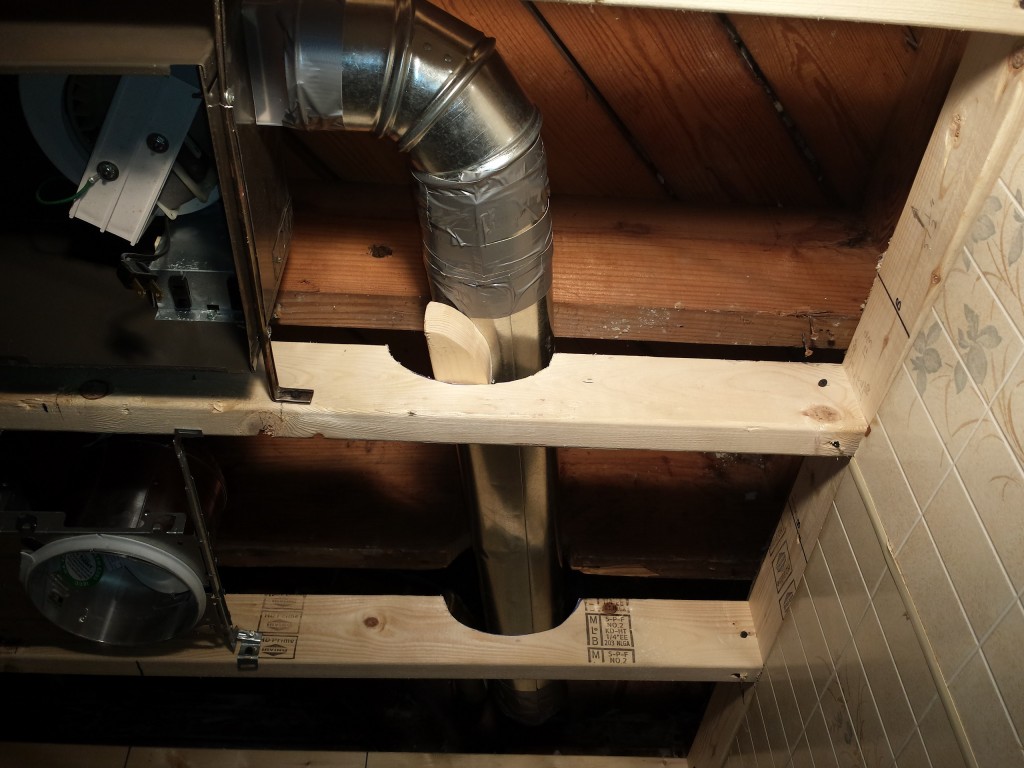
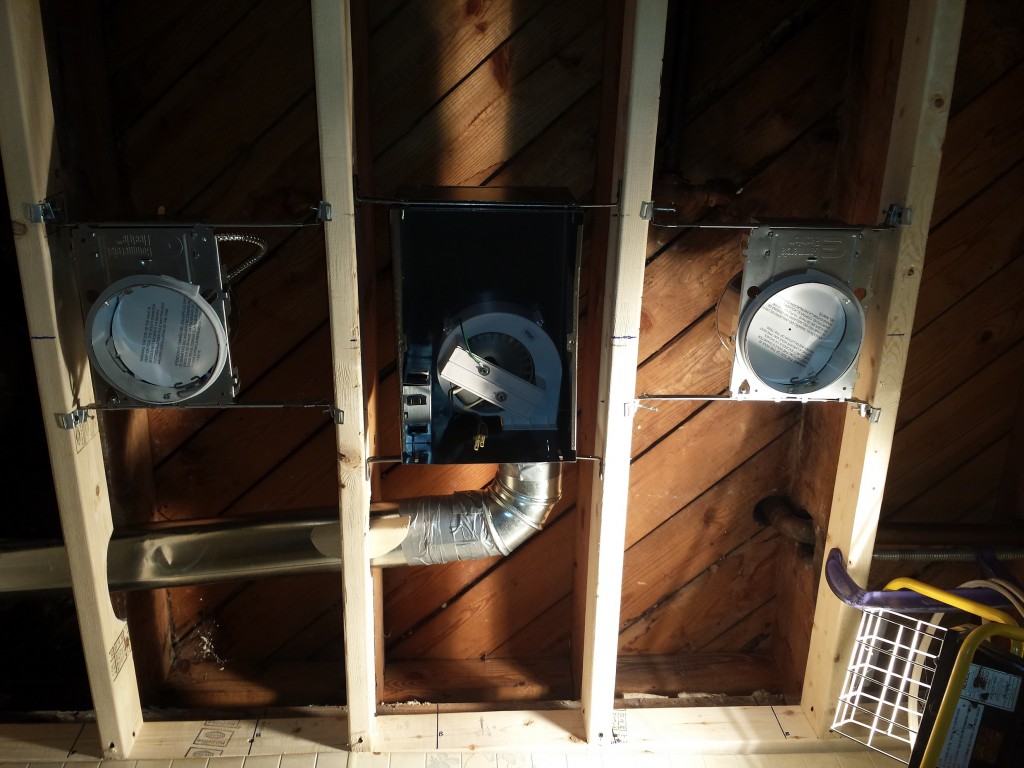
There was a sad old drop ceiling here with an old drywall ceiling above it. After I removed everything, I found an old ceiling fan and exhaust duct covered up that I could use to pipe in a new swanky ceiling fan/heater/light combo.

If you are going to splice beams together, they should always be bolted in addition to any screws you use. These old ones had just a few nails when I started, and around the toilet area, everything was rotted.
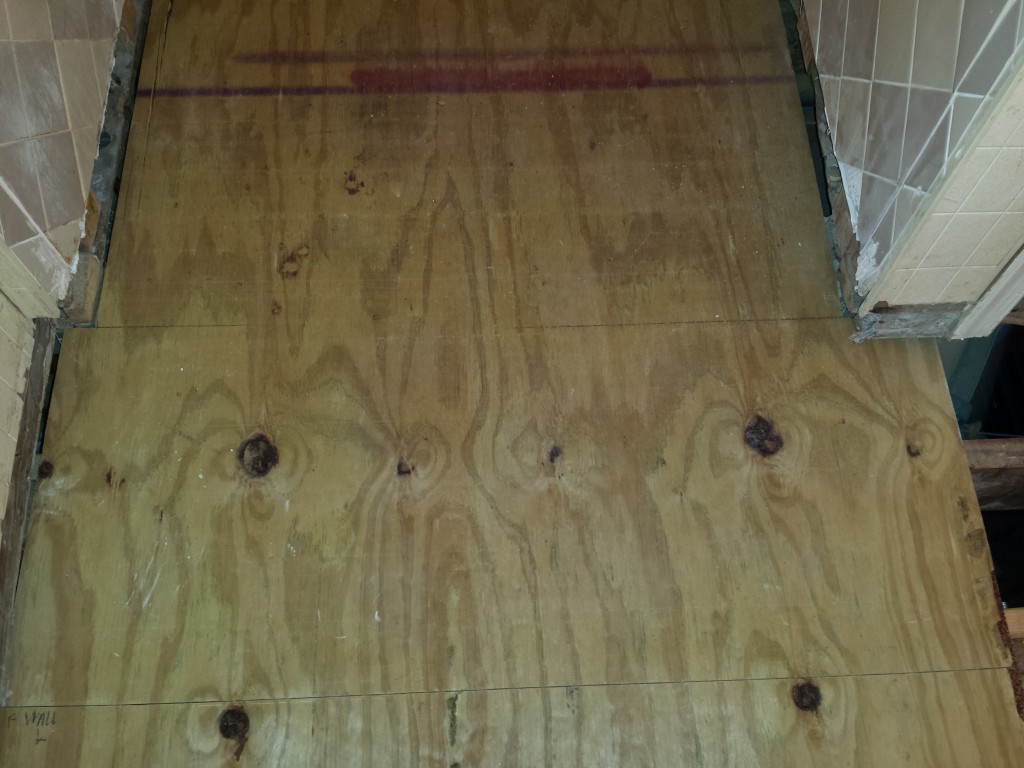
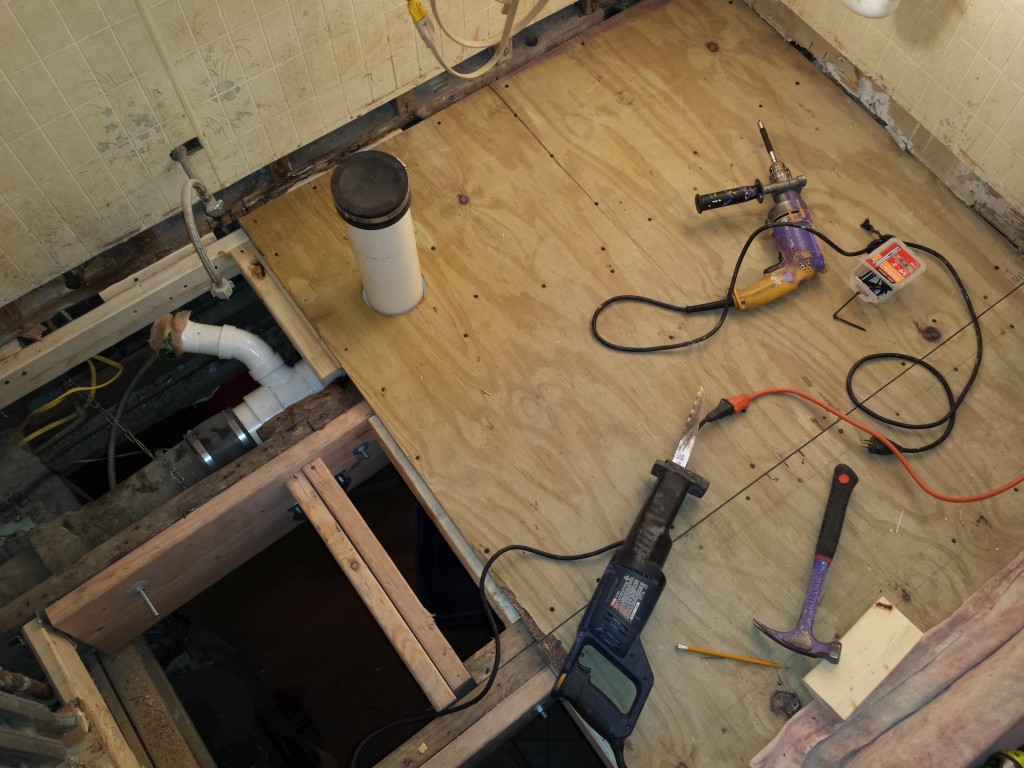
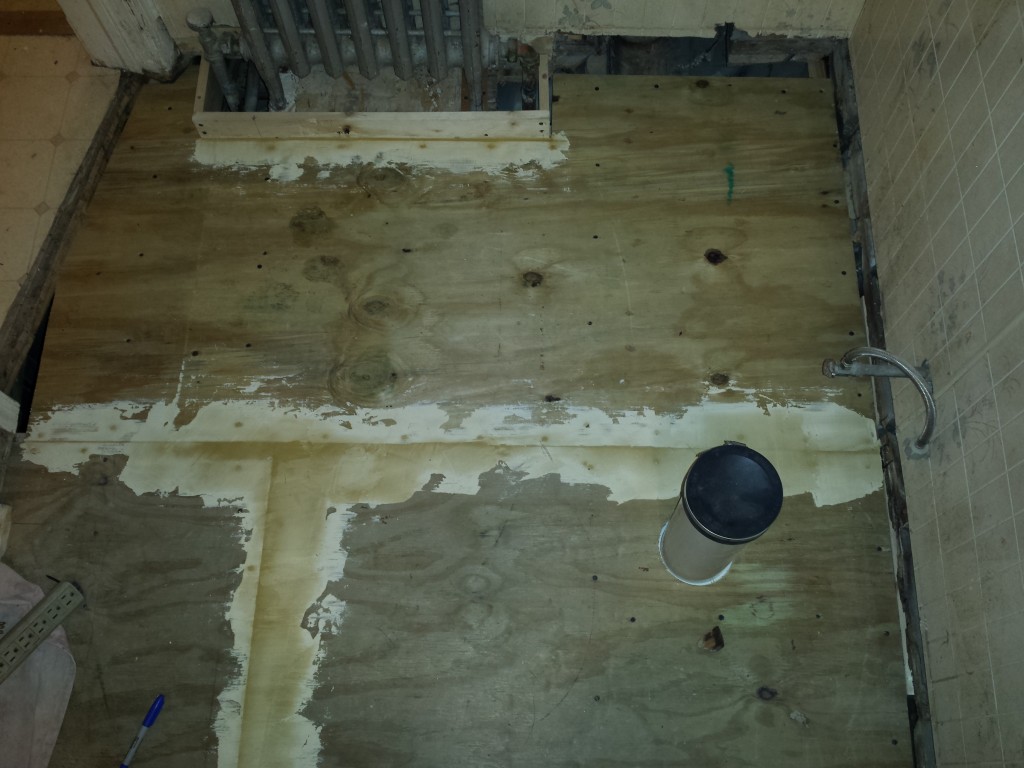
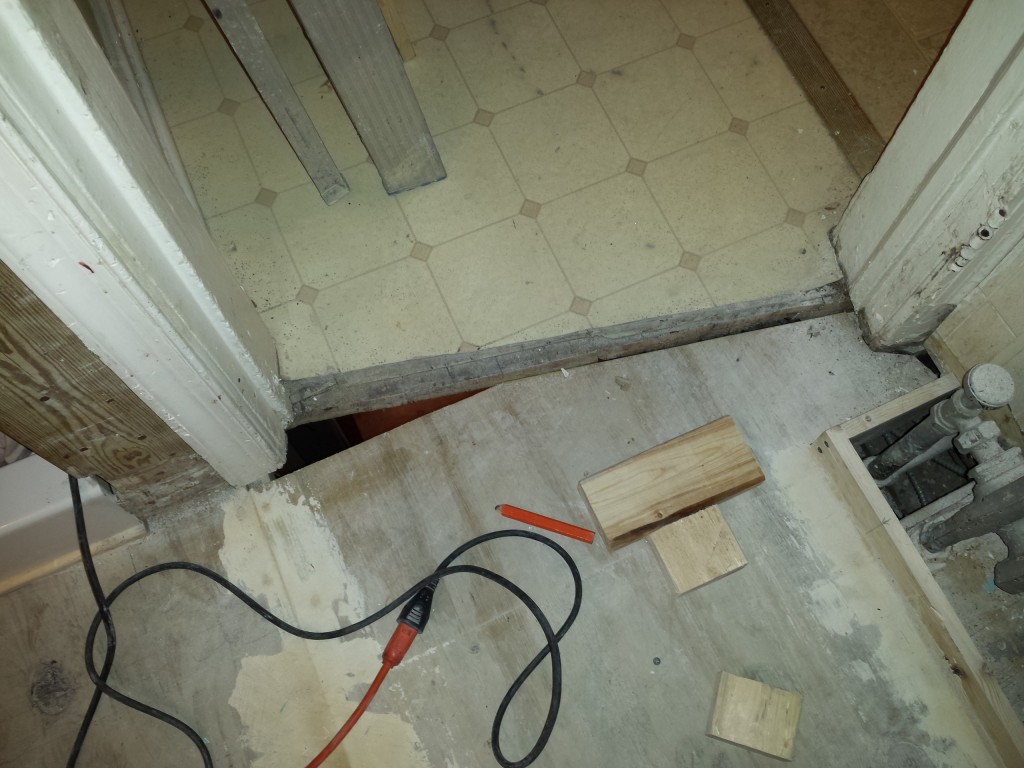
My first piece of pressure treated plywood sub-flooring fit perfectly, but couldn’t physically be installed in one whole piece. You see here where it had to be cut so that could be screwed down to beams.

This picture reveals another problem that will have to fixed after we get the apartment ready for rental. This ‘drain’ line always has a few inches of water in it. I seems, off into the floor where it can’t be seen, that the drain line actually pitches up a bit before in pitches back down again.

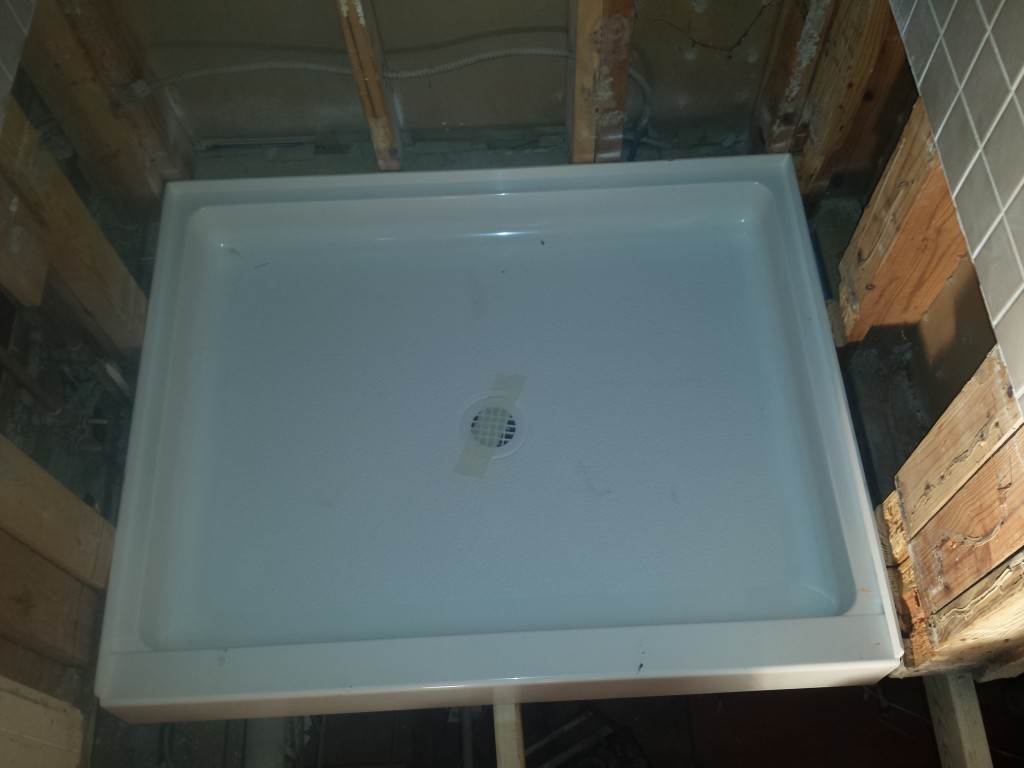
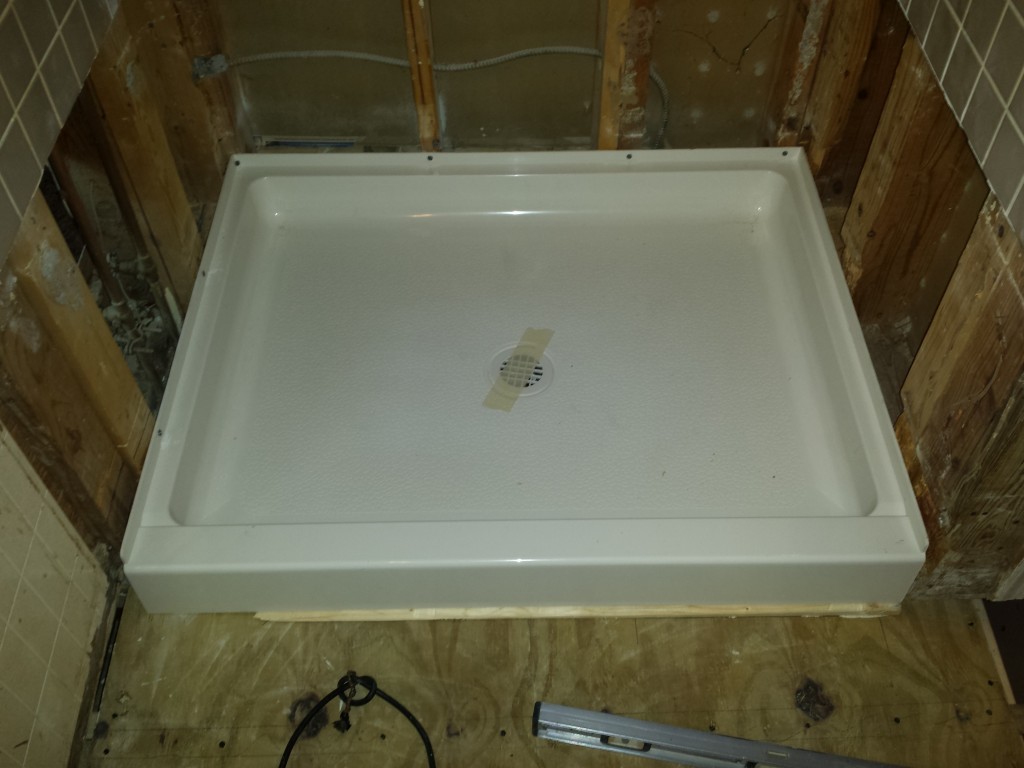
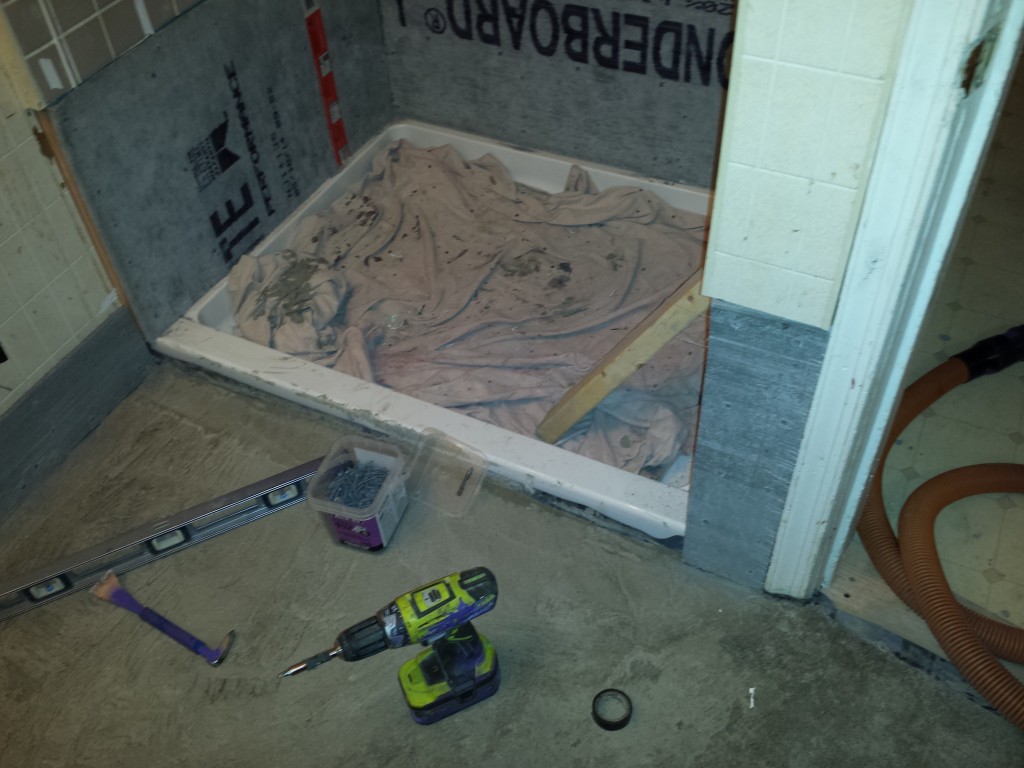
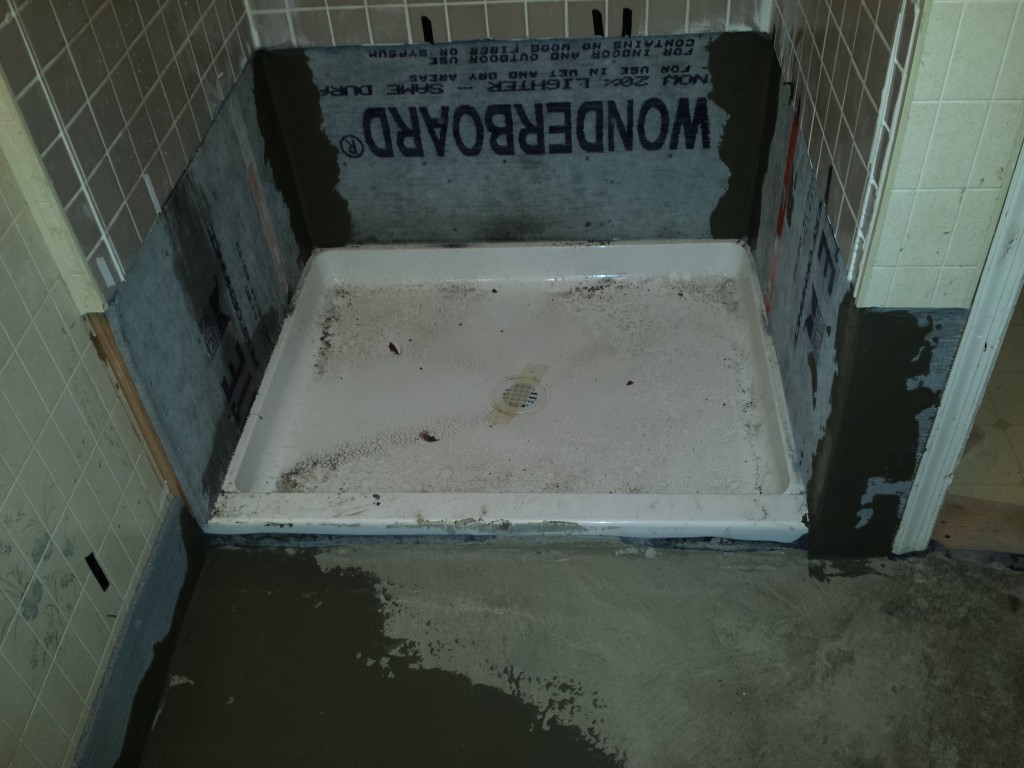
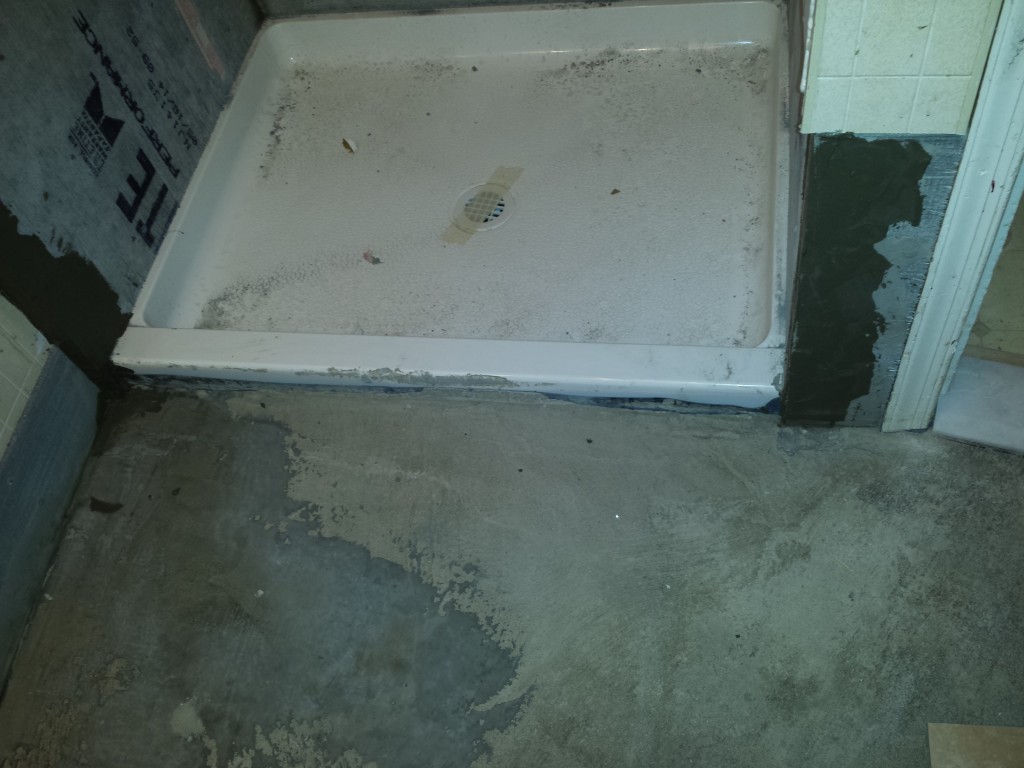
As is in this picture, the new shower pan will not quite fit into the alcove. It was about a 1/4″ to wide.

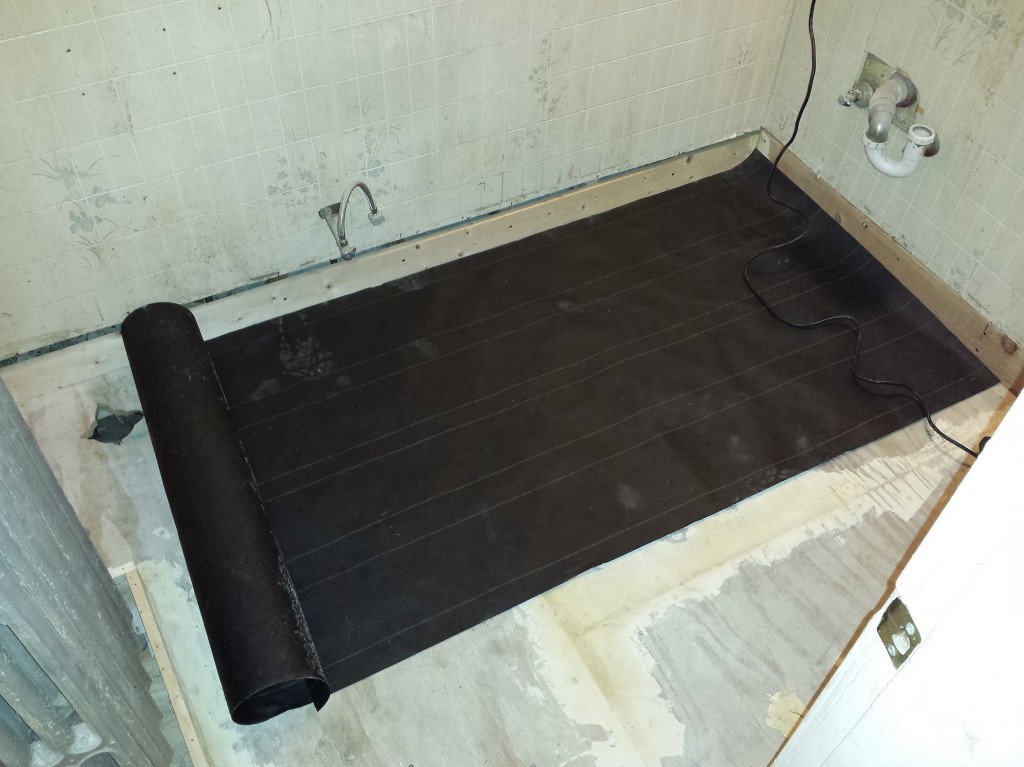
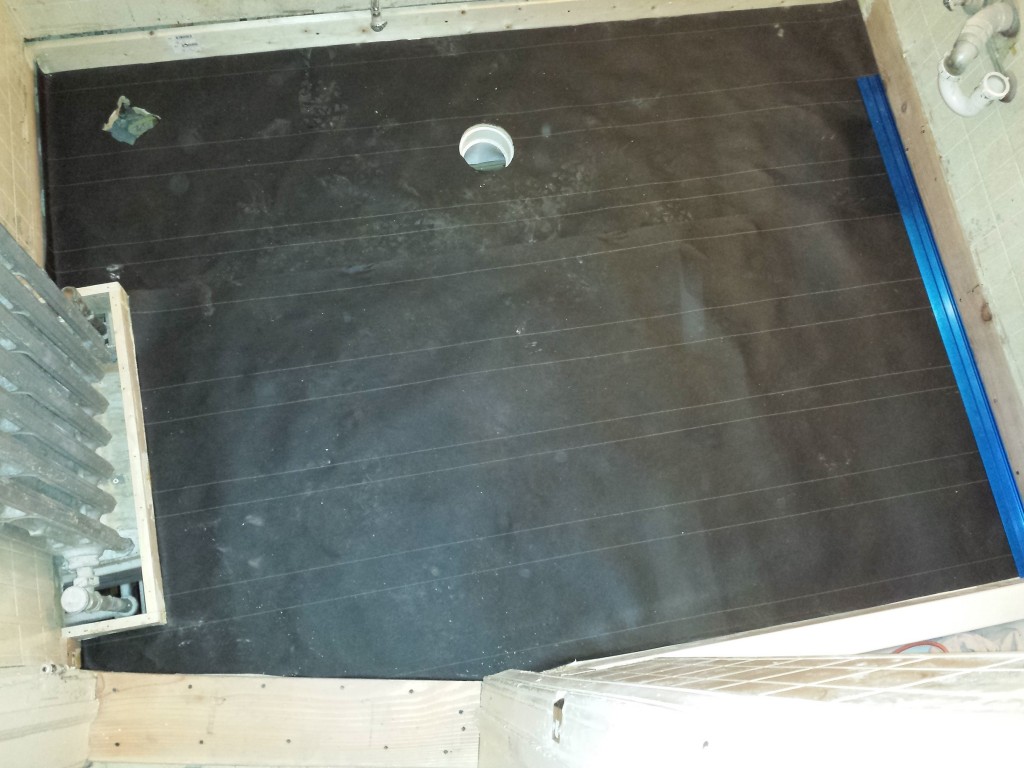
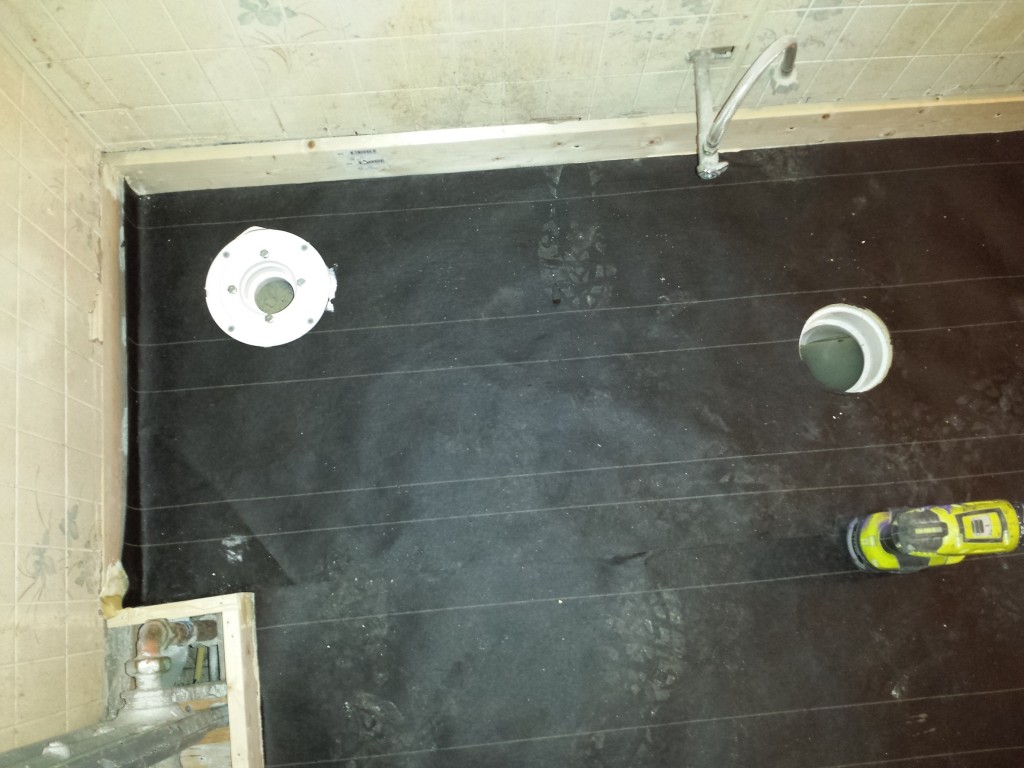
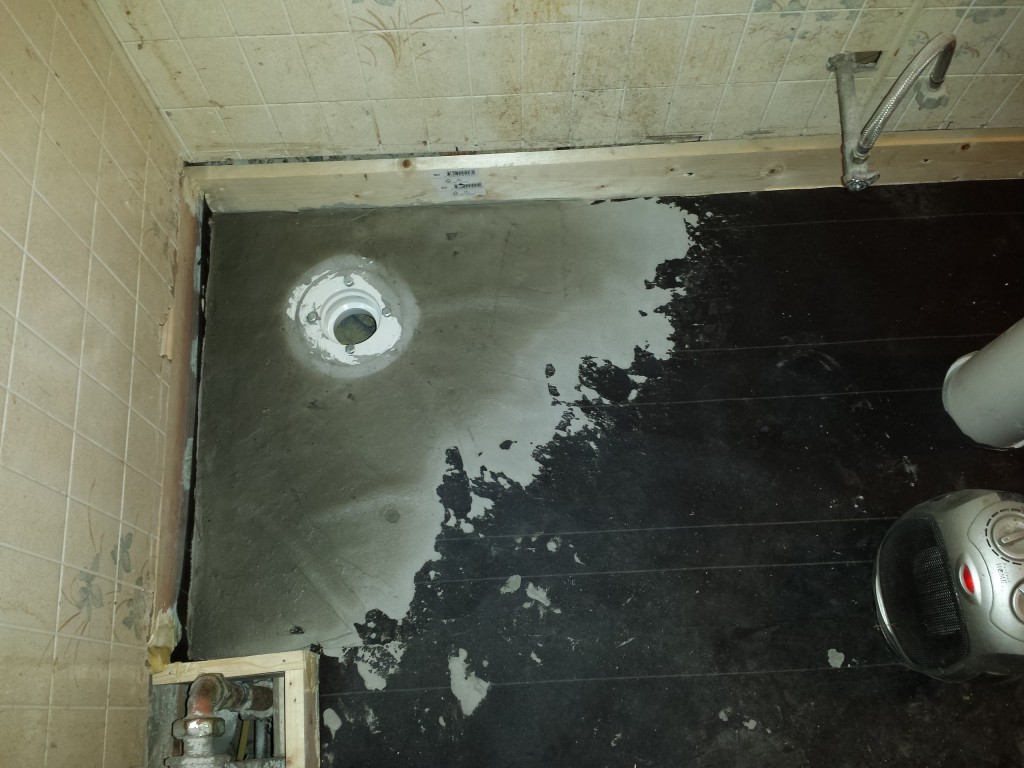
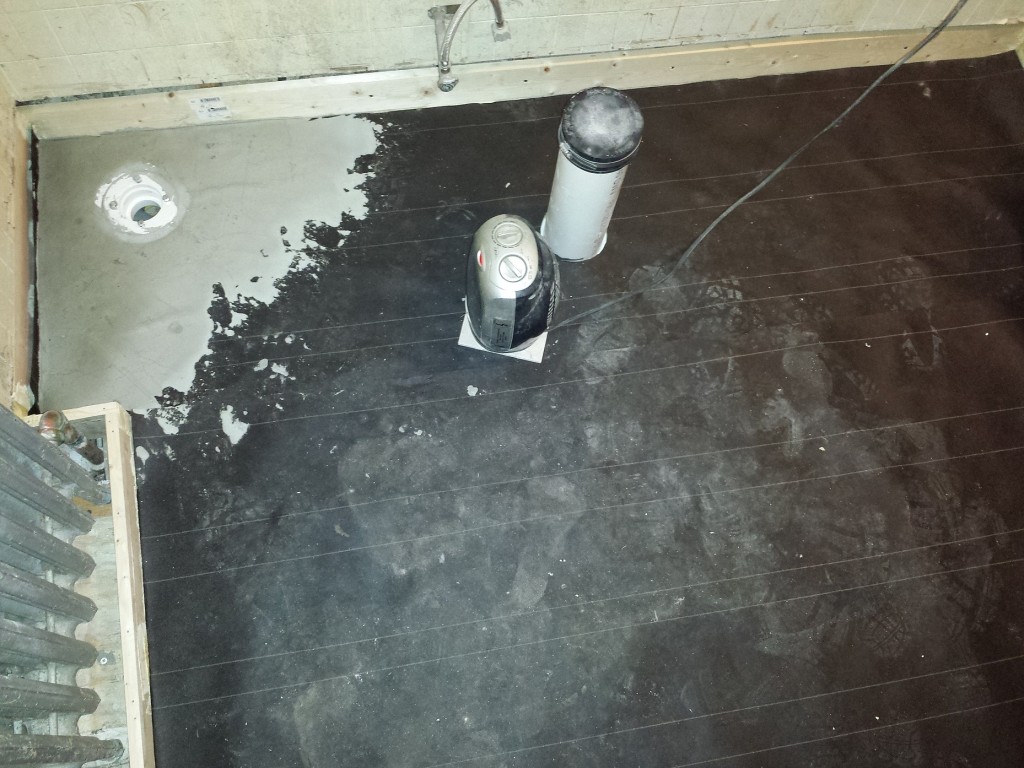
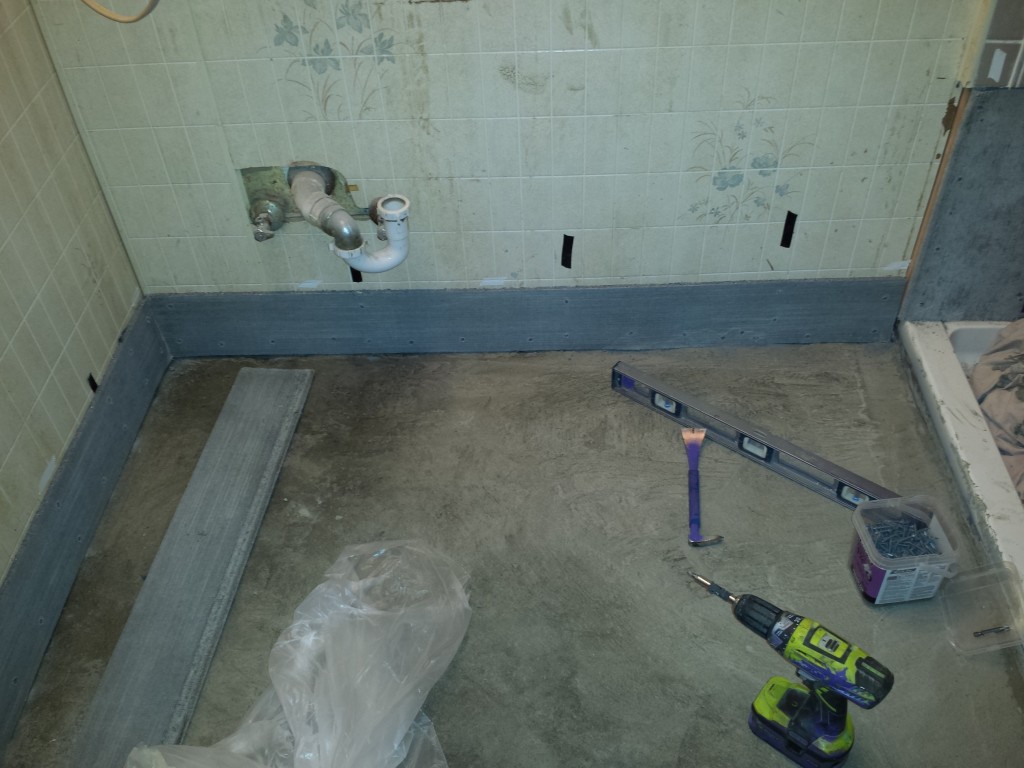
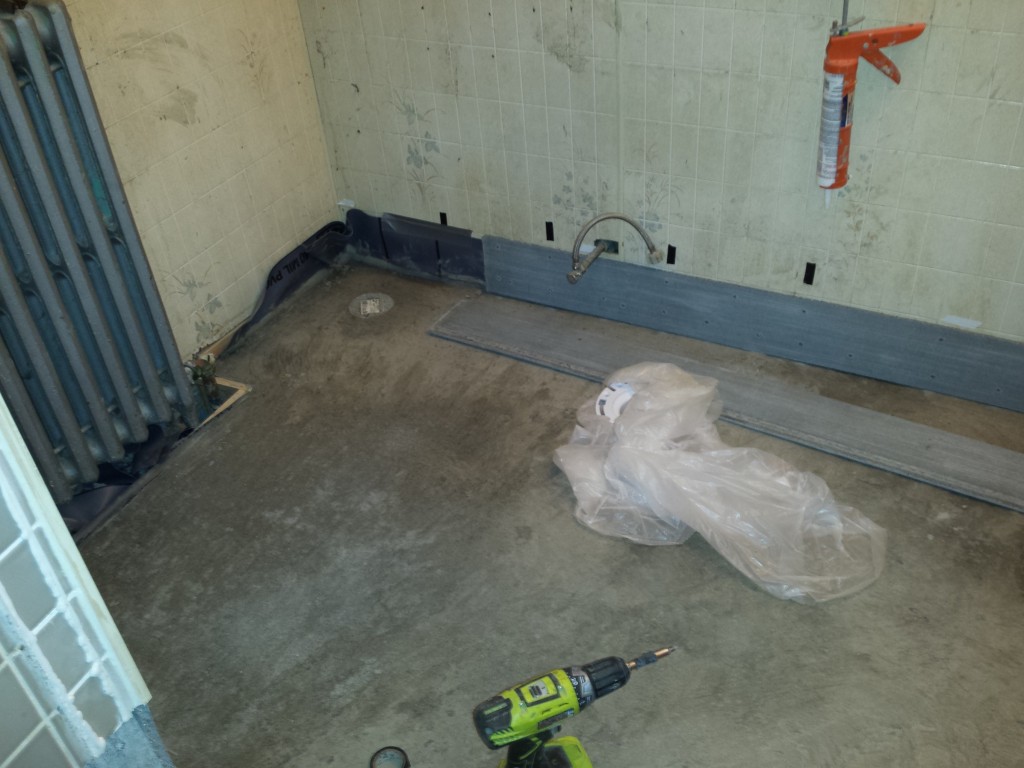
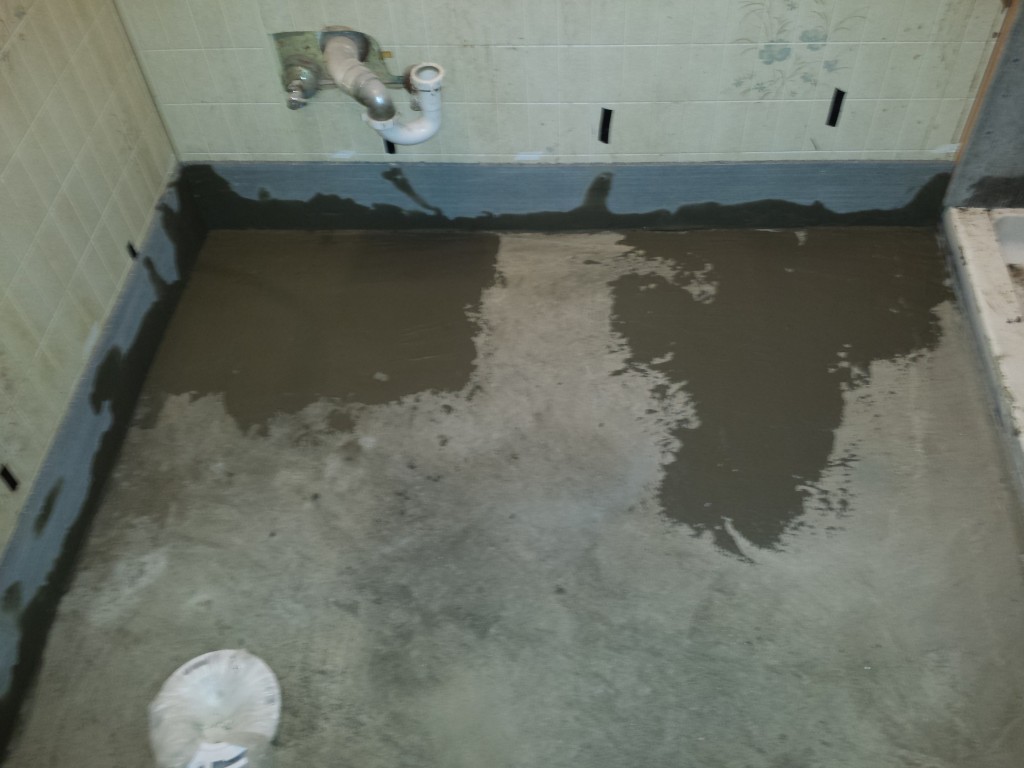
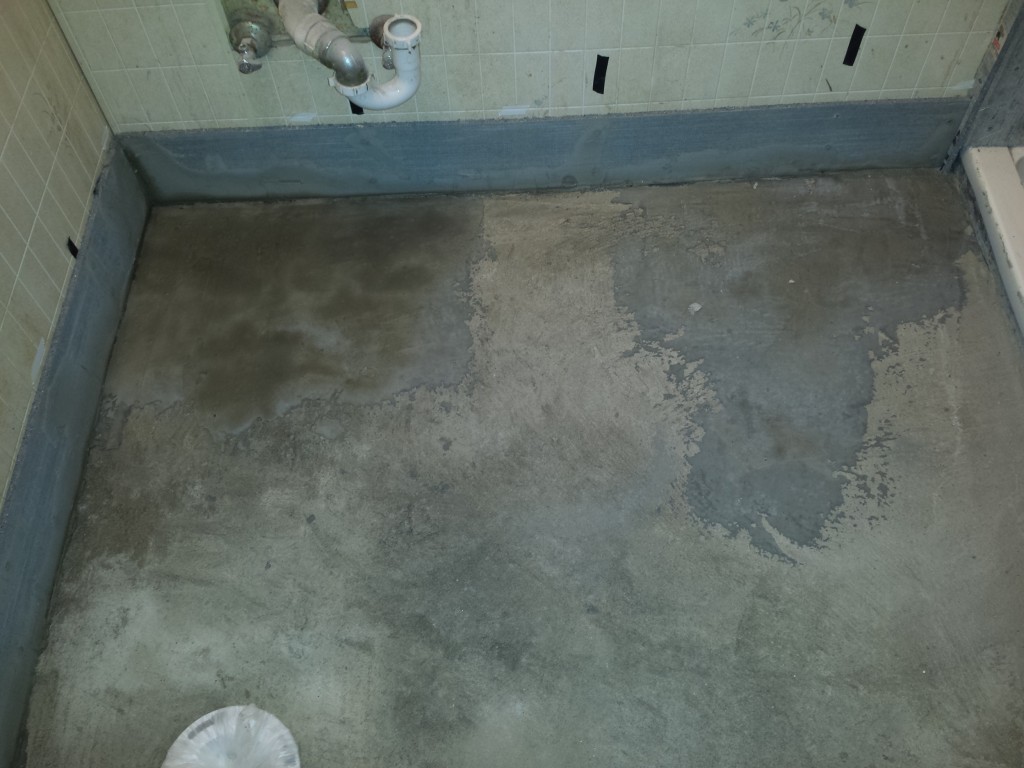
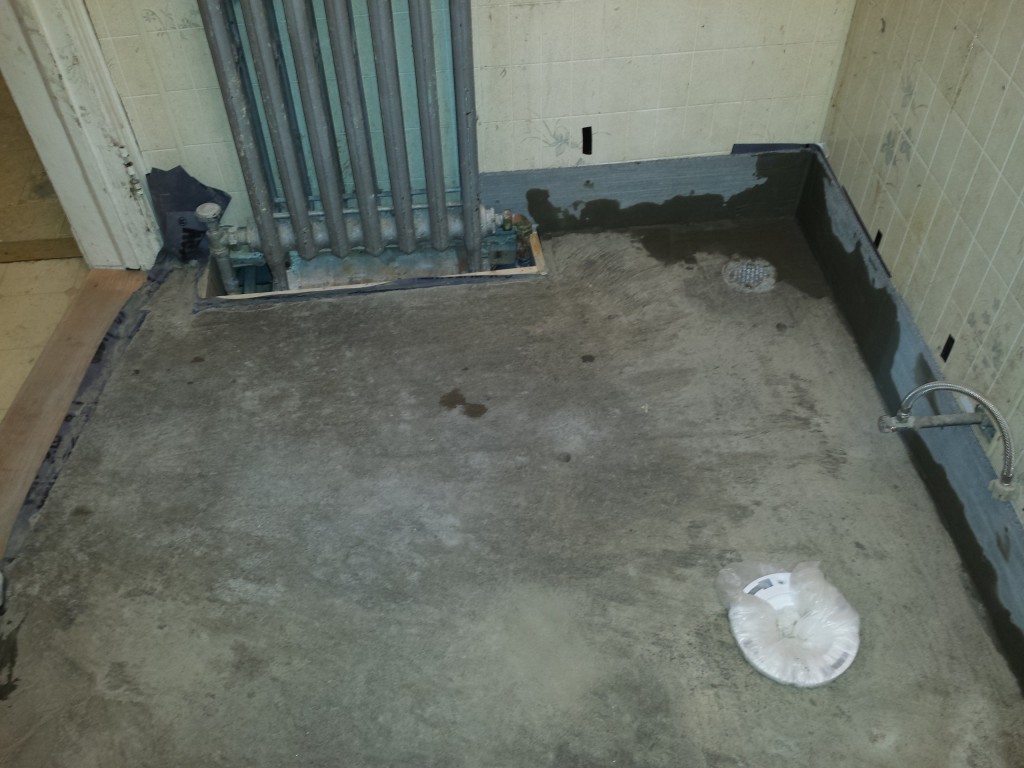
Here is the start of what I called the sand box, which needed to be installed to support the vinyl liner and contain the mortar mix that would build up the floor, and allow for a floor drain.

