This is a backyard chicken coop that I built in Brooklyn. A year later it is still undergoing advancements and upgrades as the inspiration hits. We built this chicken coop to be very long lived, and with every emenity we think a chicken could want. The frame of the coop is built entirely out of cedar wood that was left over from a purchase 5 years earlier when the grape trellis you will see about the coop, was built. The house part of the coop has walls made of tongue and groove board that came off of the ceiling of the basement during improvements down there. We put a cement board floor in the house so that we could potentially heat the coop with bulbs from below the floor. I didn’t start taking pictures of the coop until we go to this first picture.
At this point we hadn’t decided what sort of door or closure would be finishing the ‘house’ part of the chicken coop. Heck, we hadn’t decided what material to use for the floor yet.

At this point we hadn’t got around to figuring out the roof yet either.
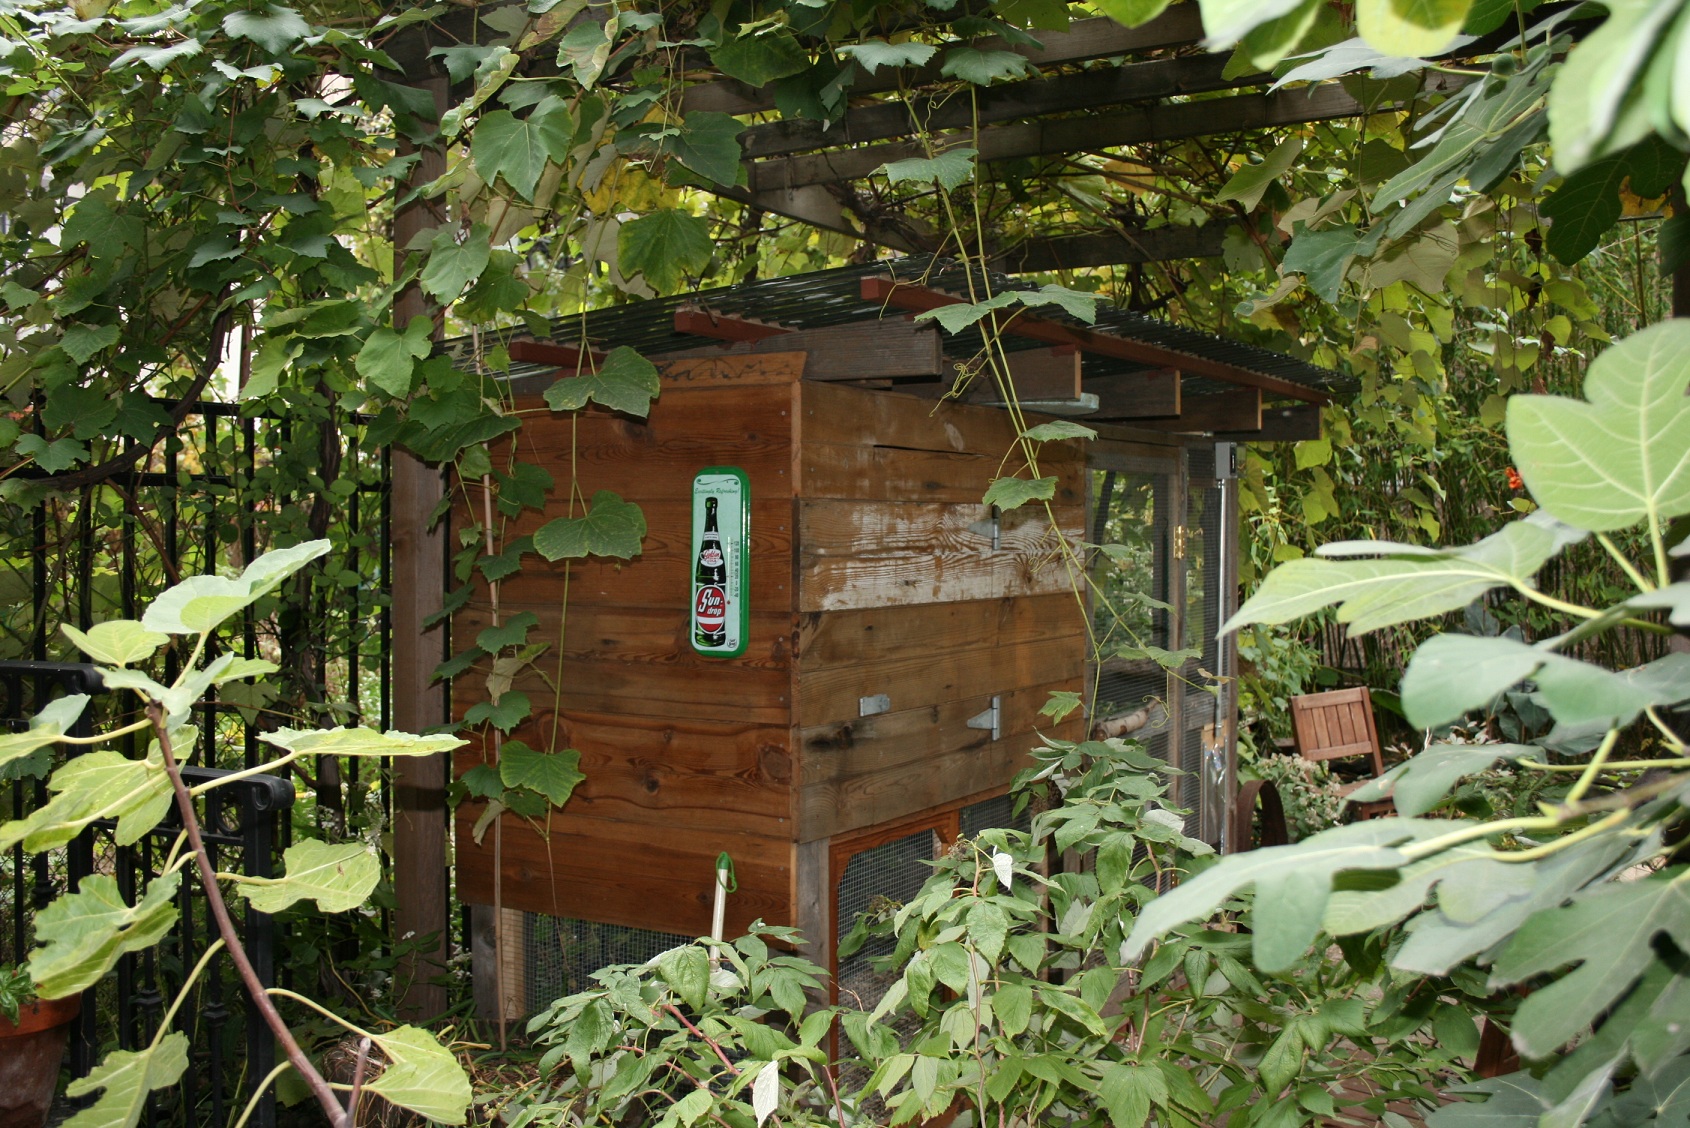
This is my first shot after I finished putting the roof on the house. It is a smoky translucent corrugated plastic that provideslight but some UV protection as well.
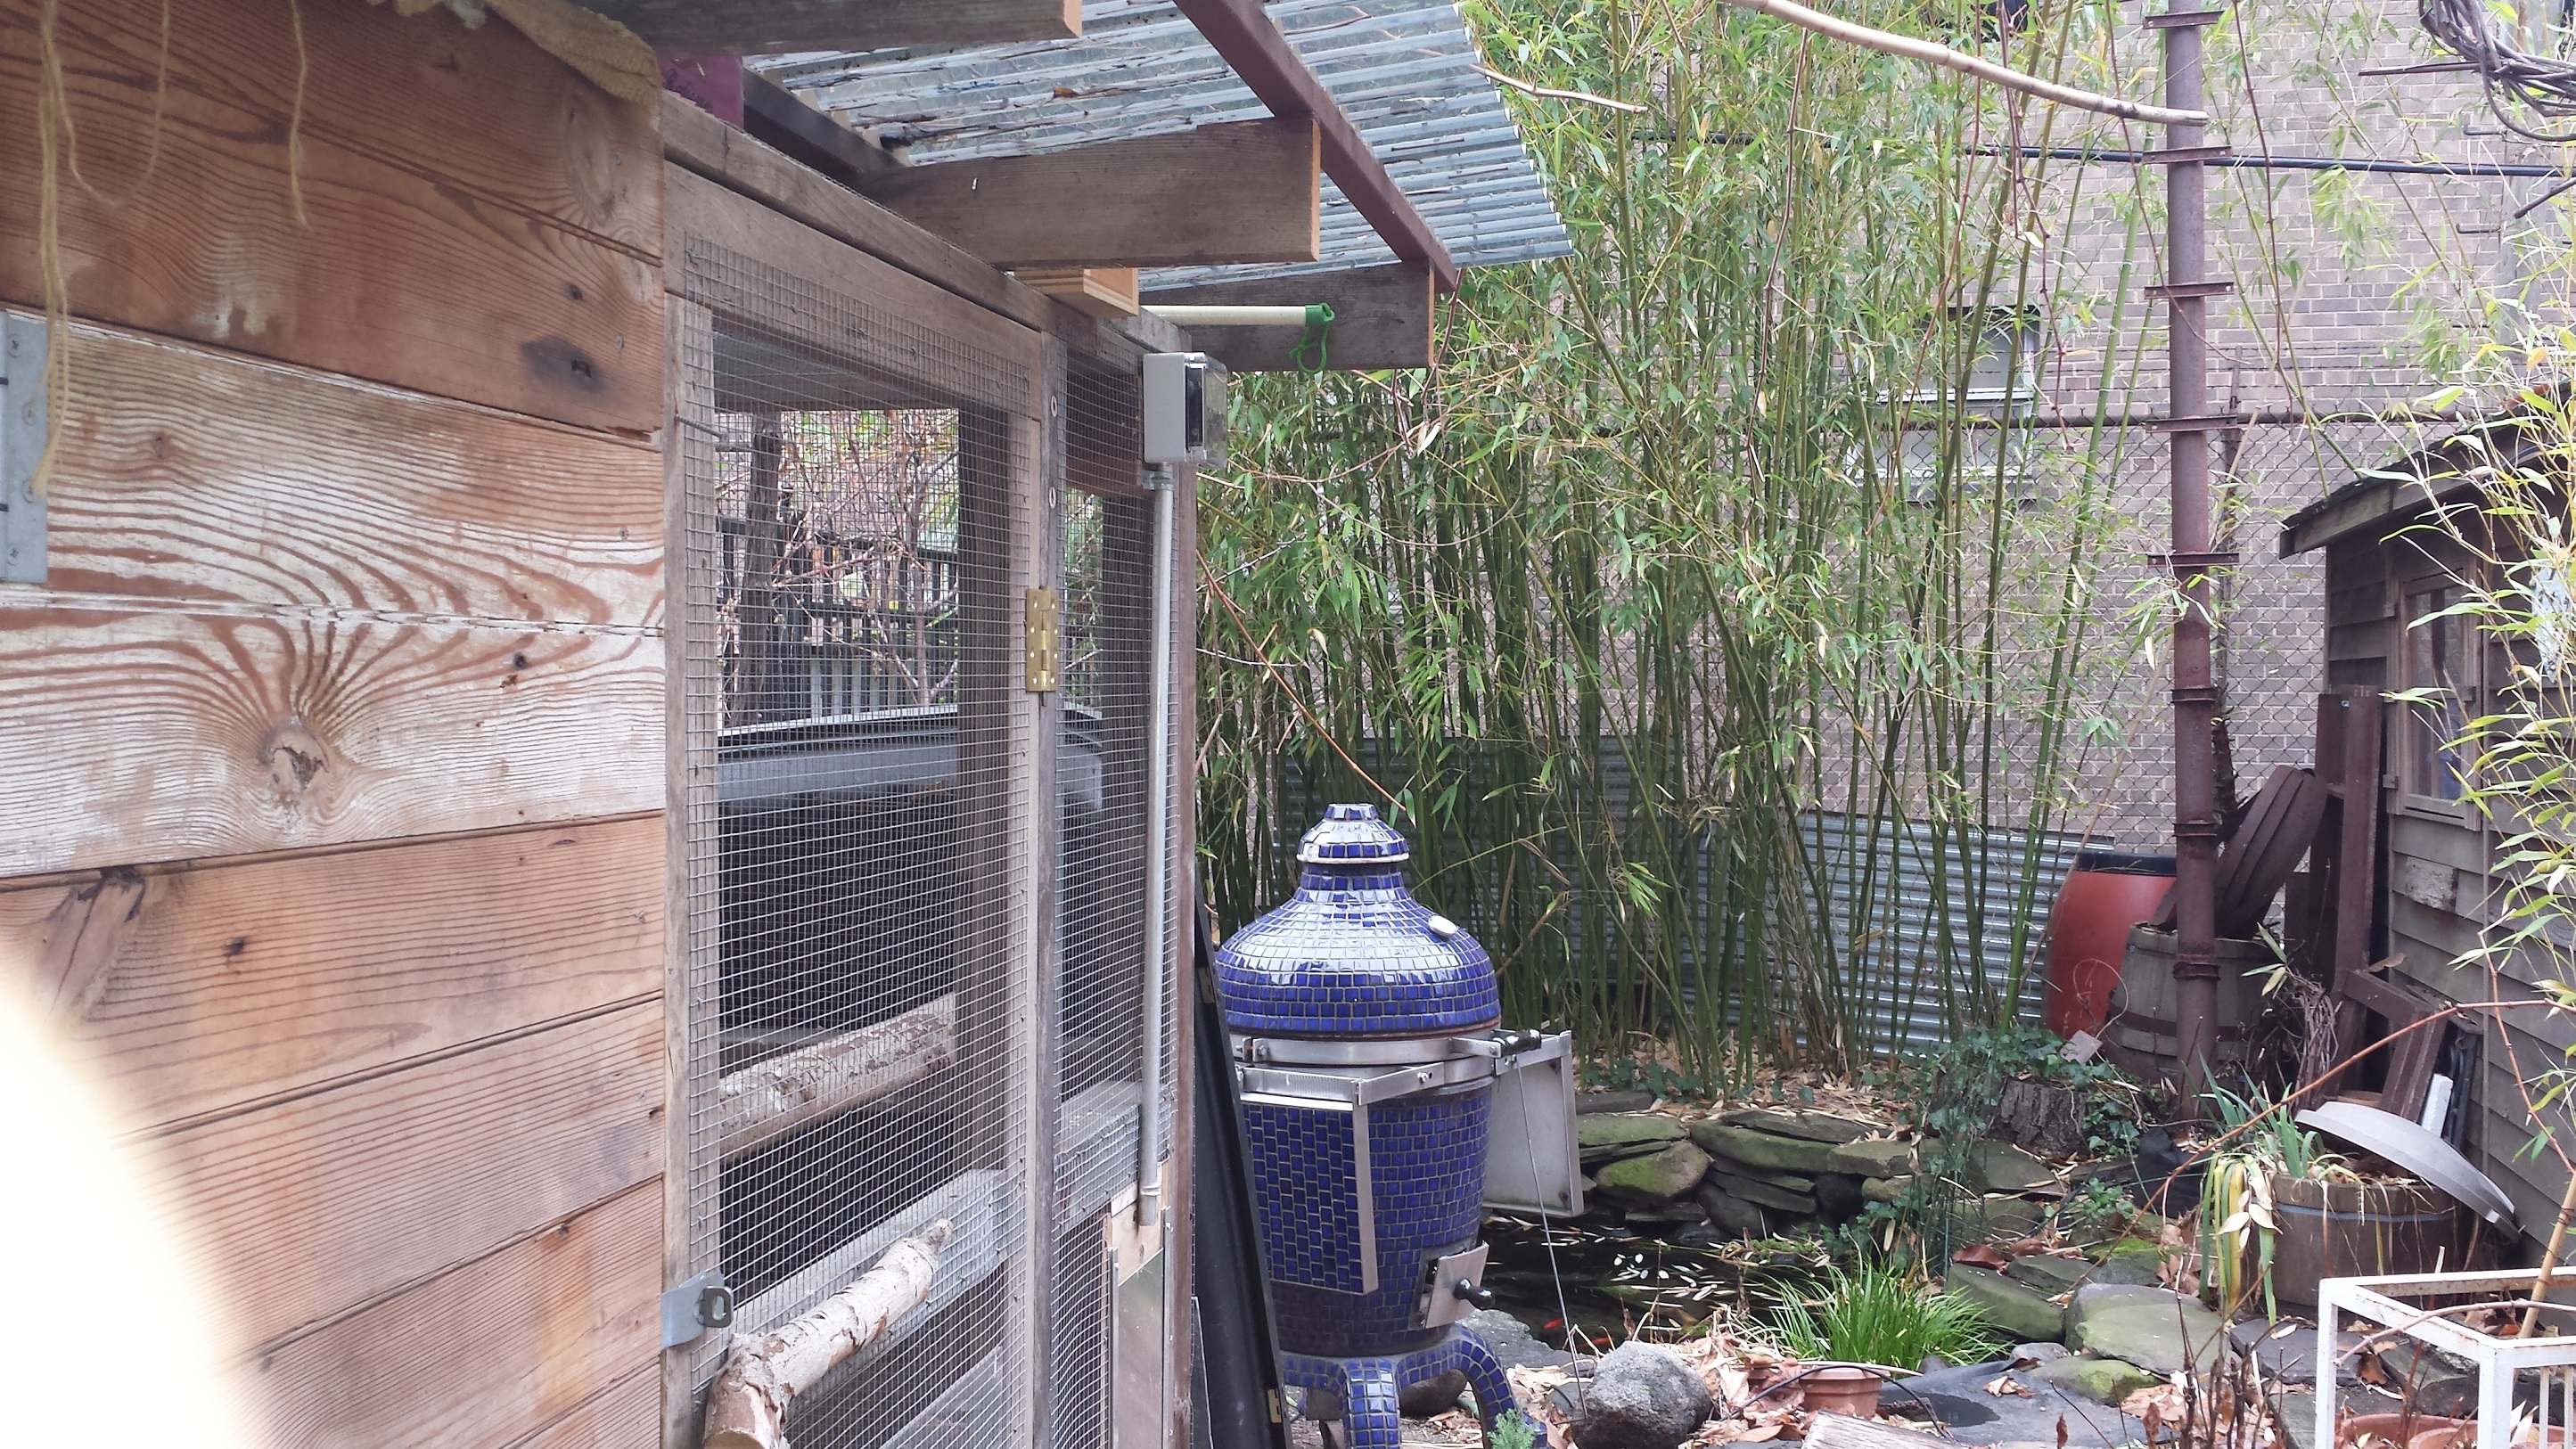
The roof is slanted, and extends beyond the back of the coop, and is cut to fit around the grape arbor posts.
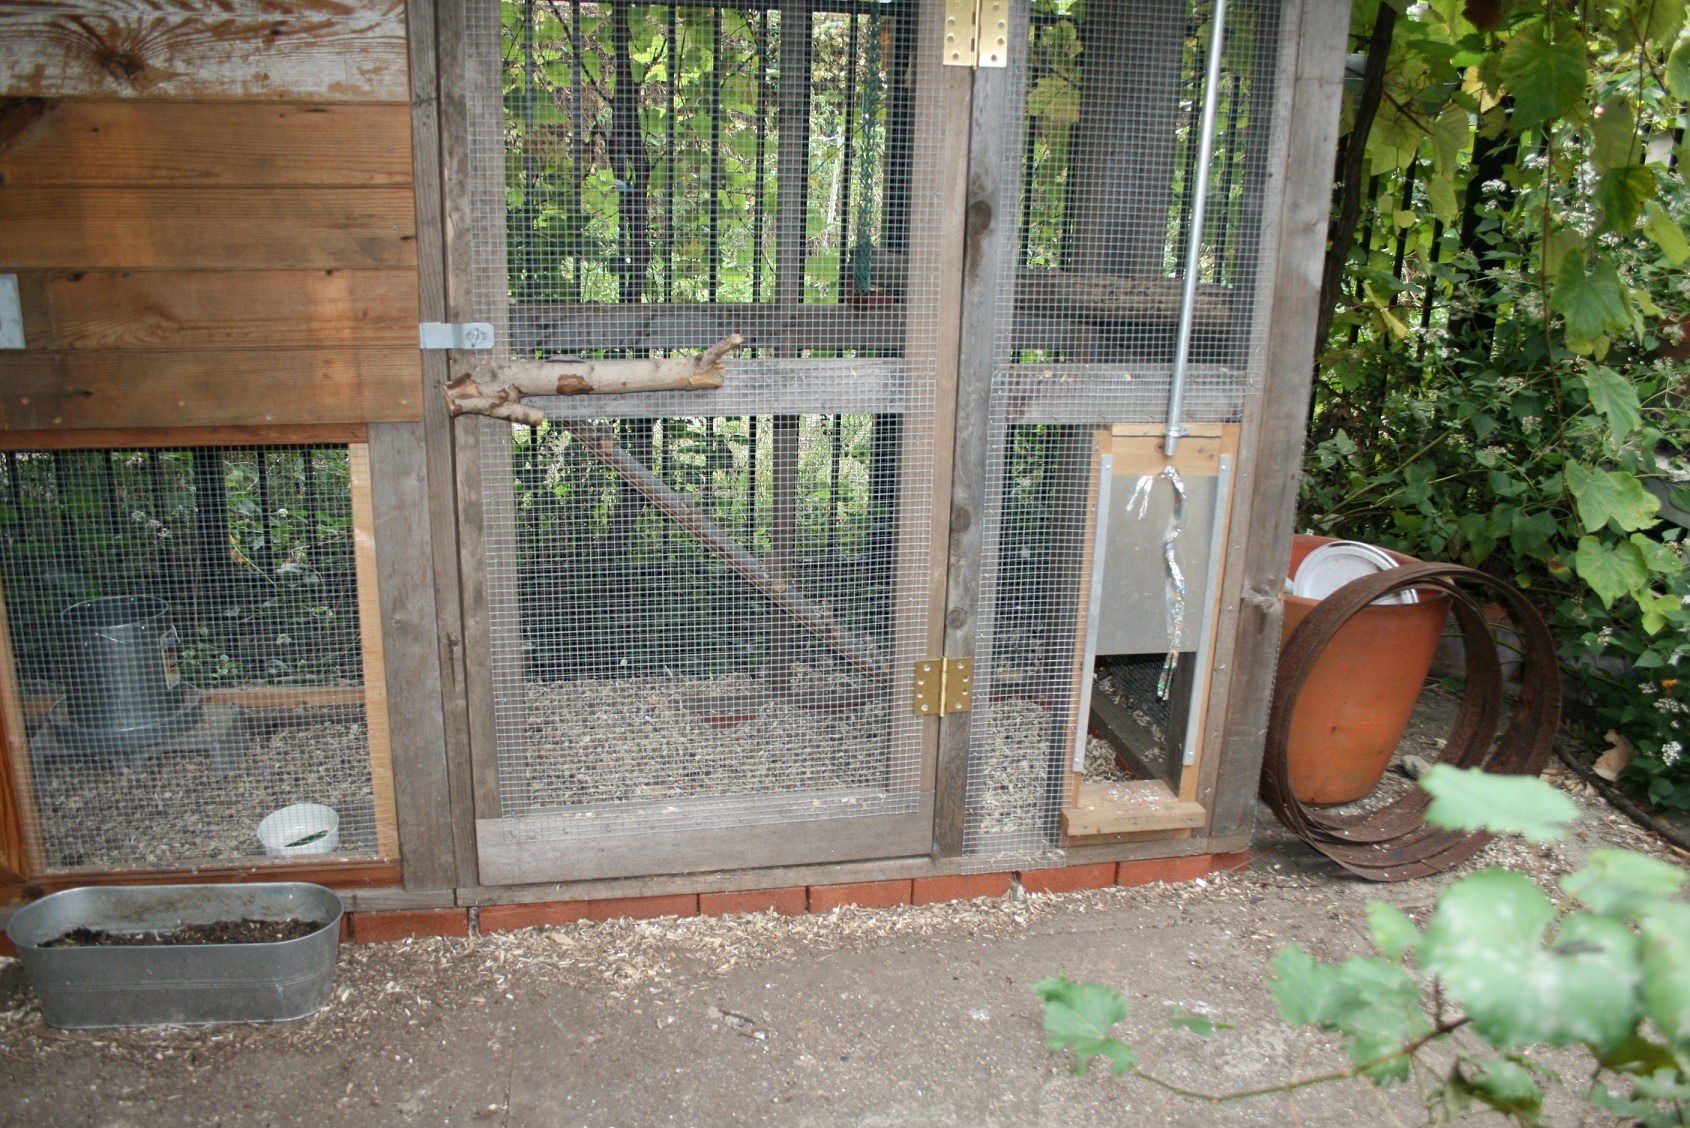
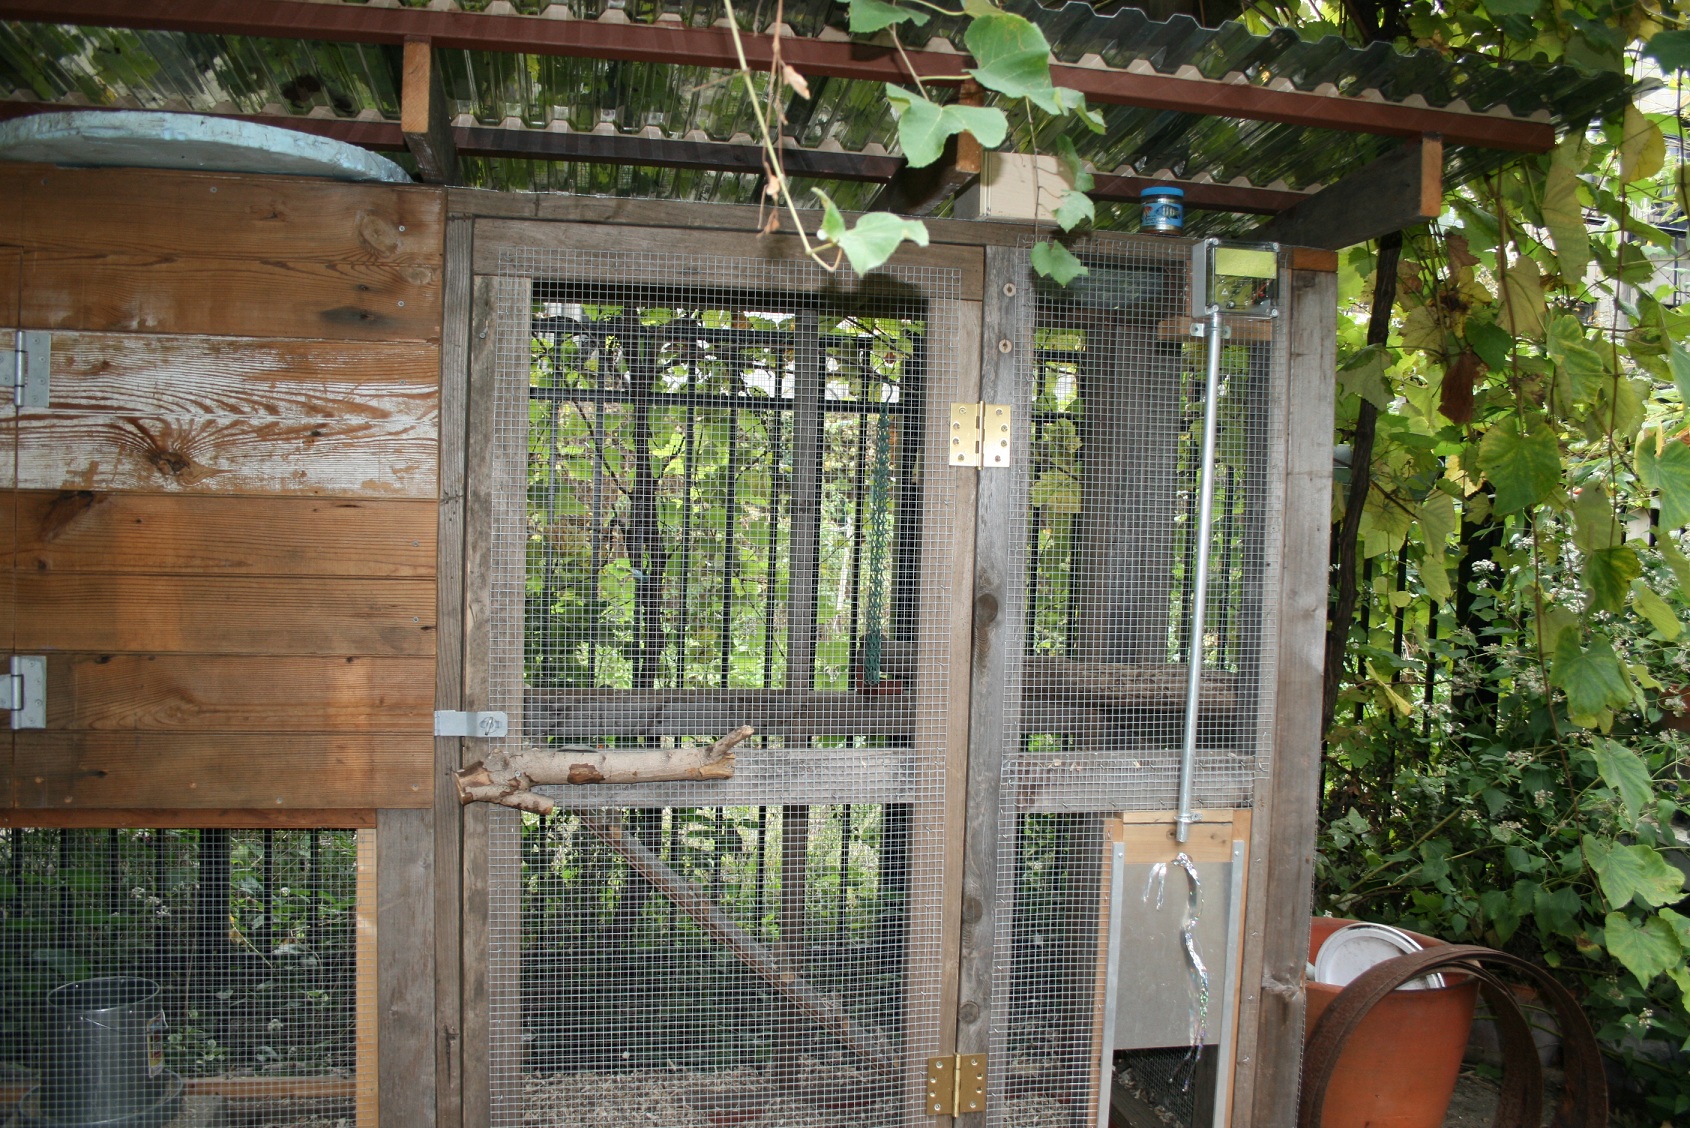
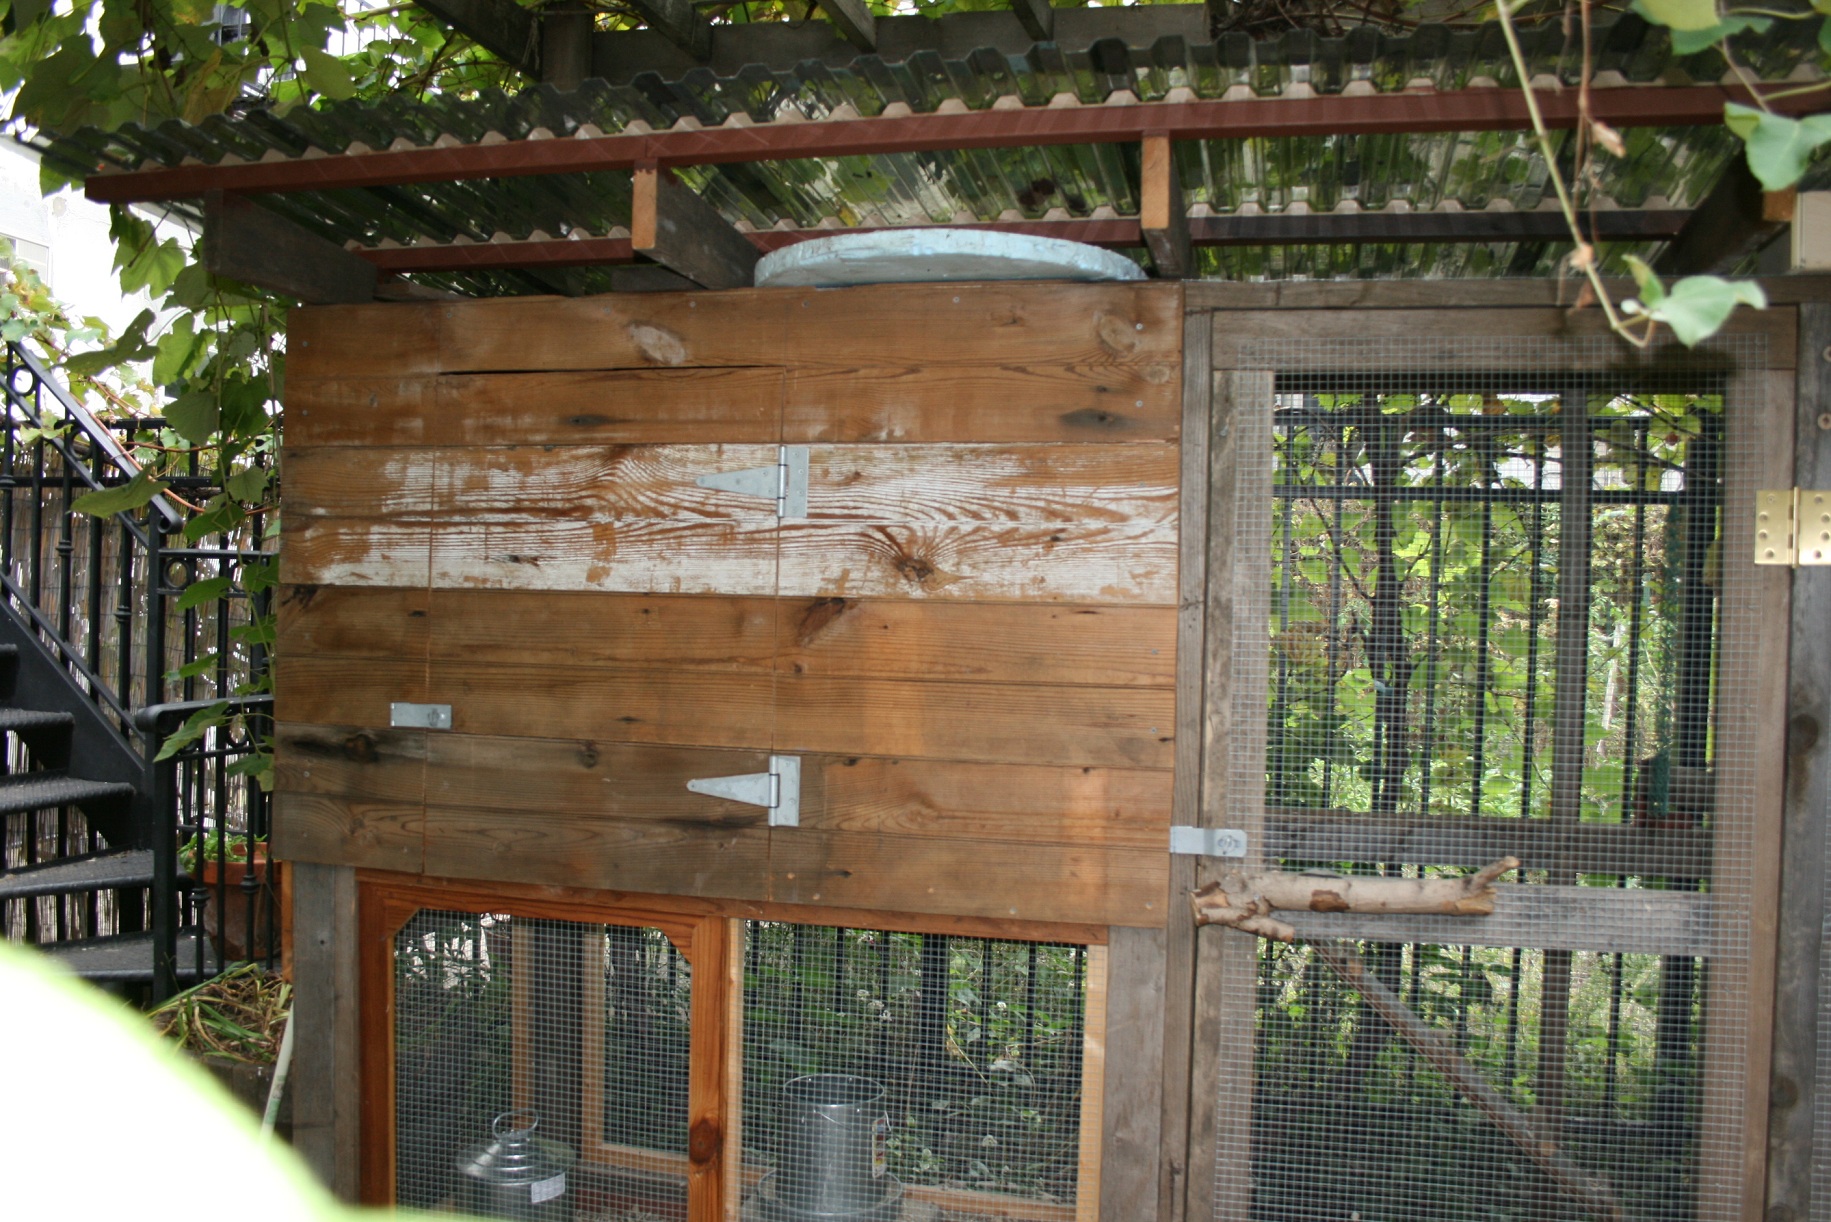
I built a sliding door out of the same recycled boards that we used to skin the chicken house. This allows for easy access to the feeding area.

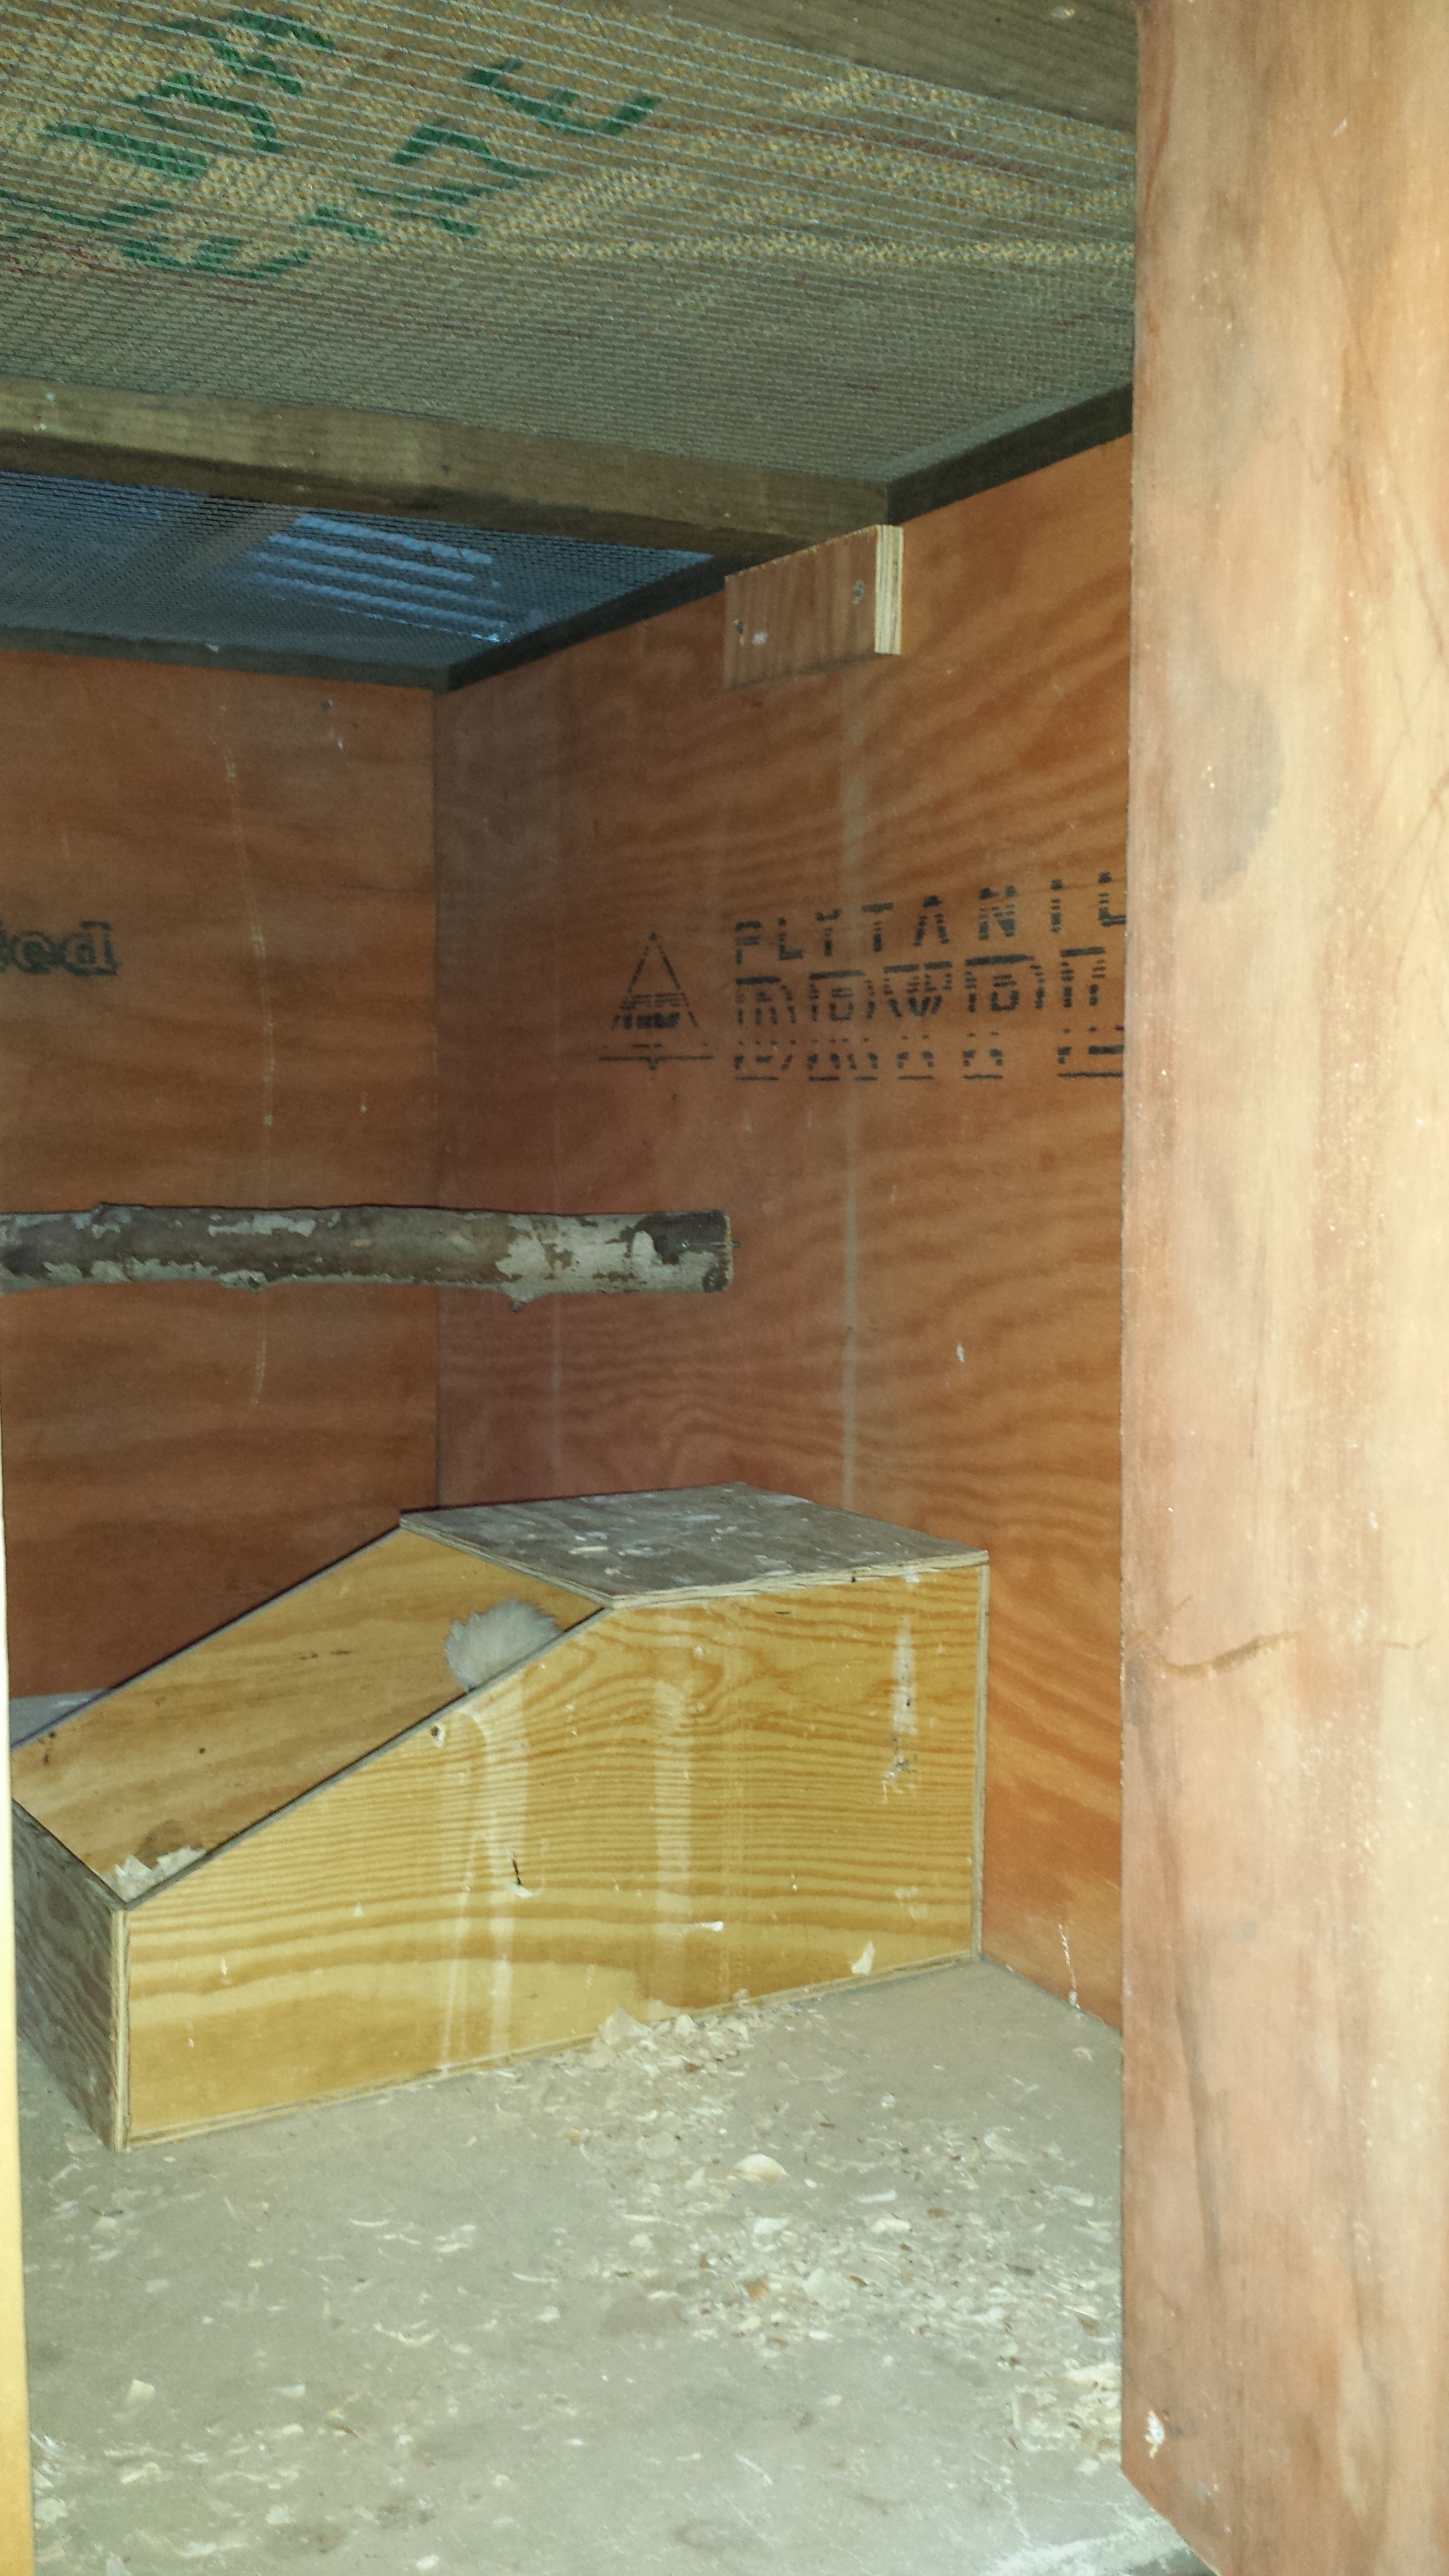
Natural branches have been the main roosts in the coop thus far.
I installed a nice German light activated chicken door. Chickens track with the sun. Out the door when it comes up, and back indoor before the sun goes down enough to shut the door.

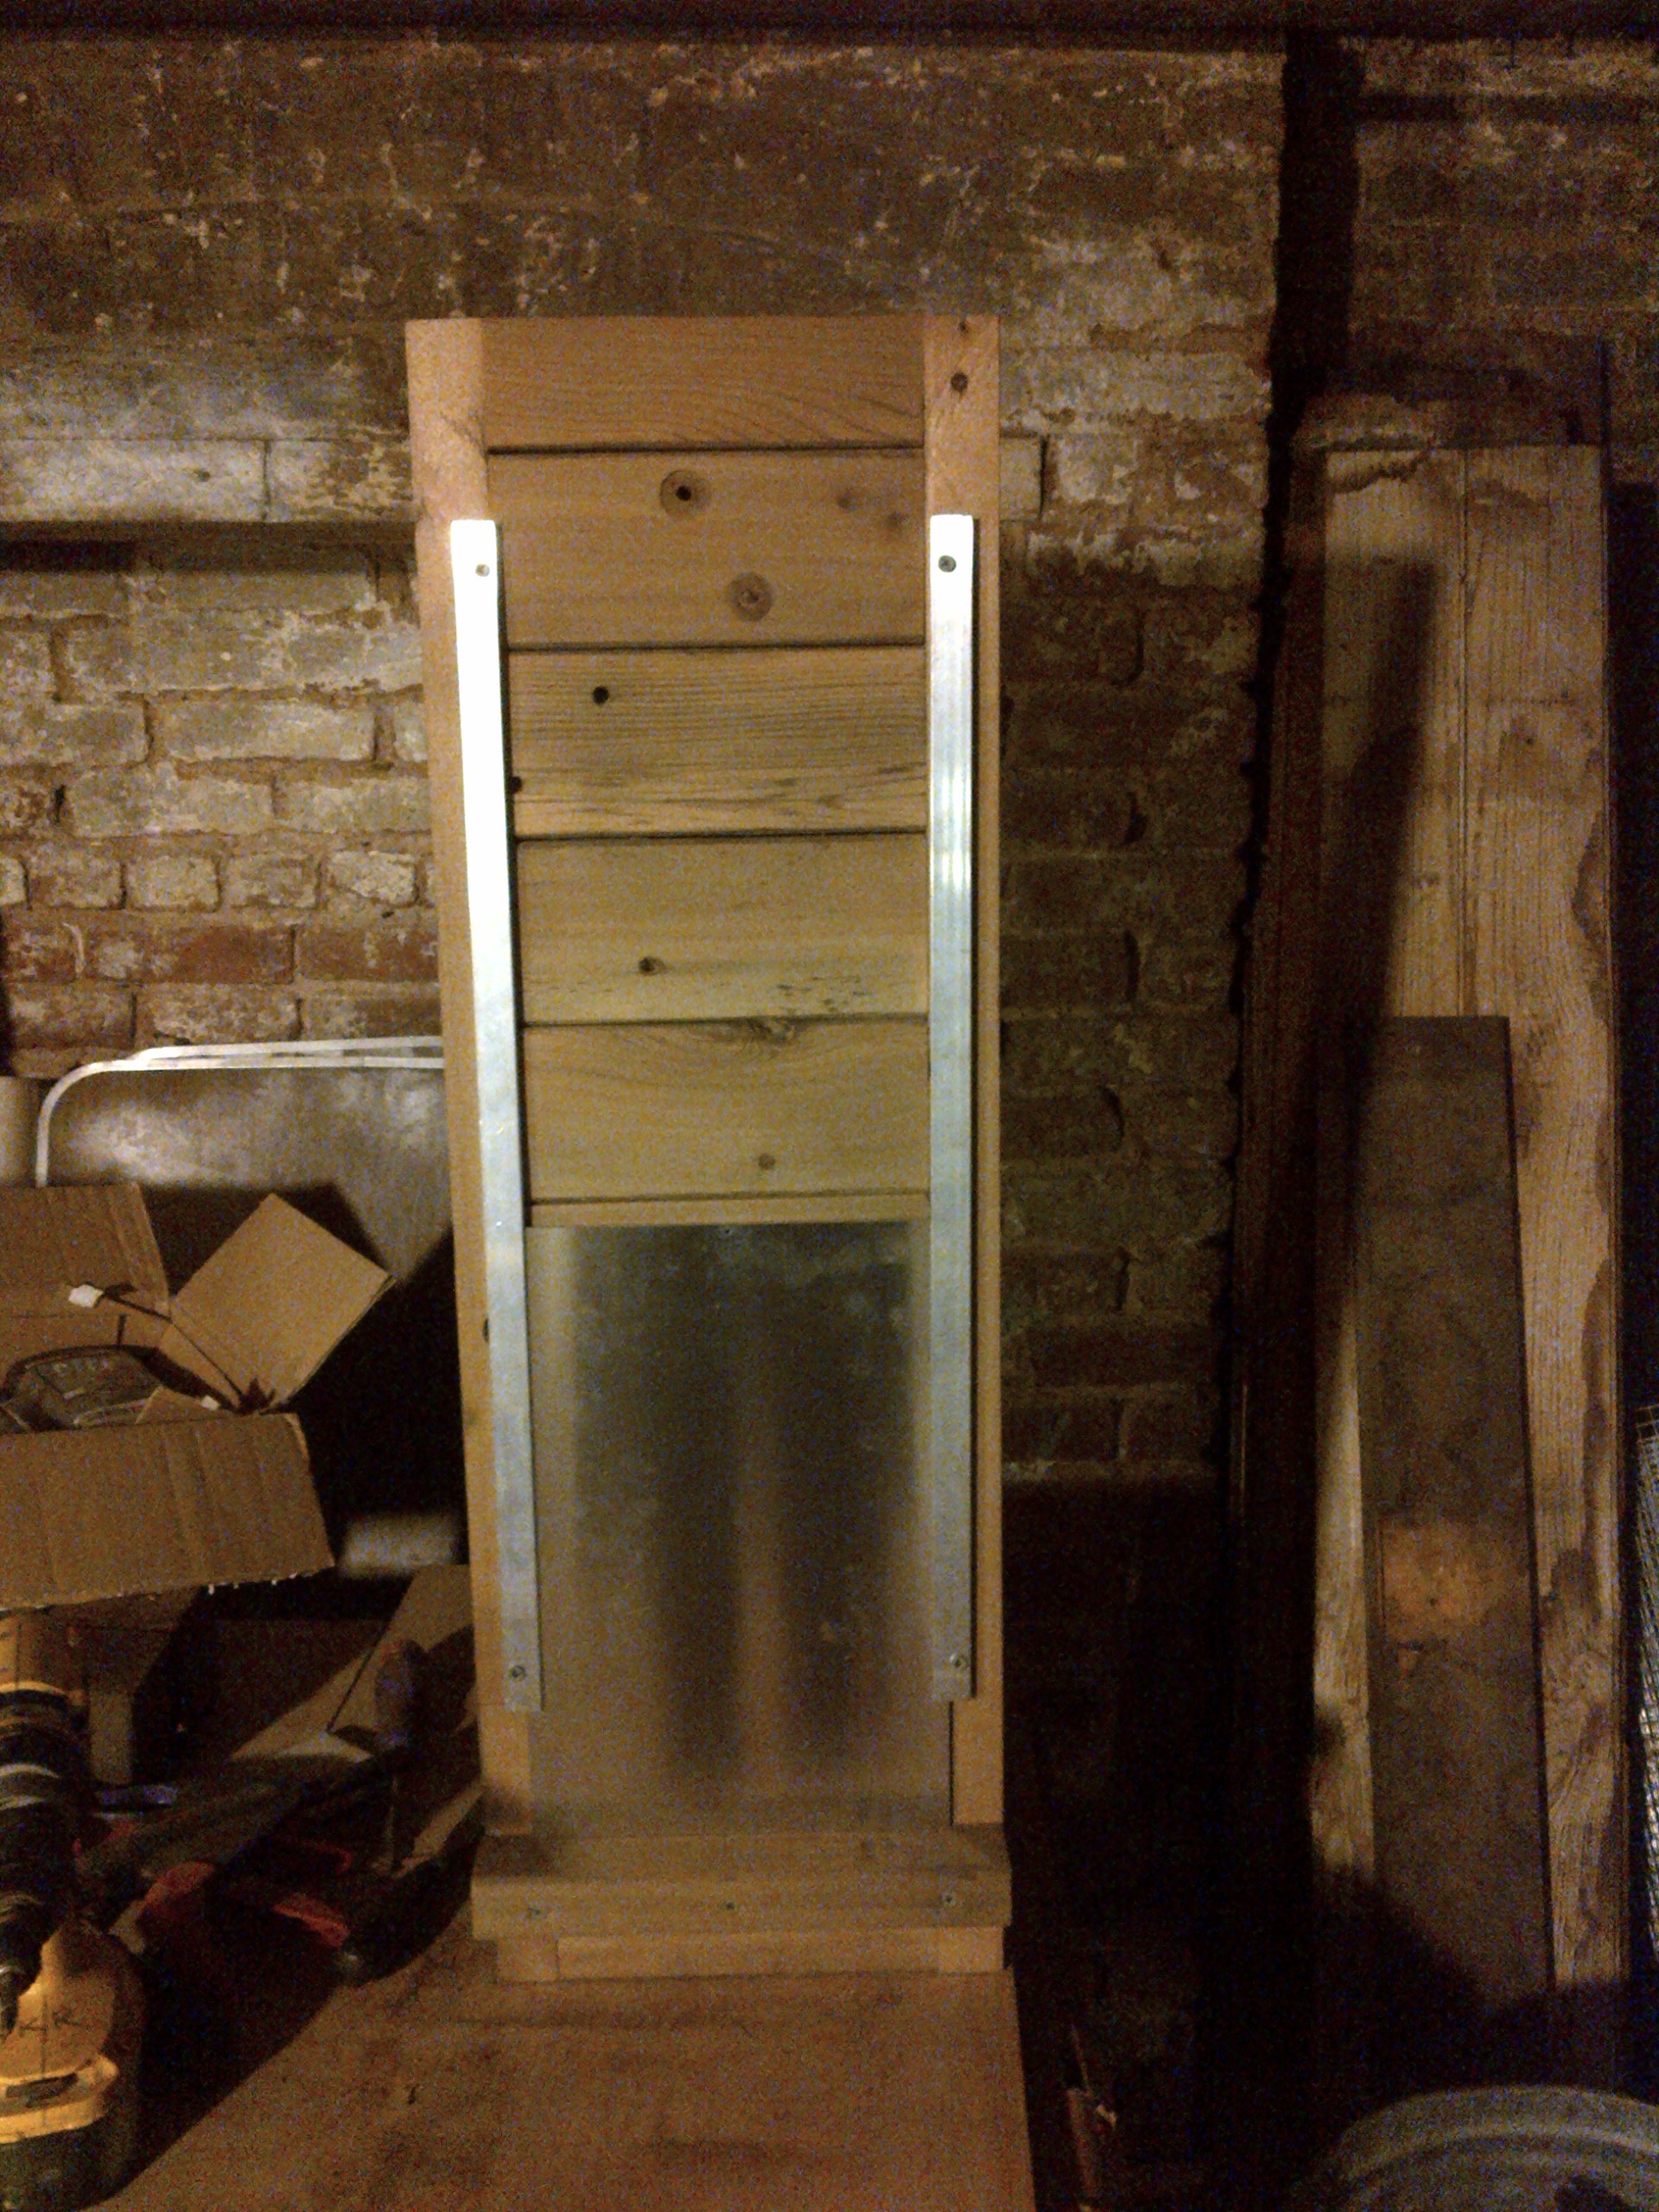
This frame is again built entirely out of cedar wood.
Here is the chicken door in action.
There is a little wooden box that fits over the light sensor/motor that opens and closes the chicken door. You can see it middle-top of the picture. This blocks the light sensor and makes it possible to close the chicken door during the day.

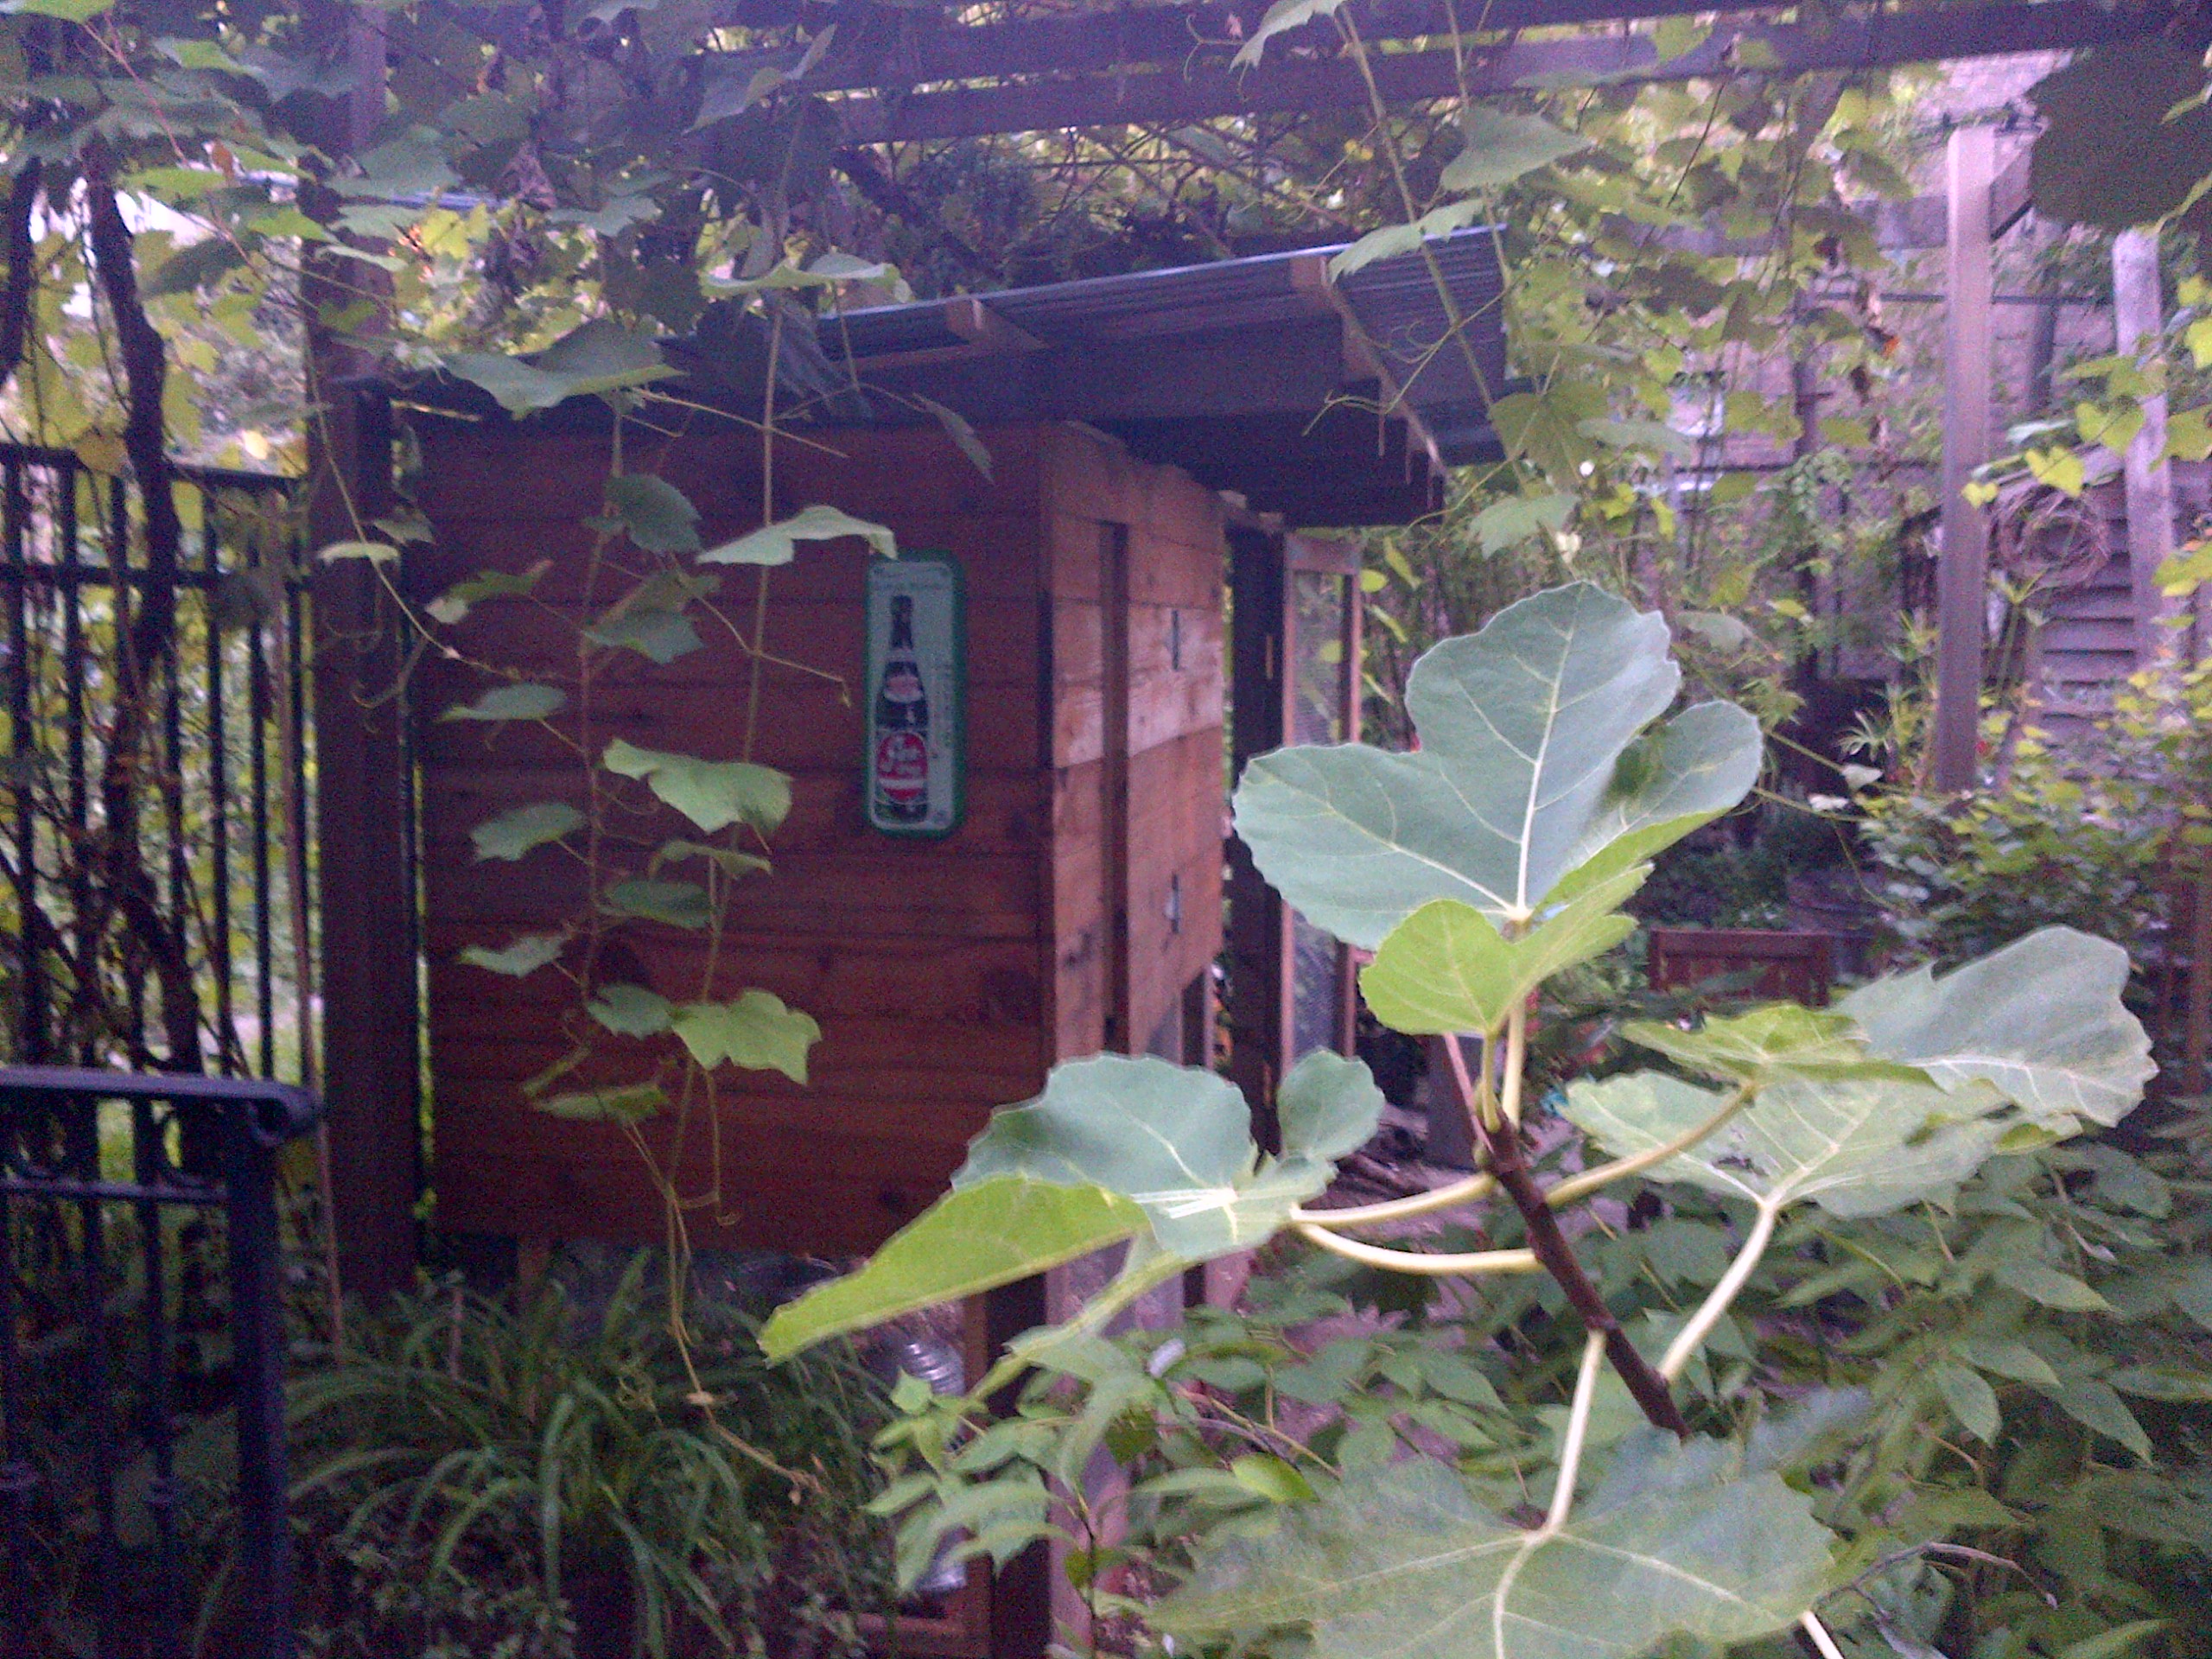
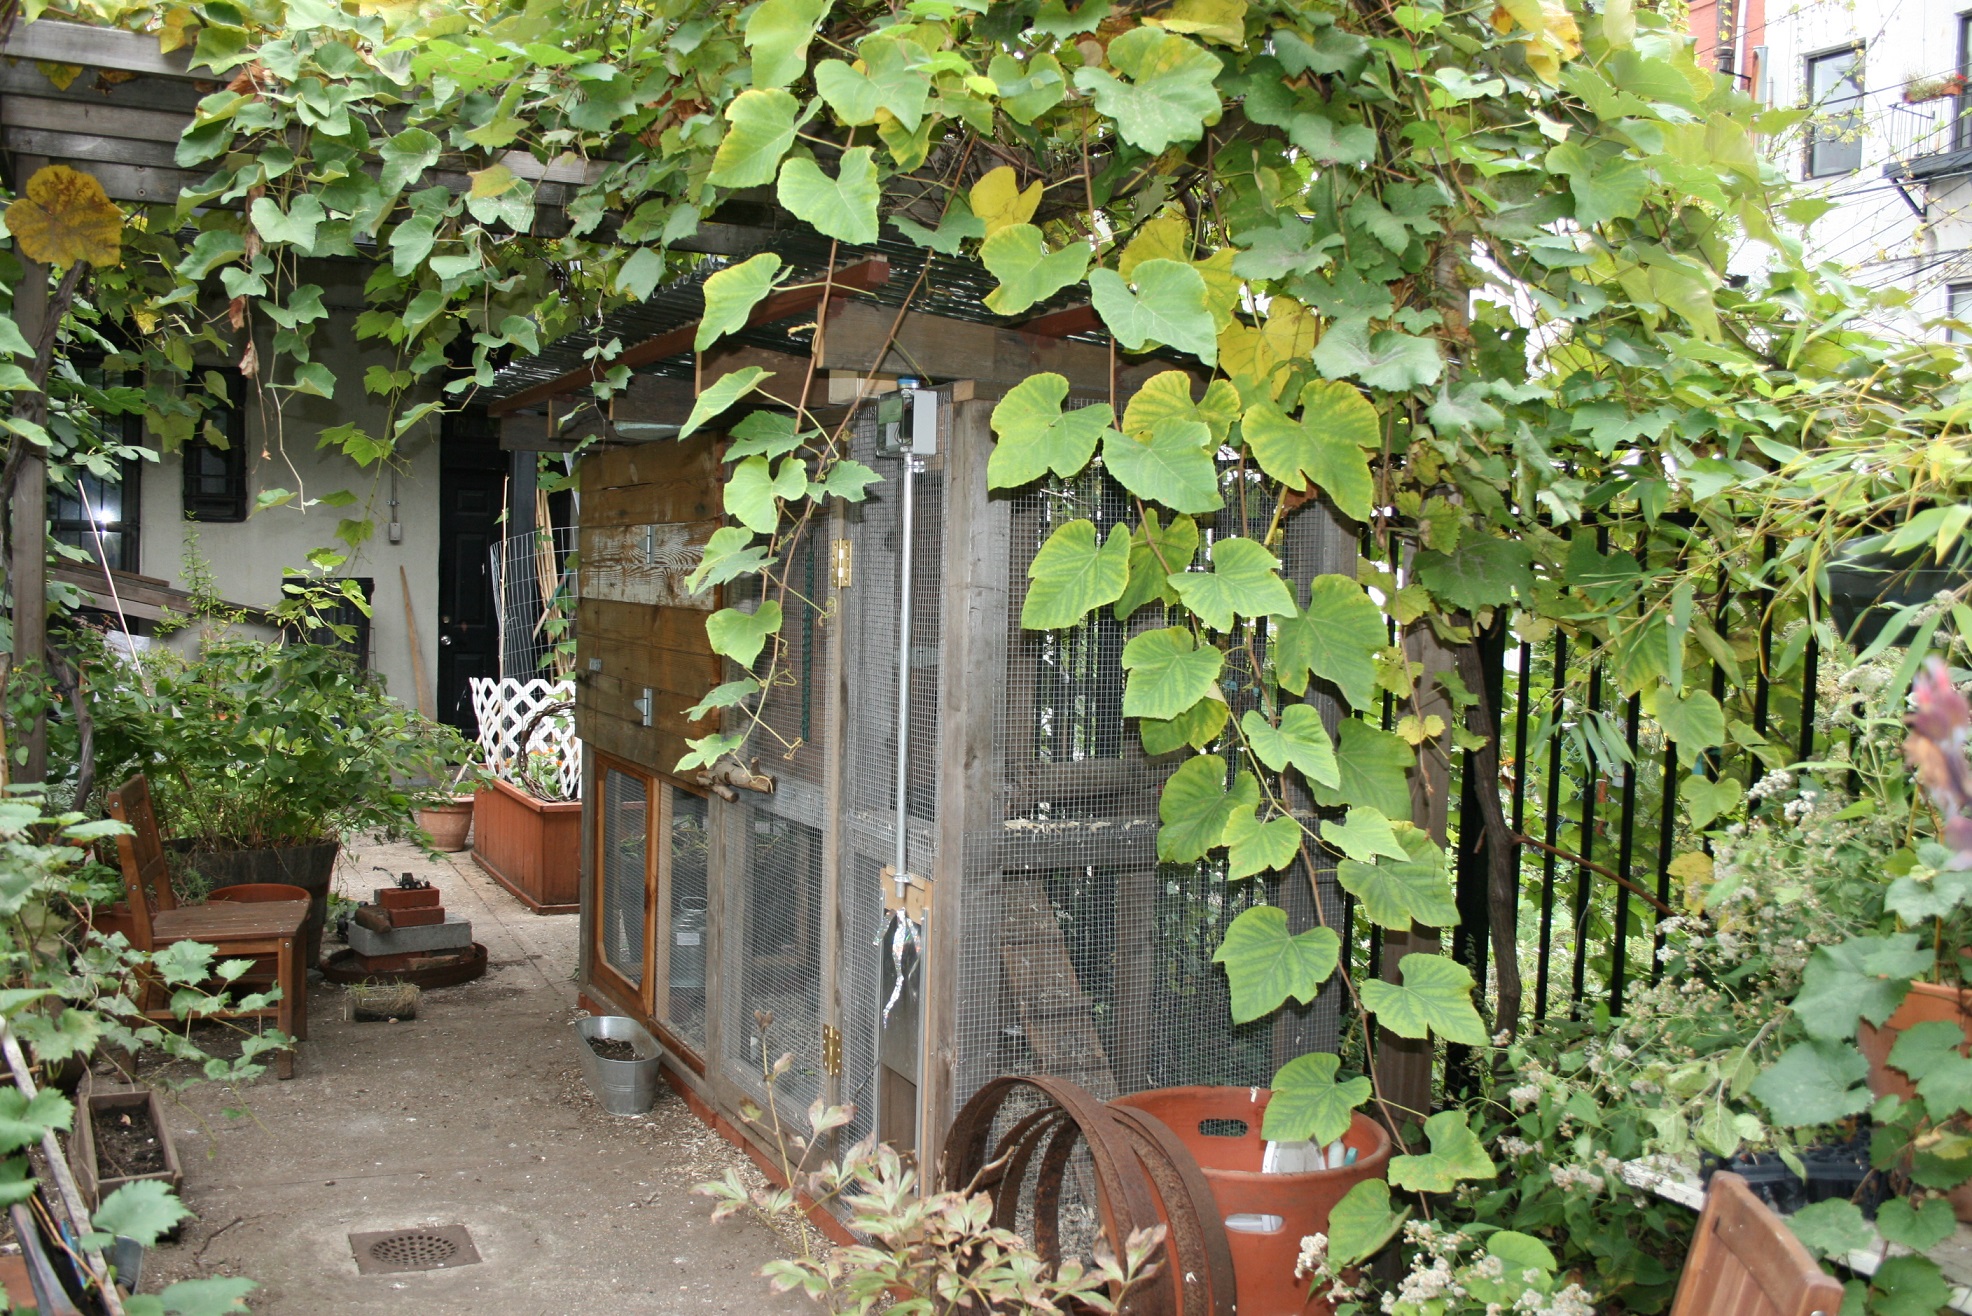
Straight on view from the backyard garden.
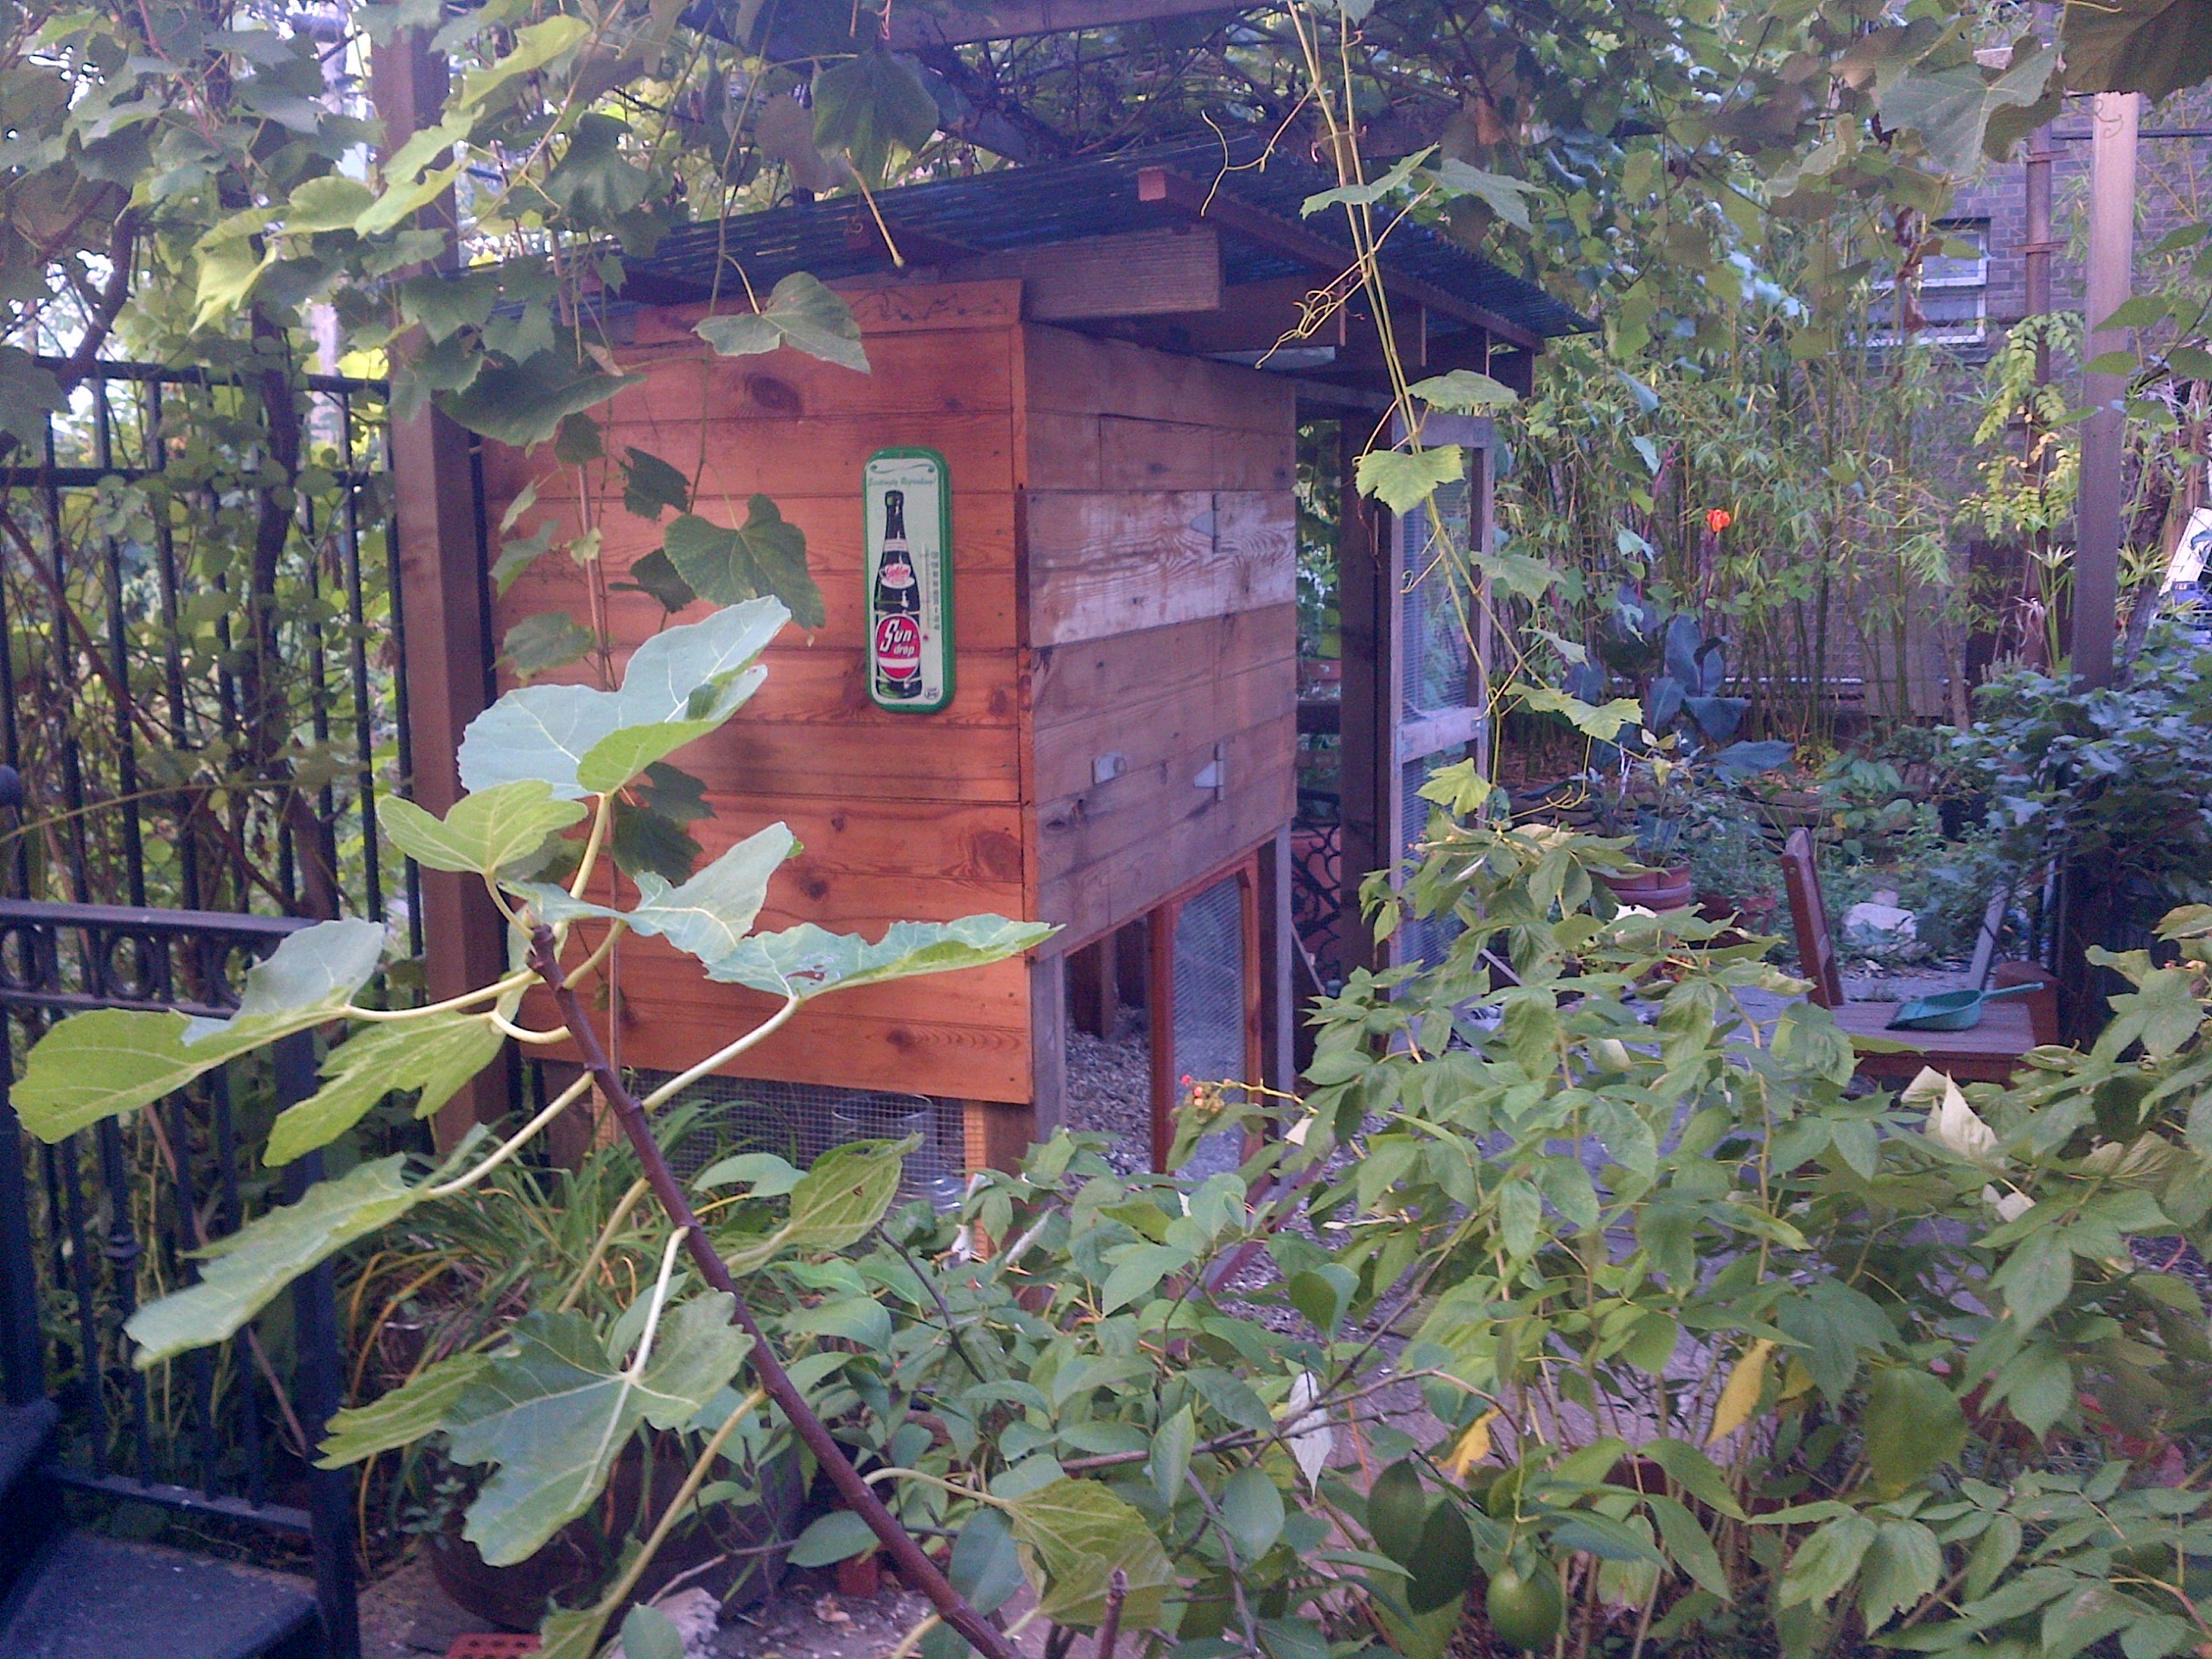
Here’s a long view from the house.
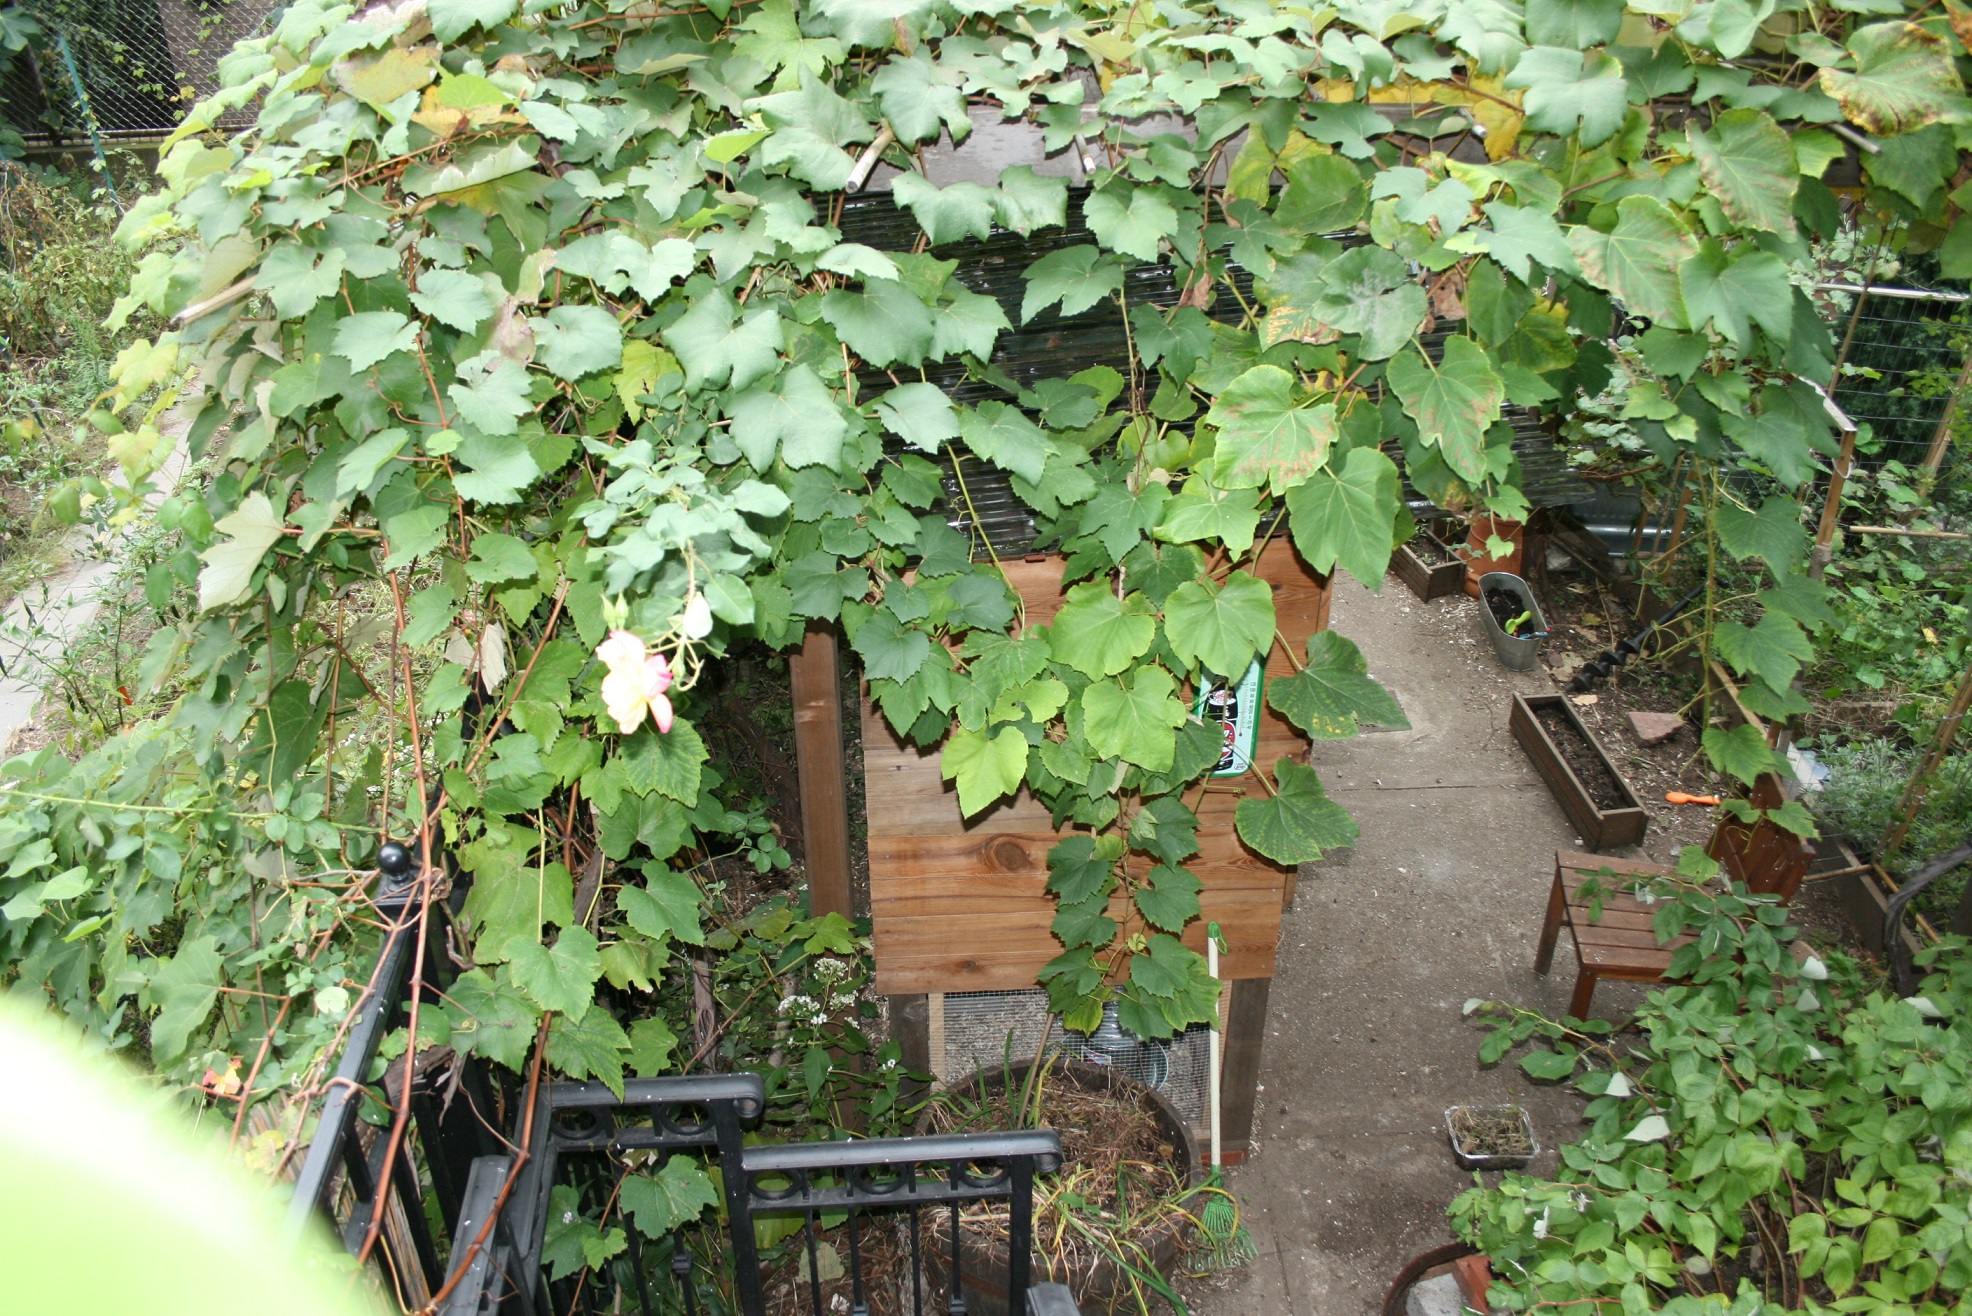
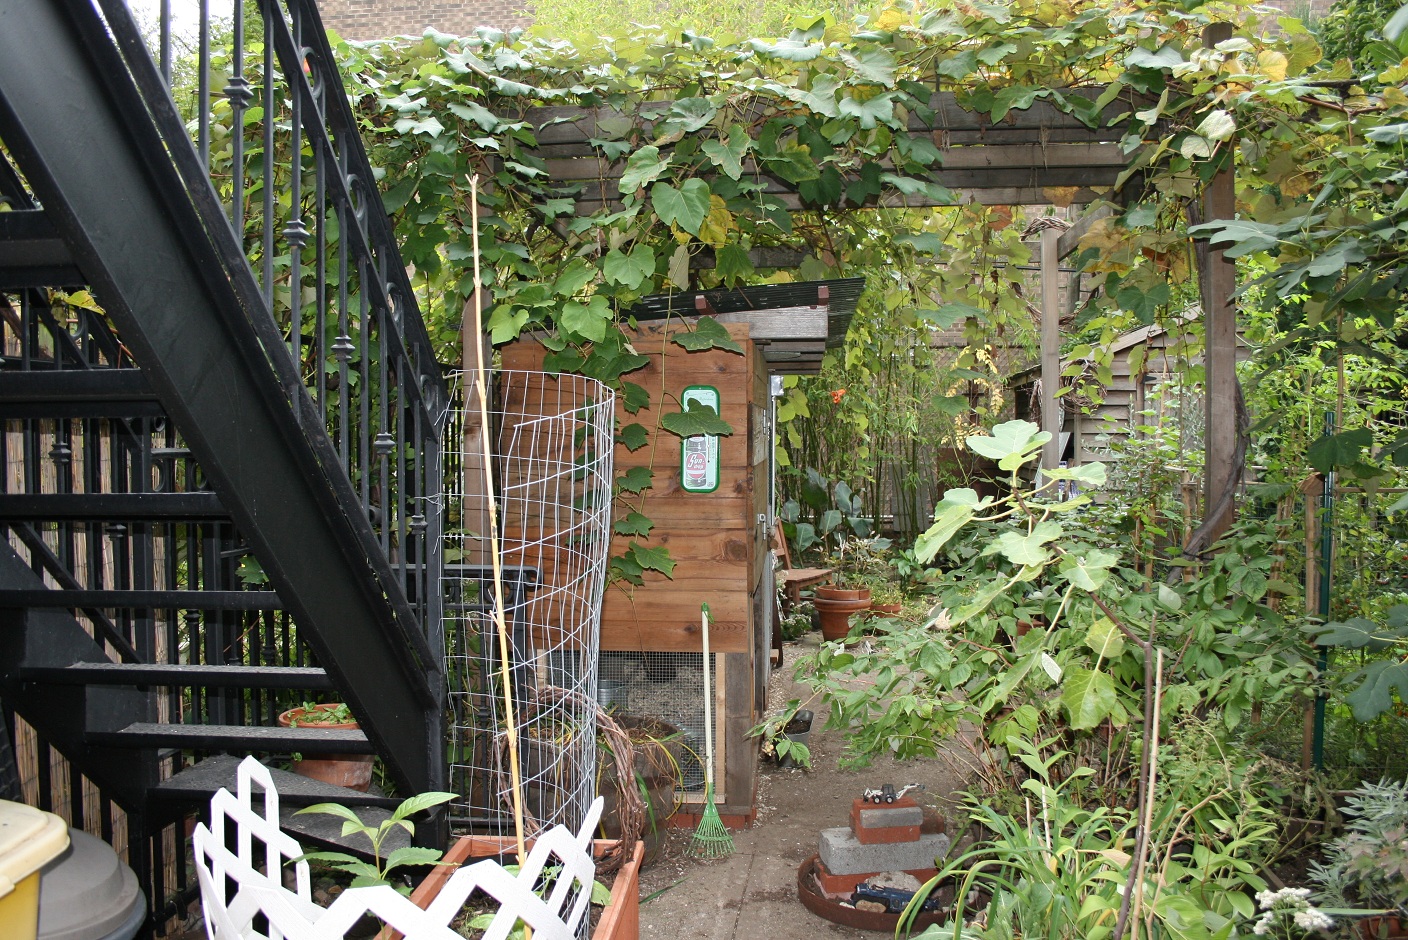
And an elevated shot.
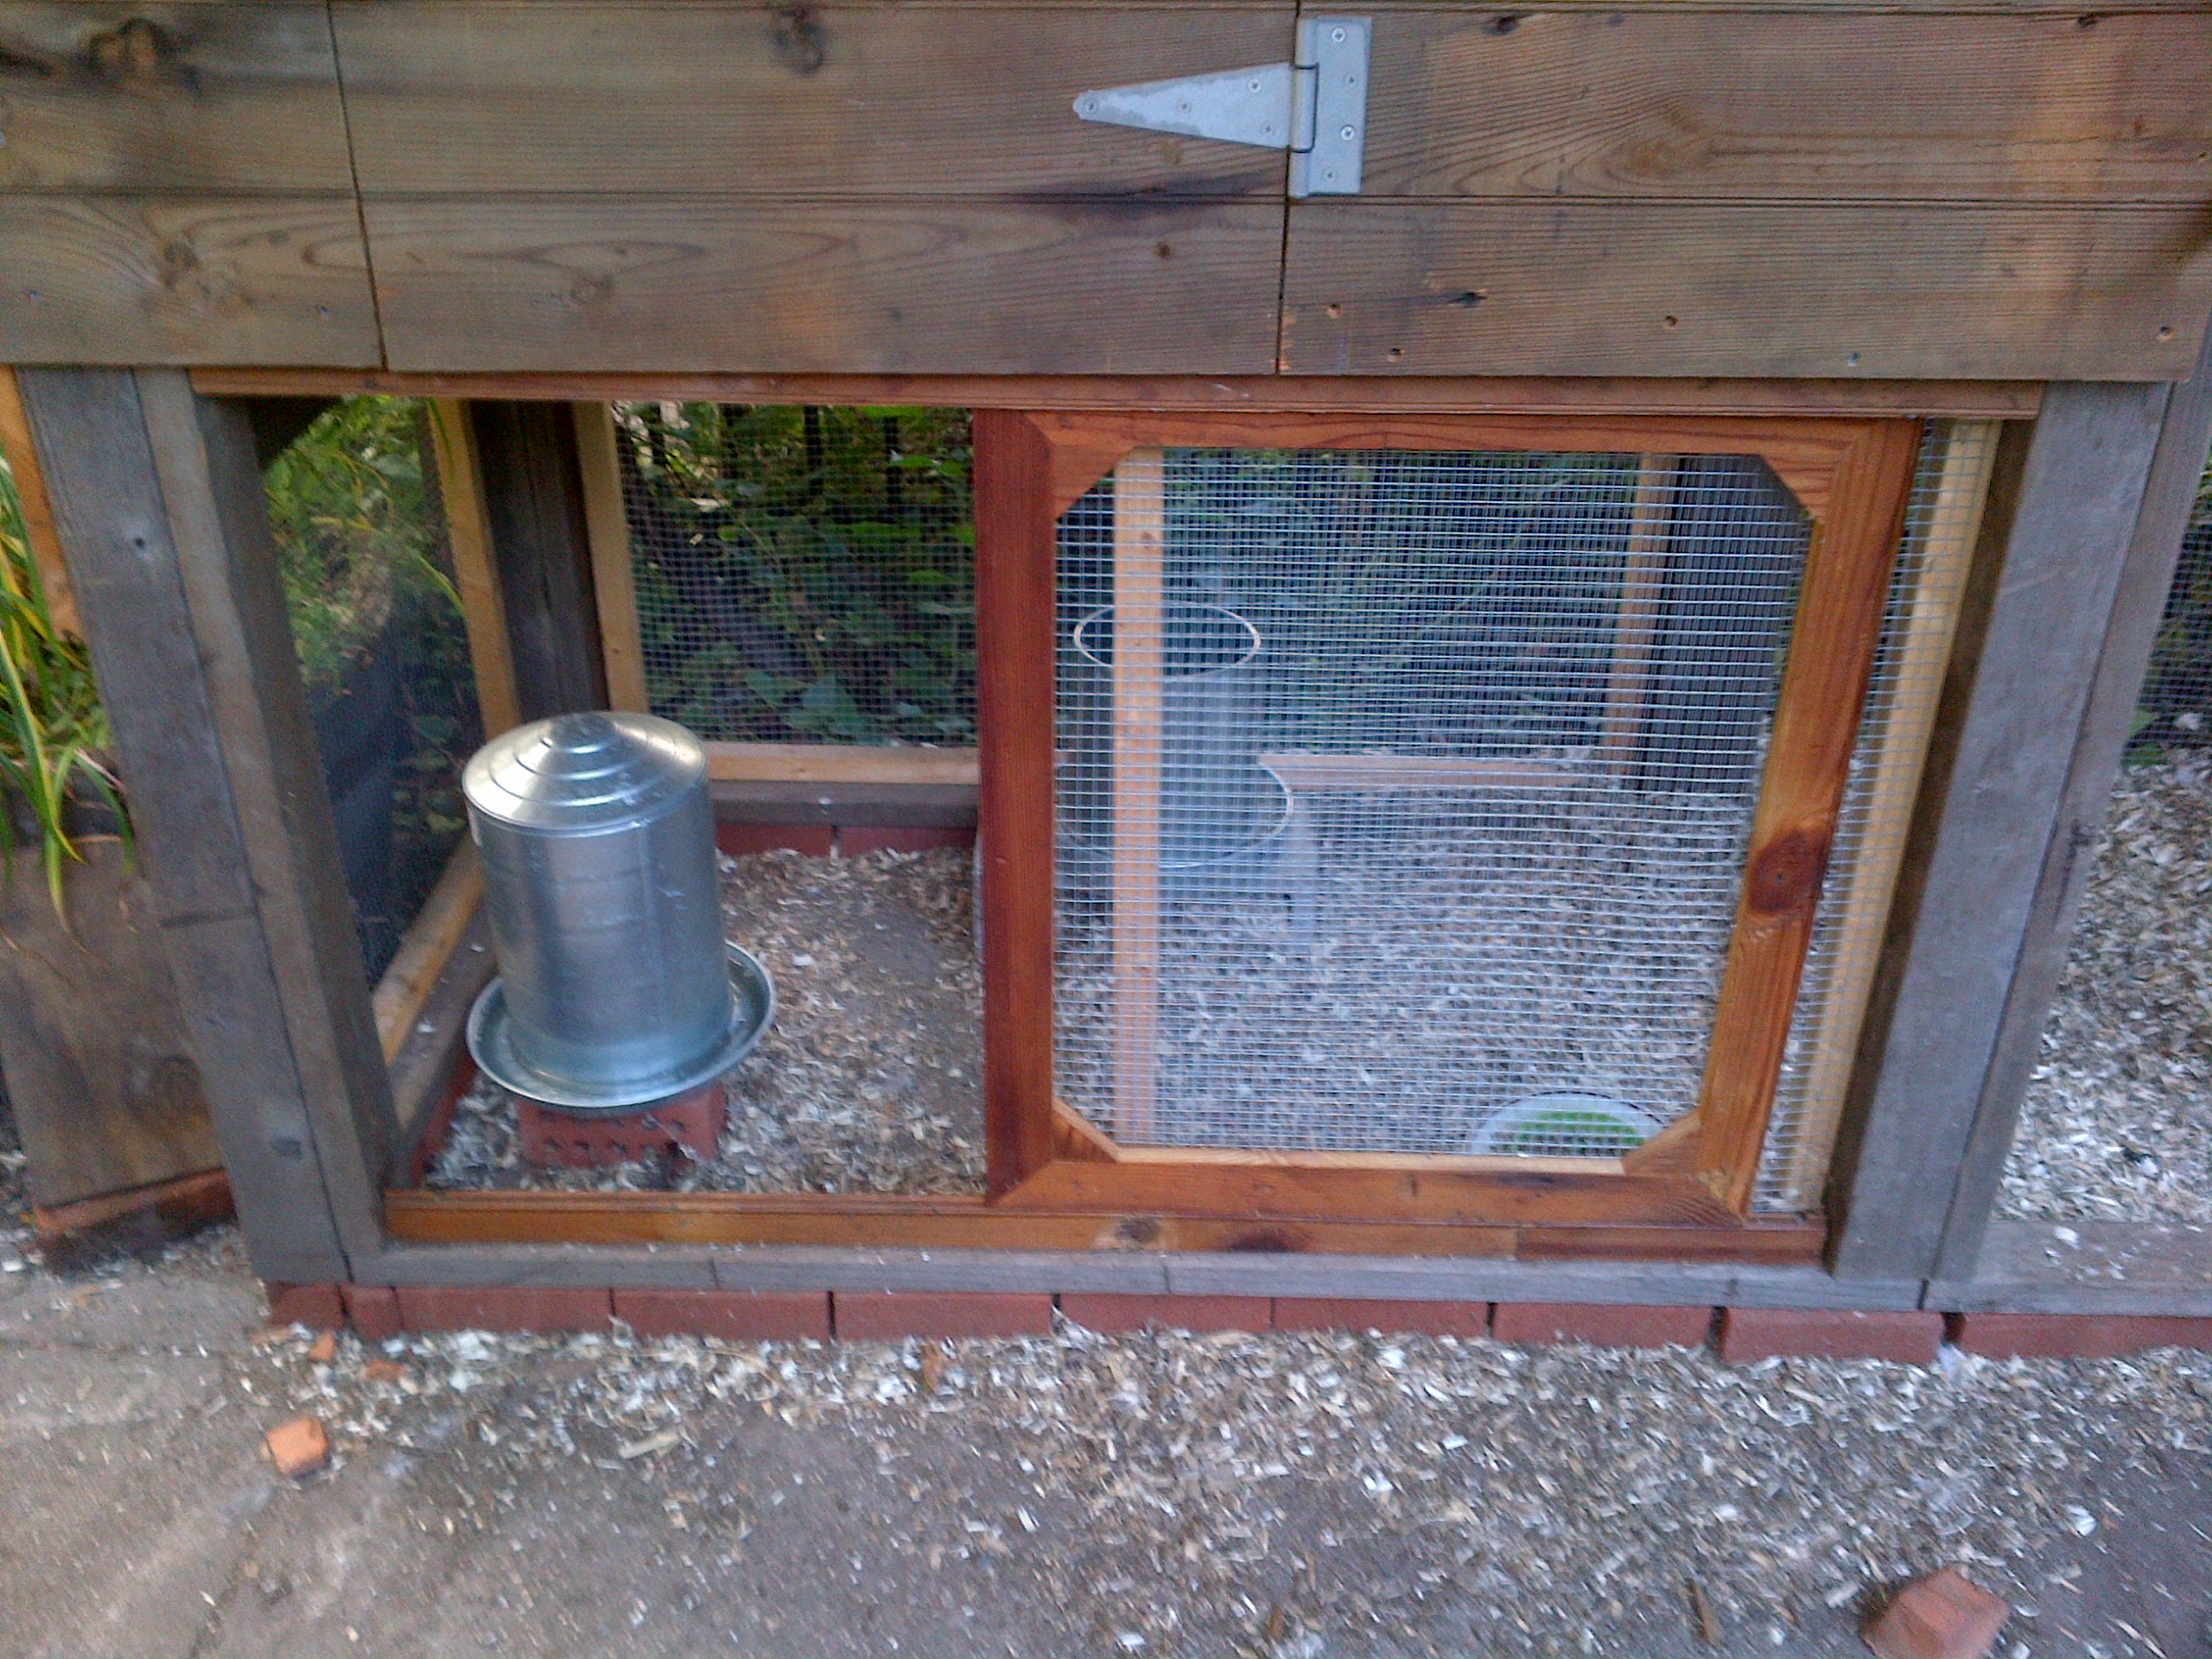
You can see from this shot, that the whole coop rests on a layer of bricks (loose) that keep the wood from setting in water, but provide an fairly impervious layer to keep rats & mice out of the coop.
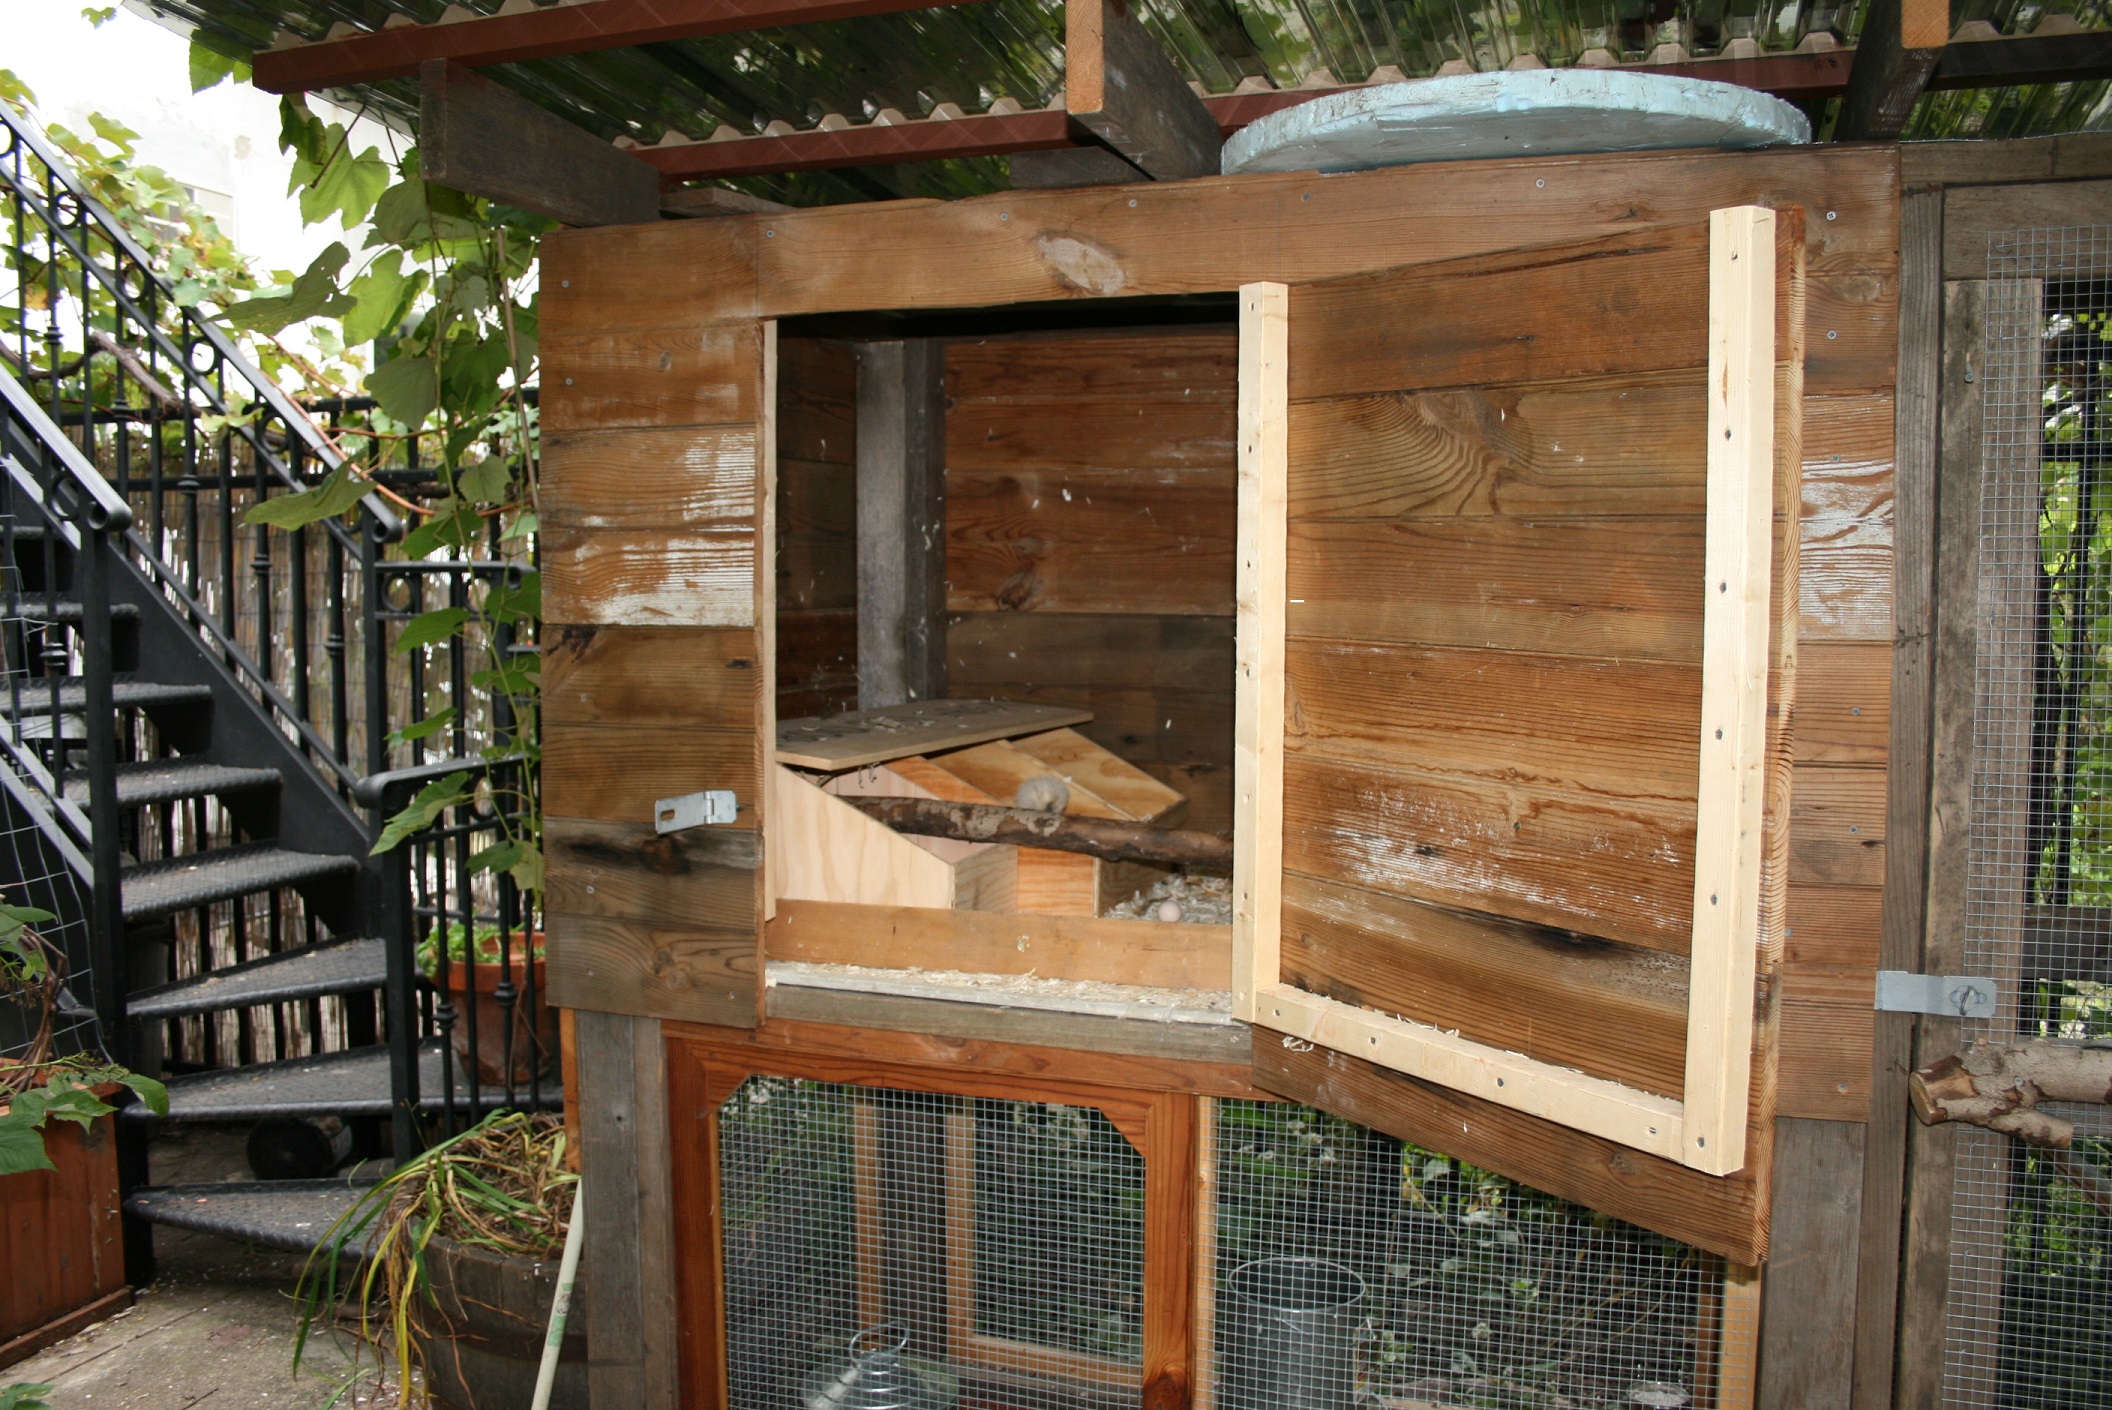
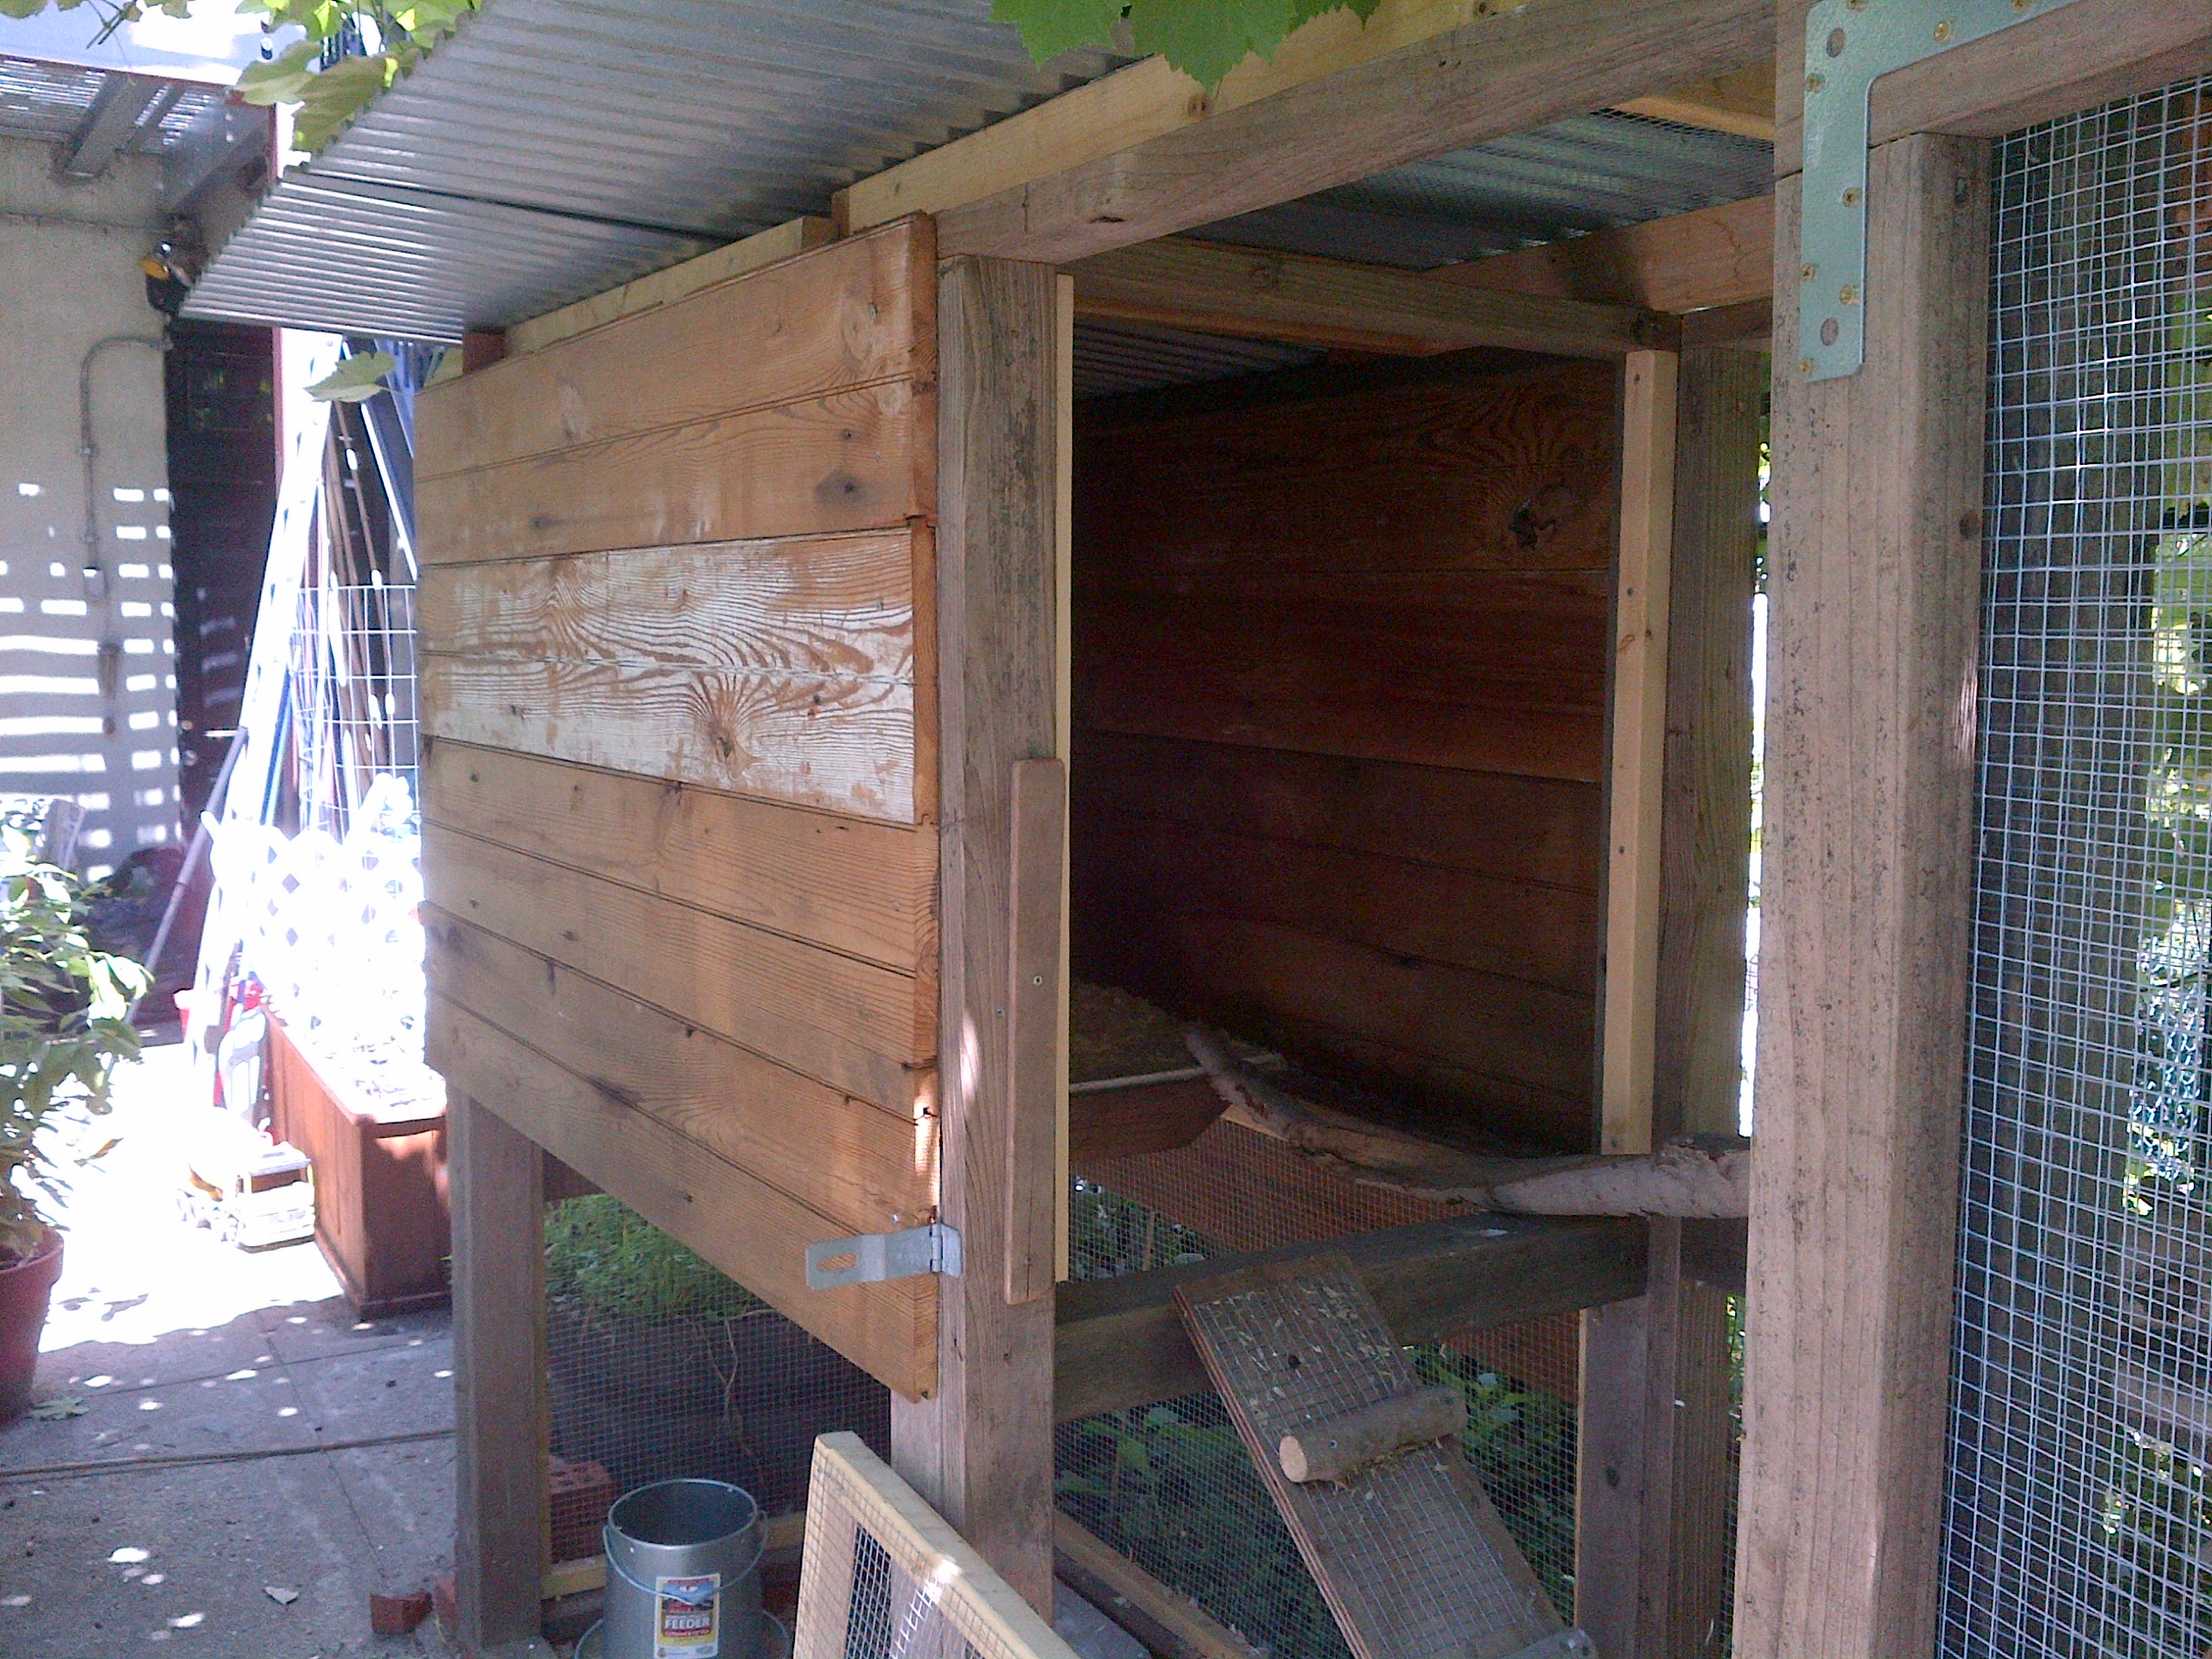
Finally a shoot with the front house door open for inspection.
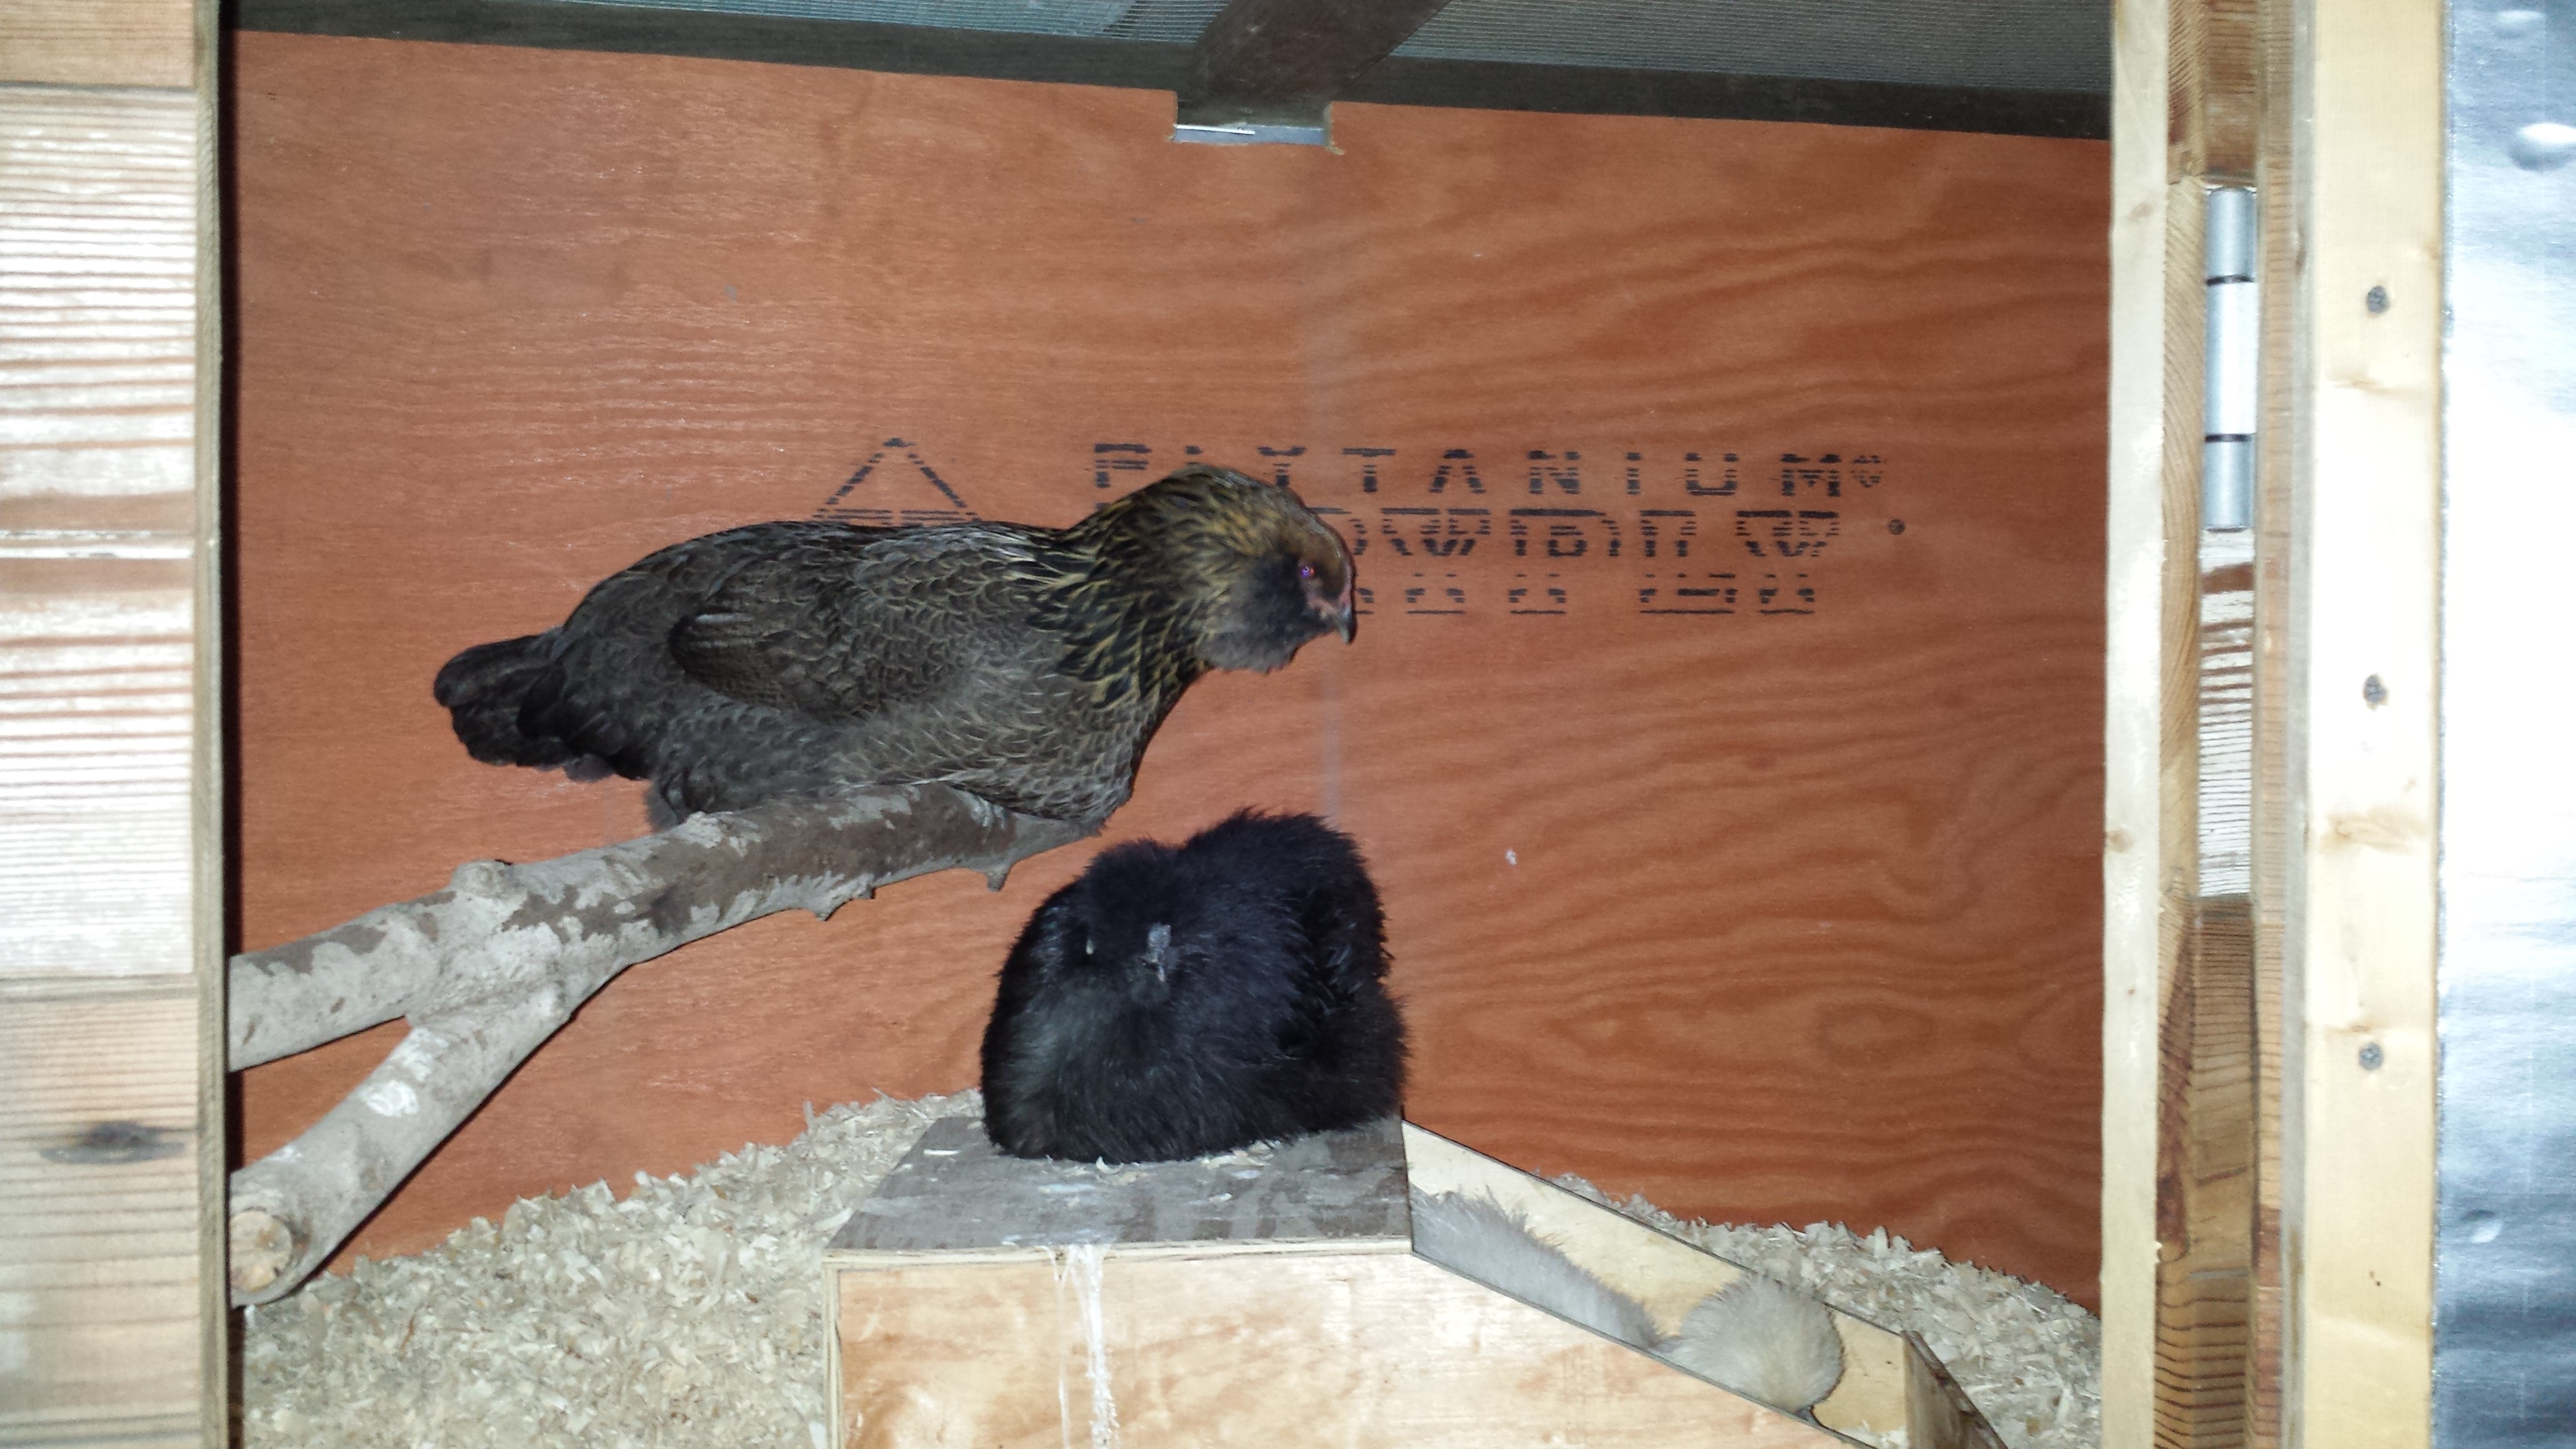
This chicken has a broody nature, and likes spend most of its time trying to hatch eggs. Even its wooden decoys.
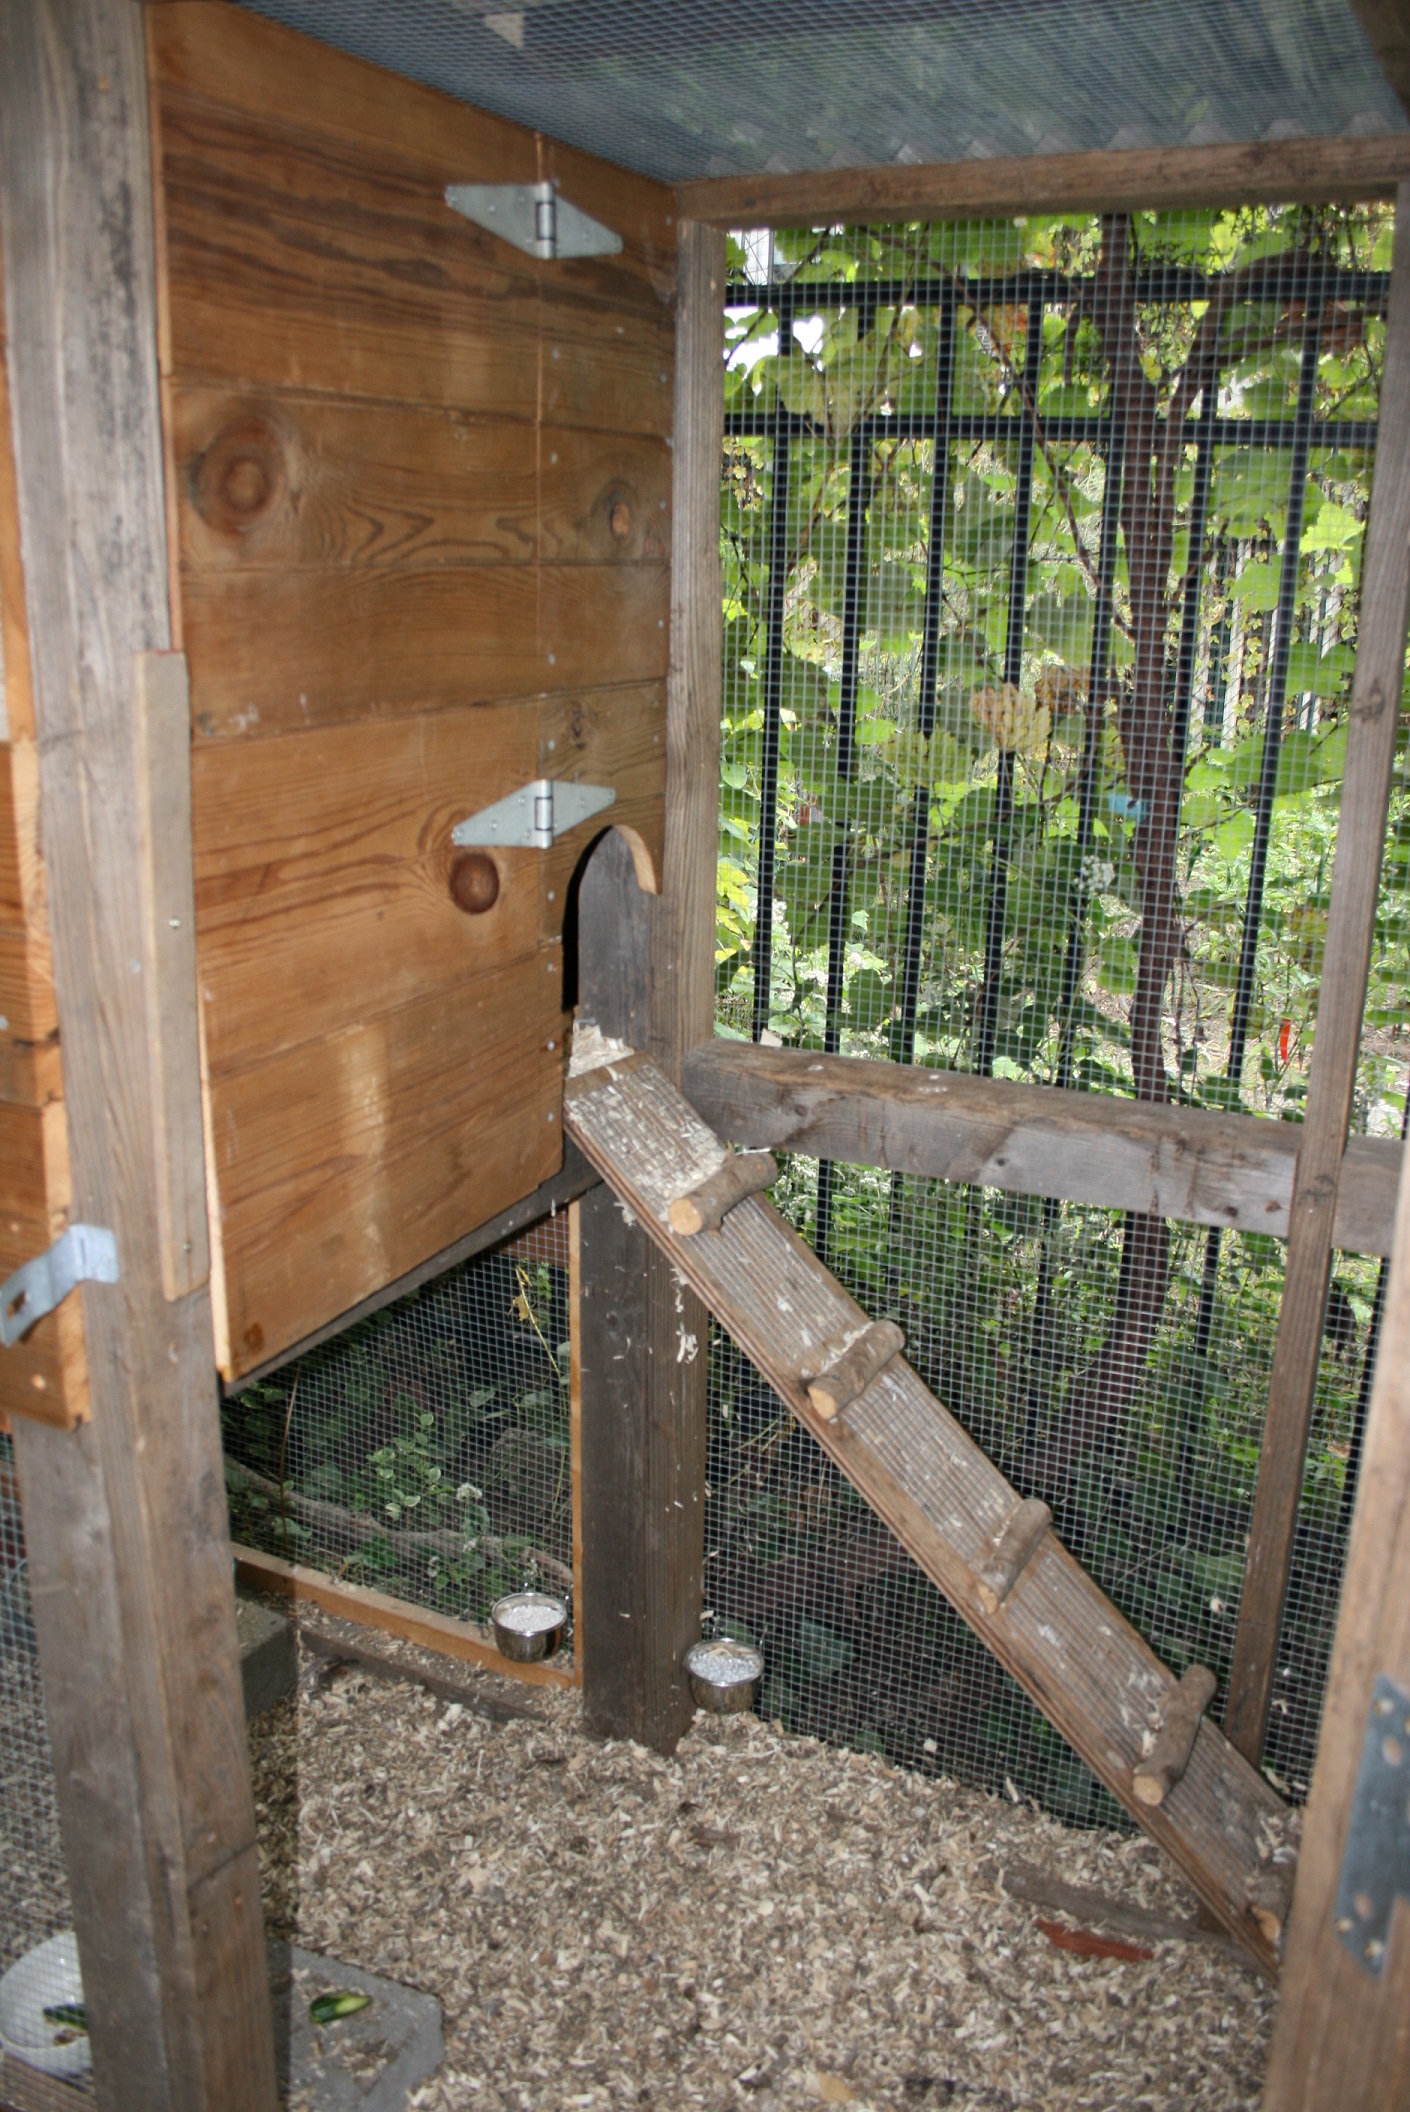
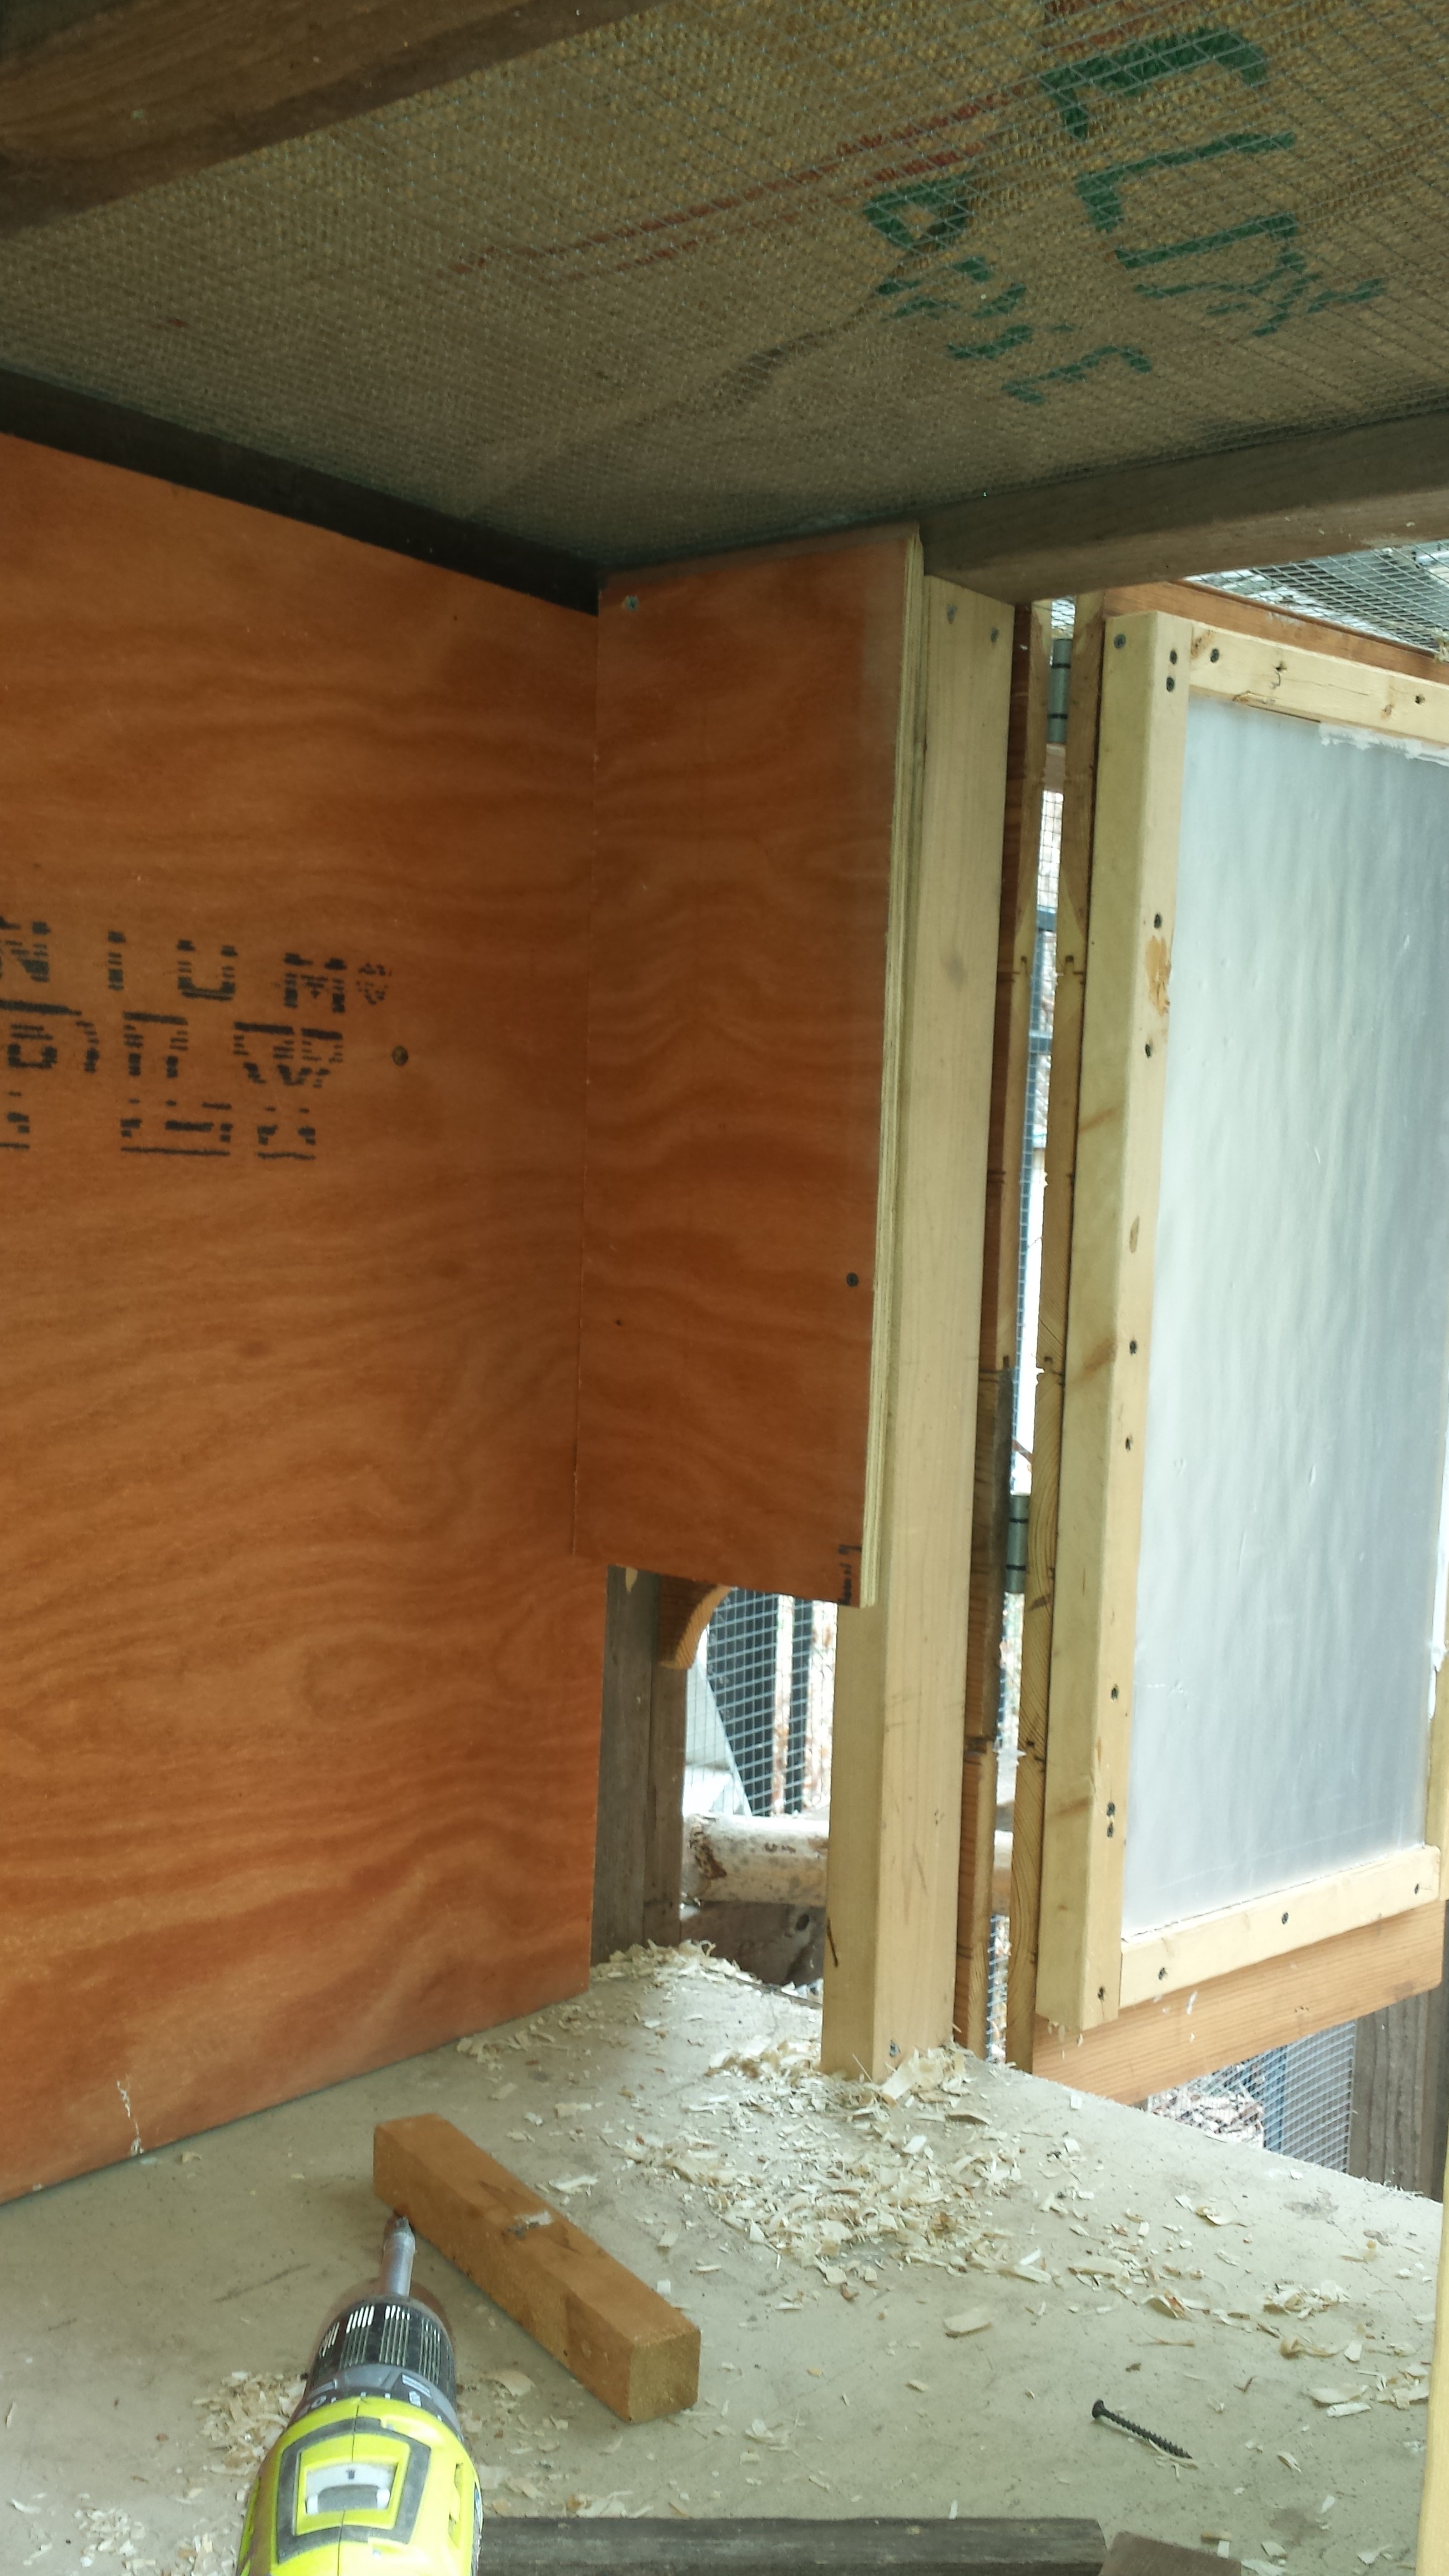
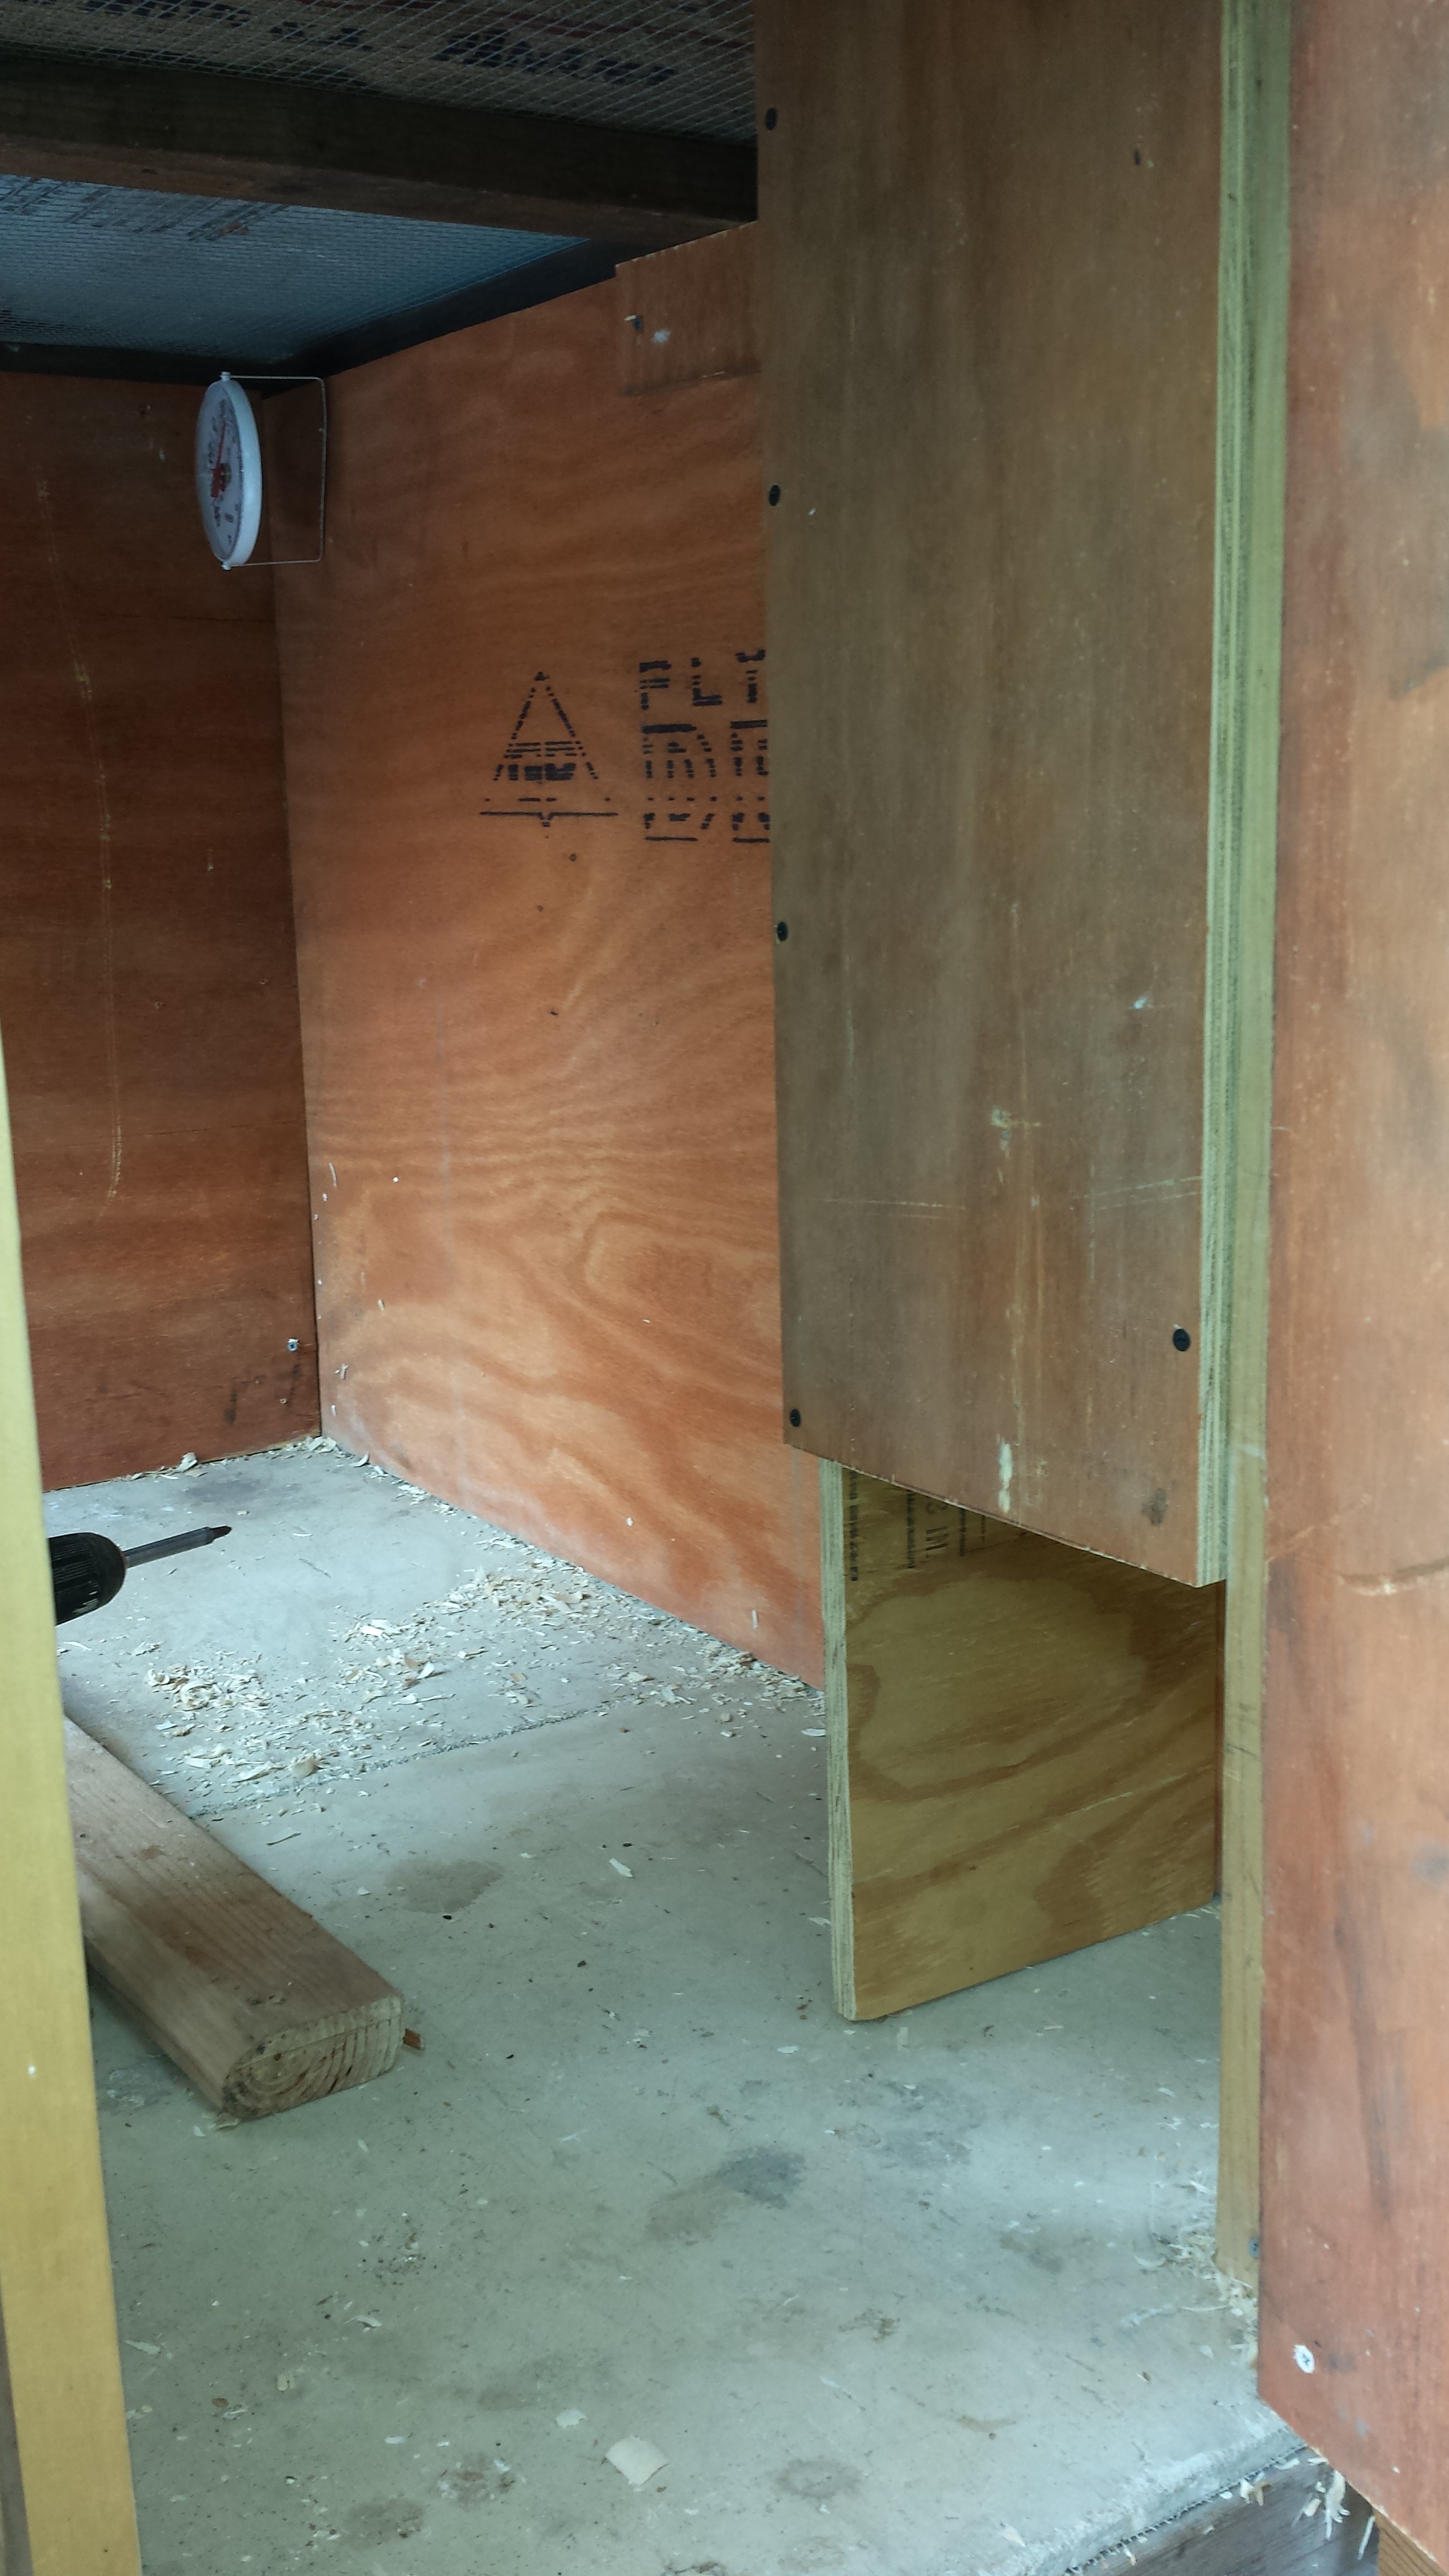
You can see here how I ended up installing the interior house door, and the chicken access door and ramp.

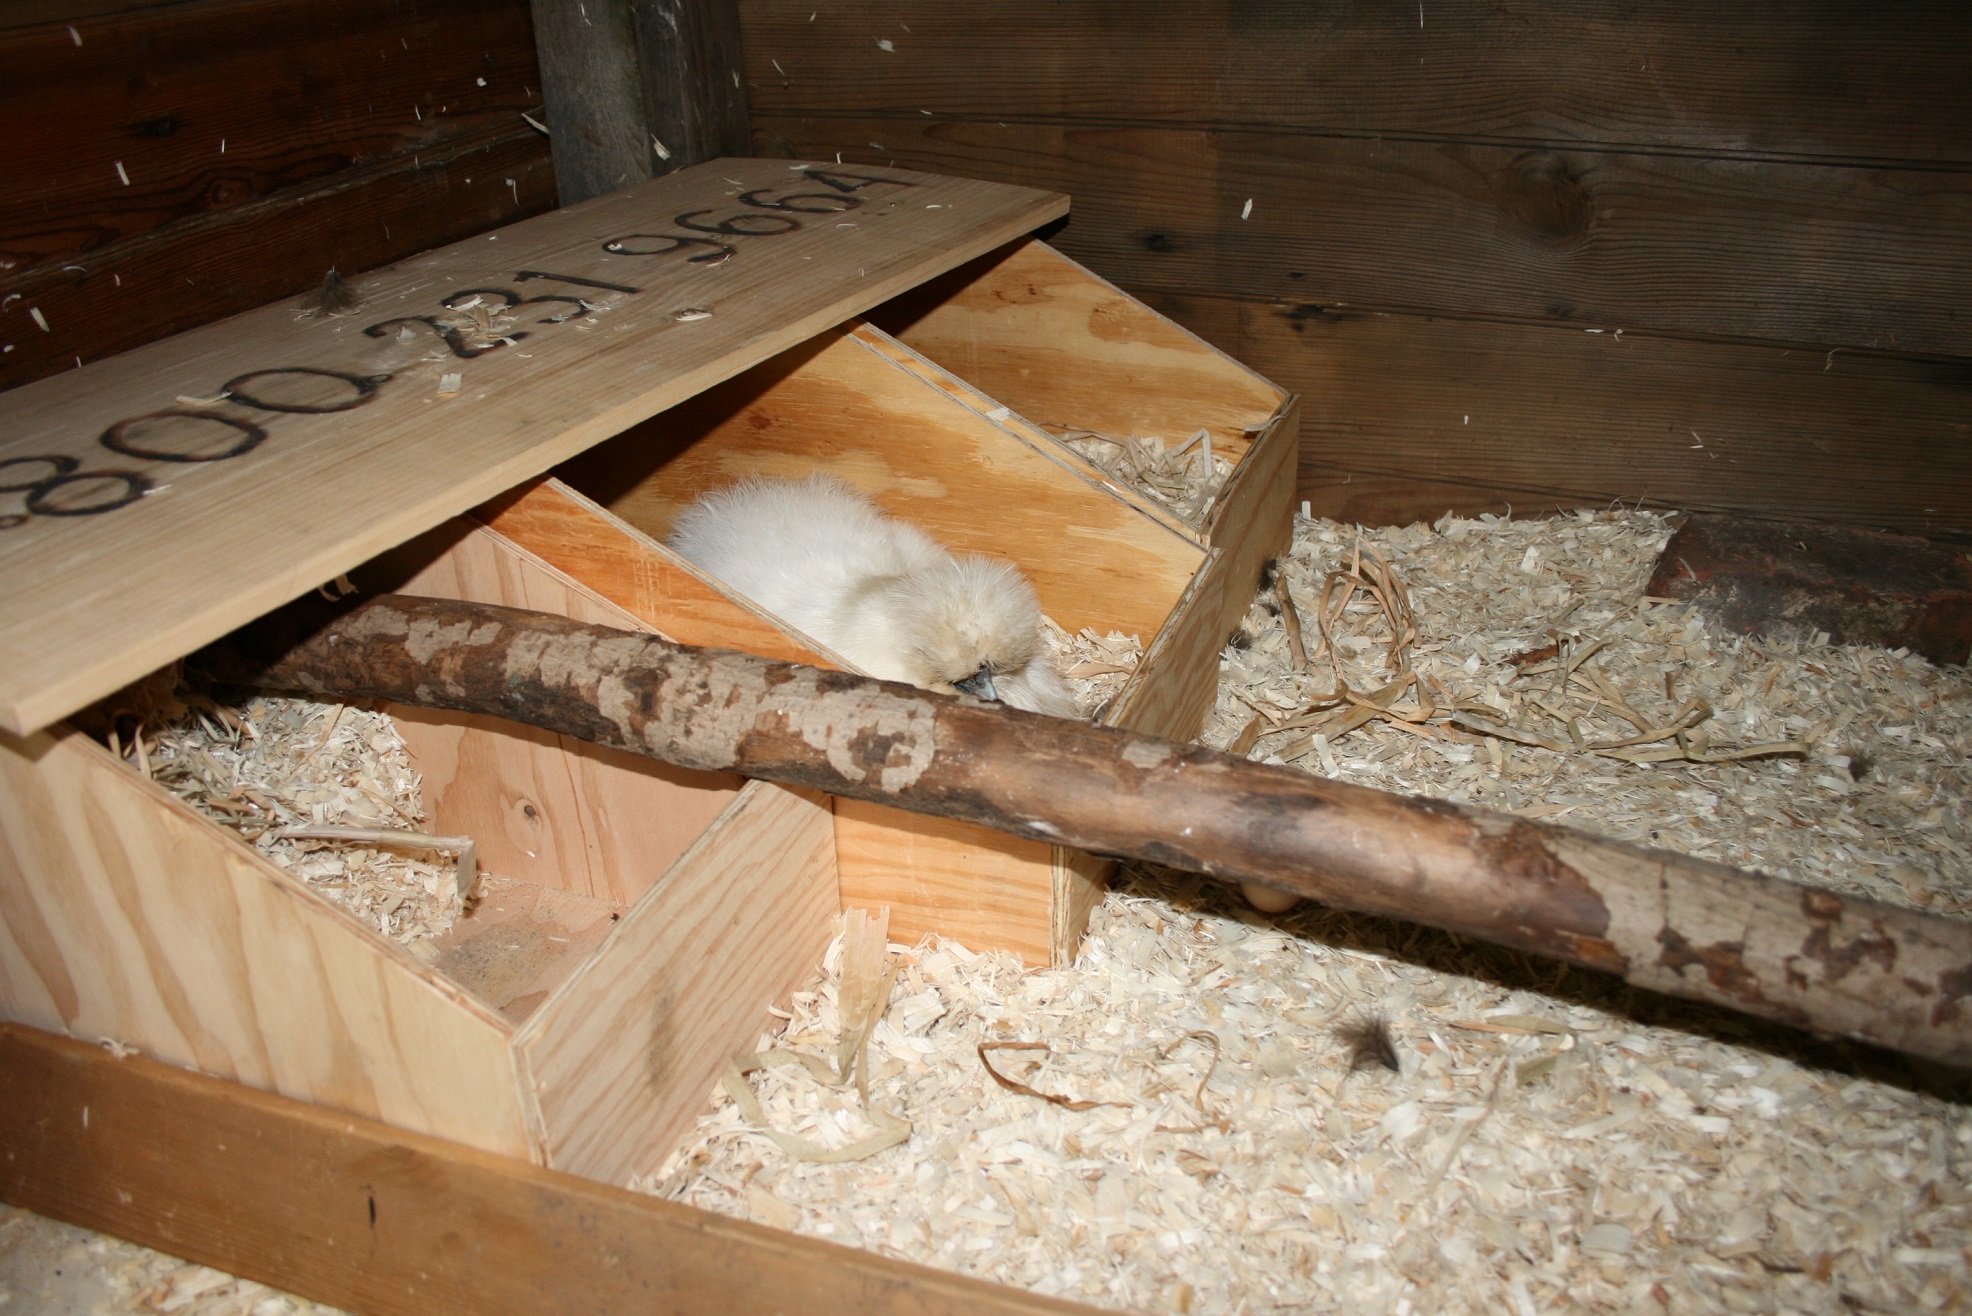
Interior door open. And yes that is a real egg.
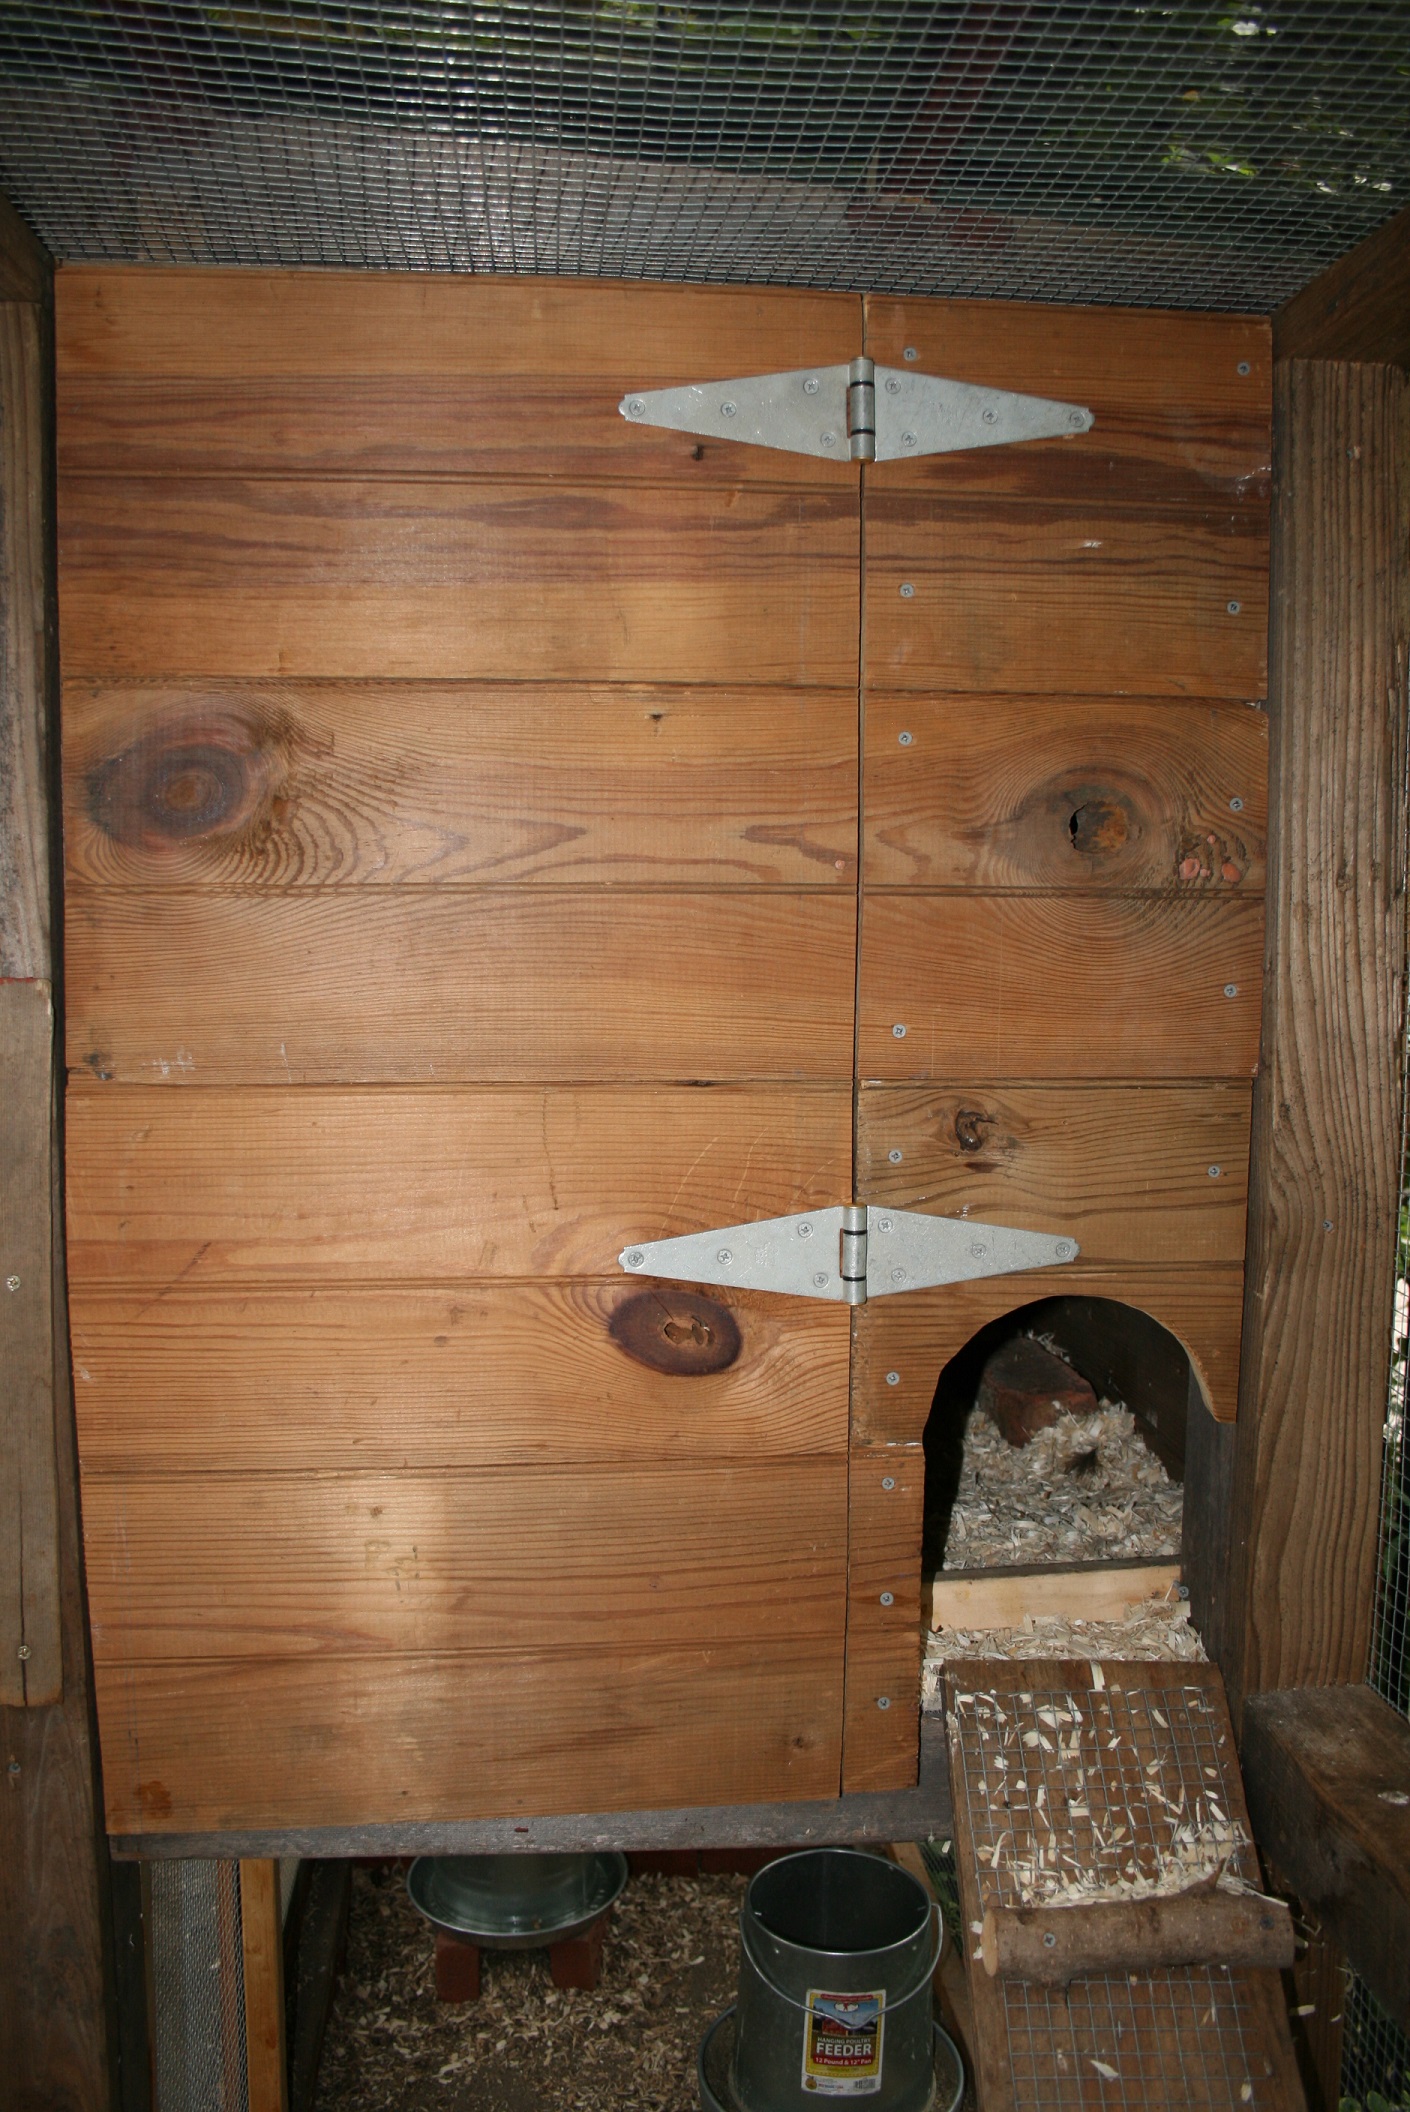
Interior door closed.
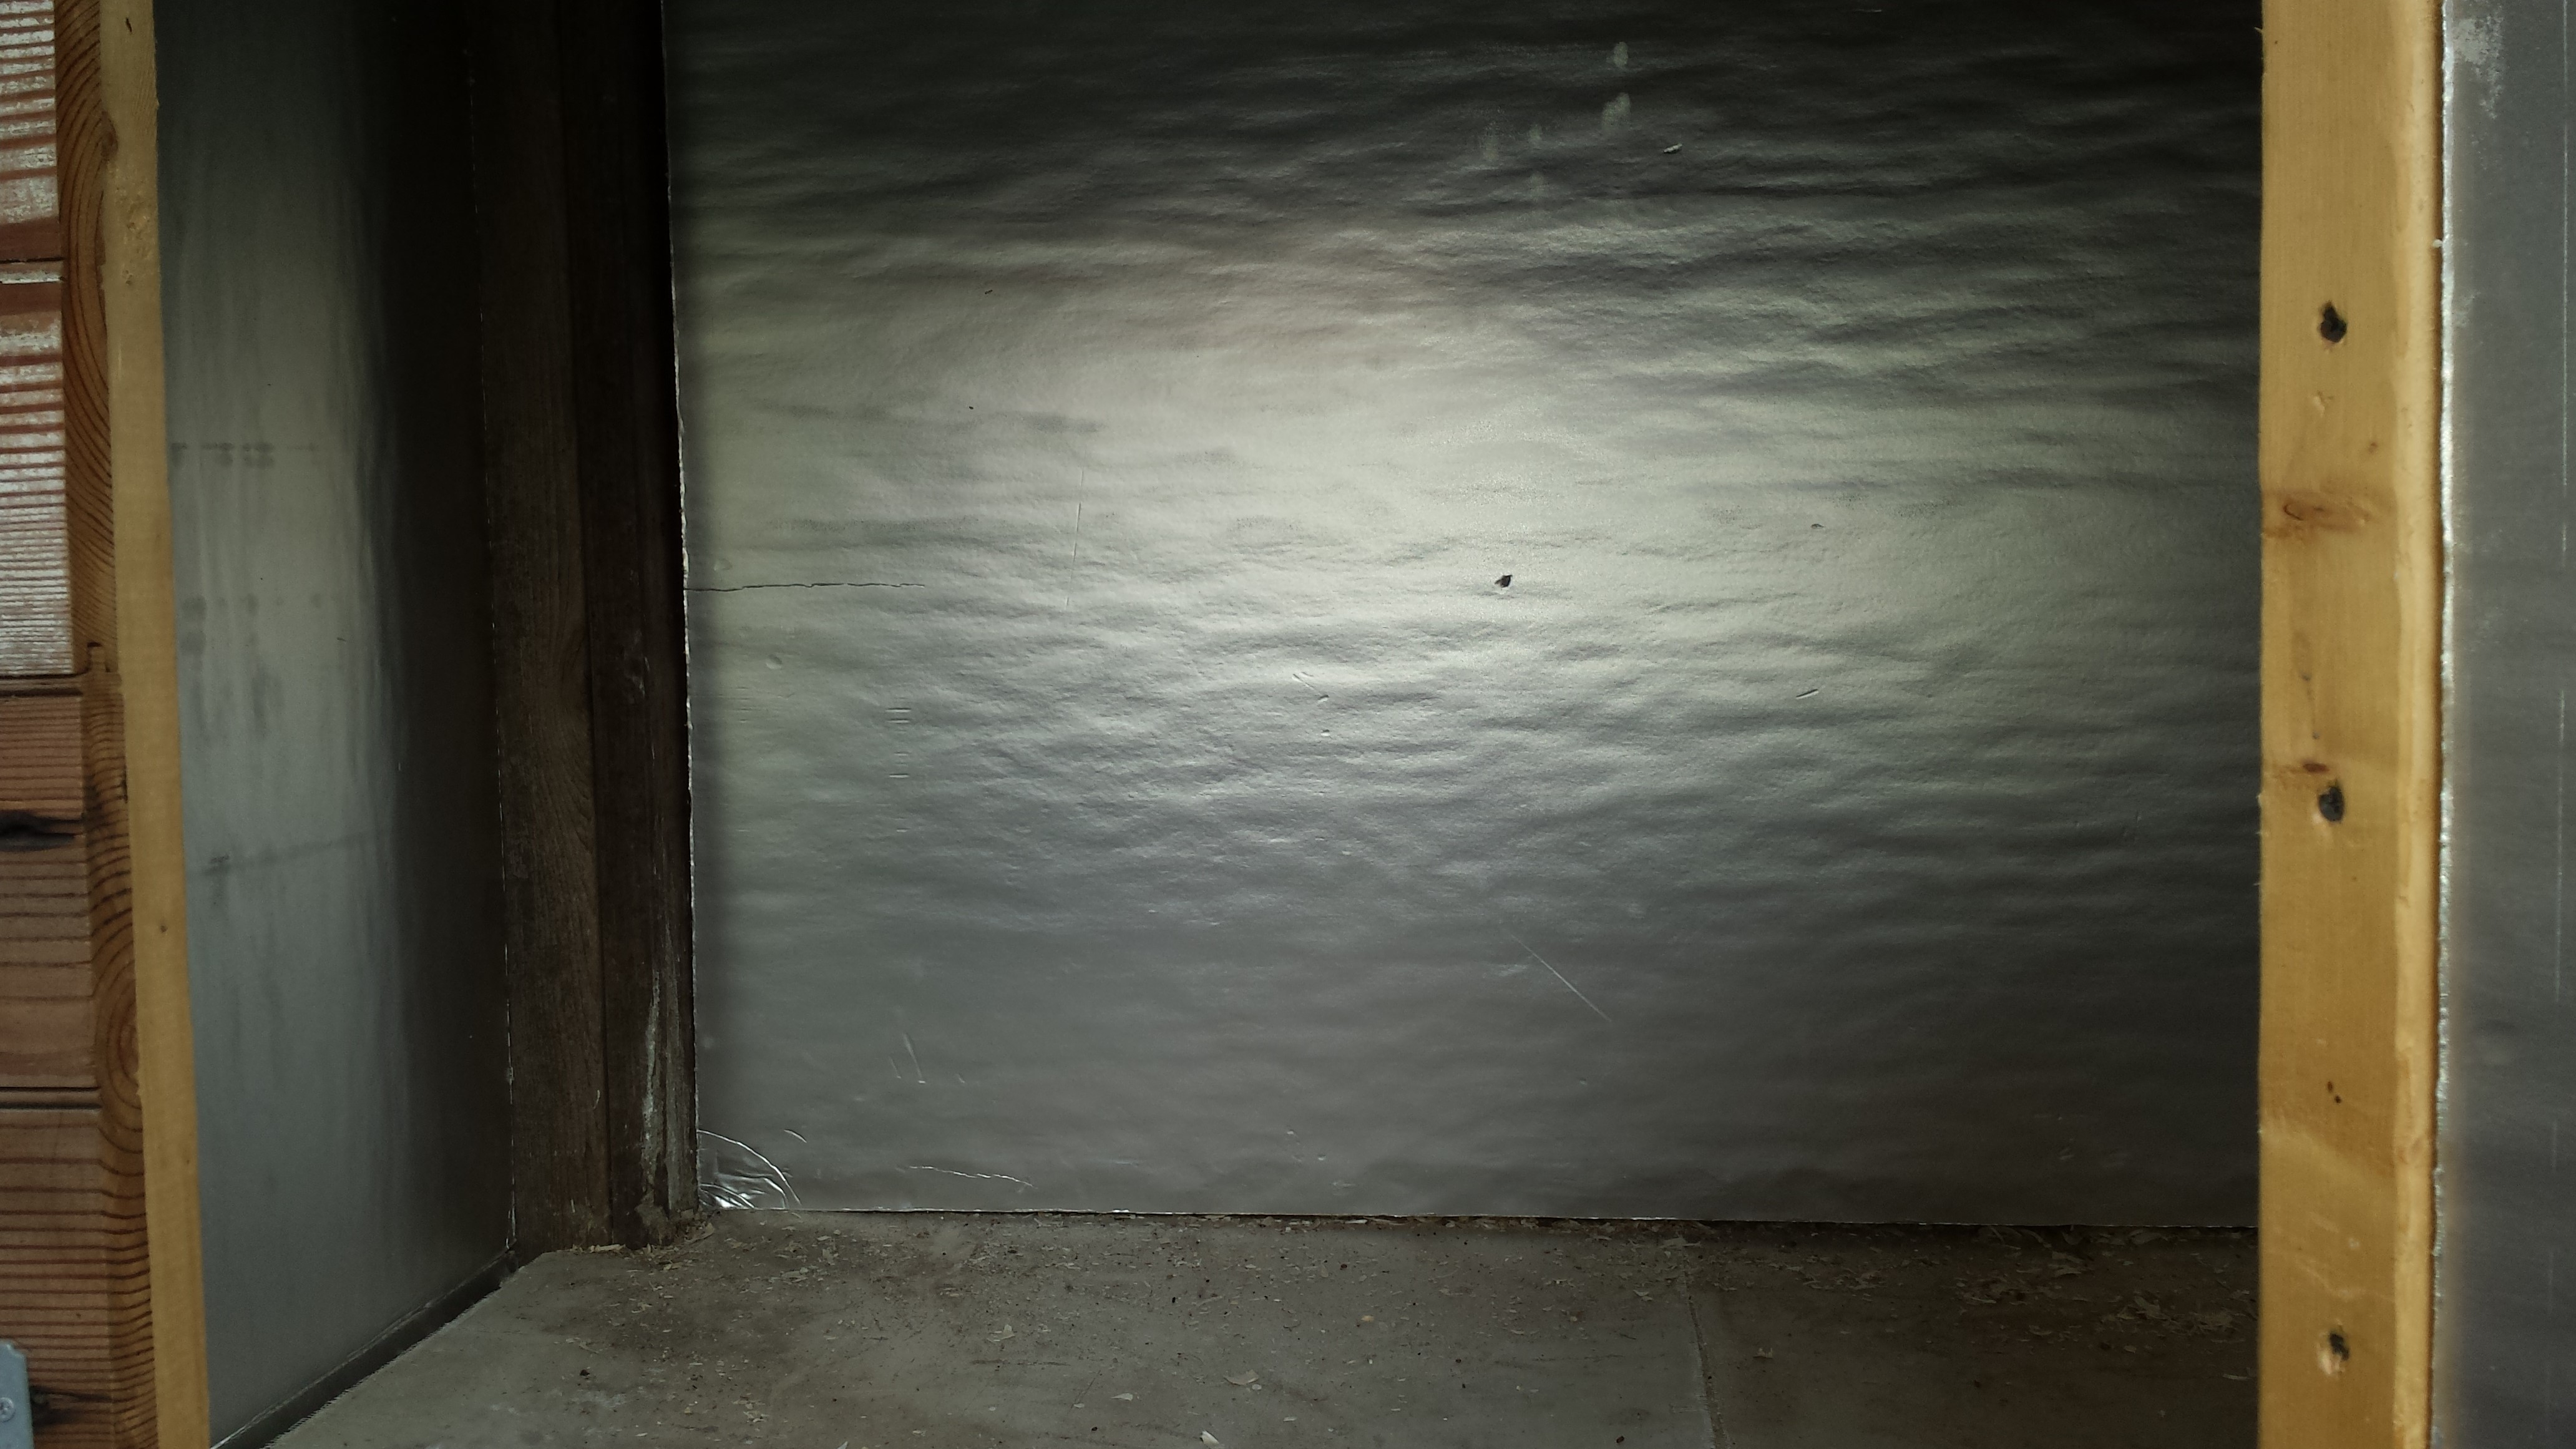
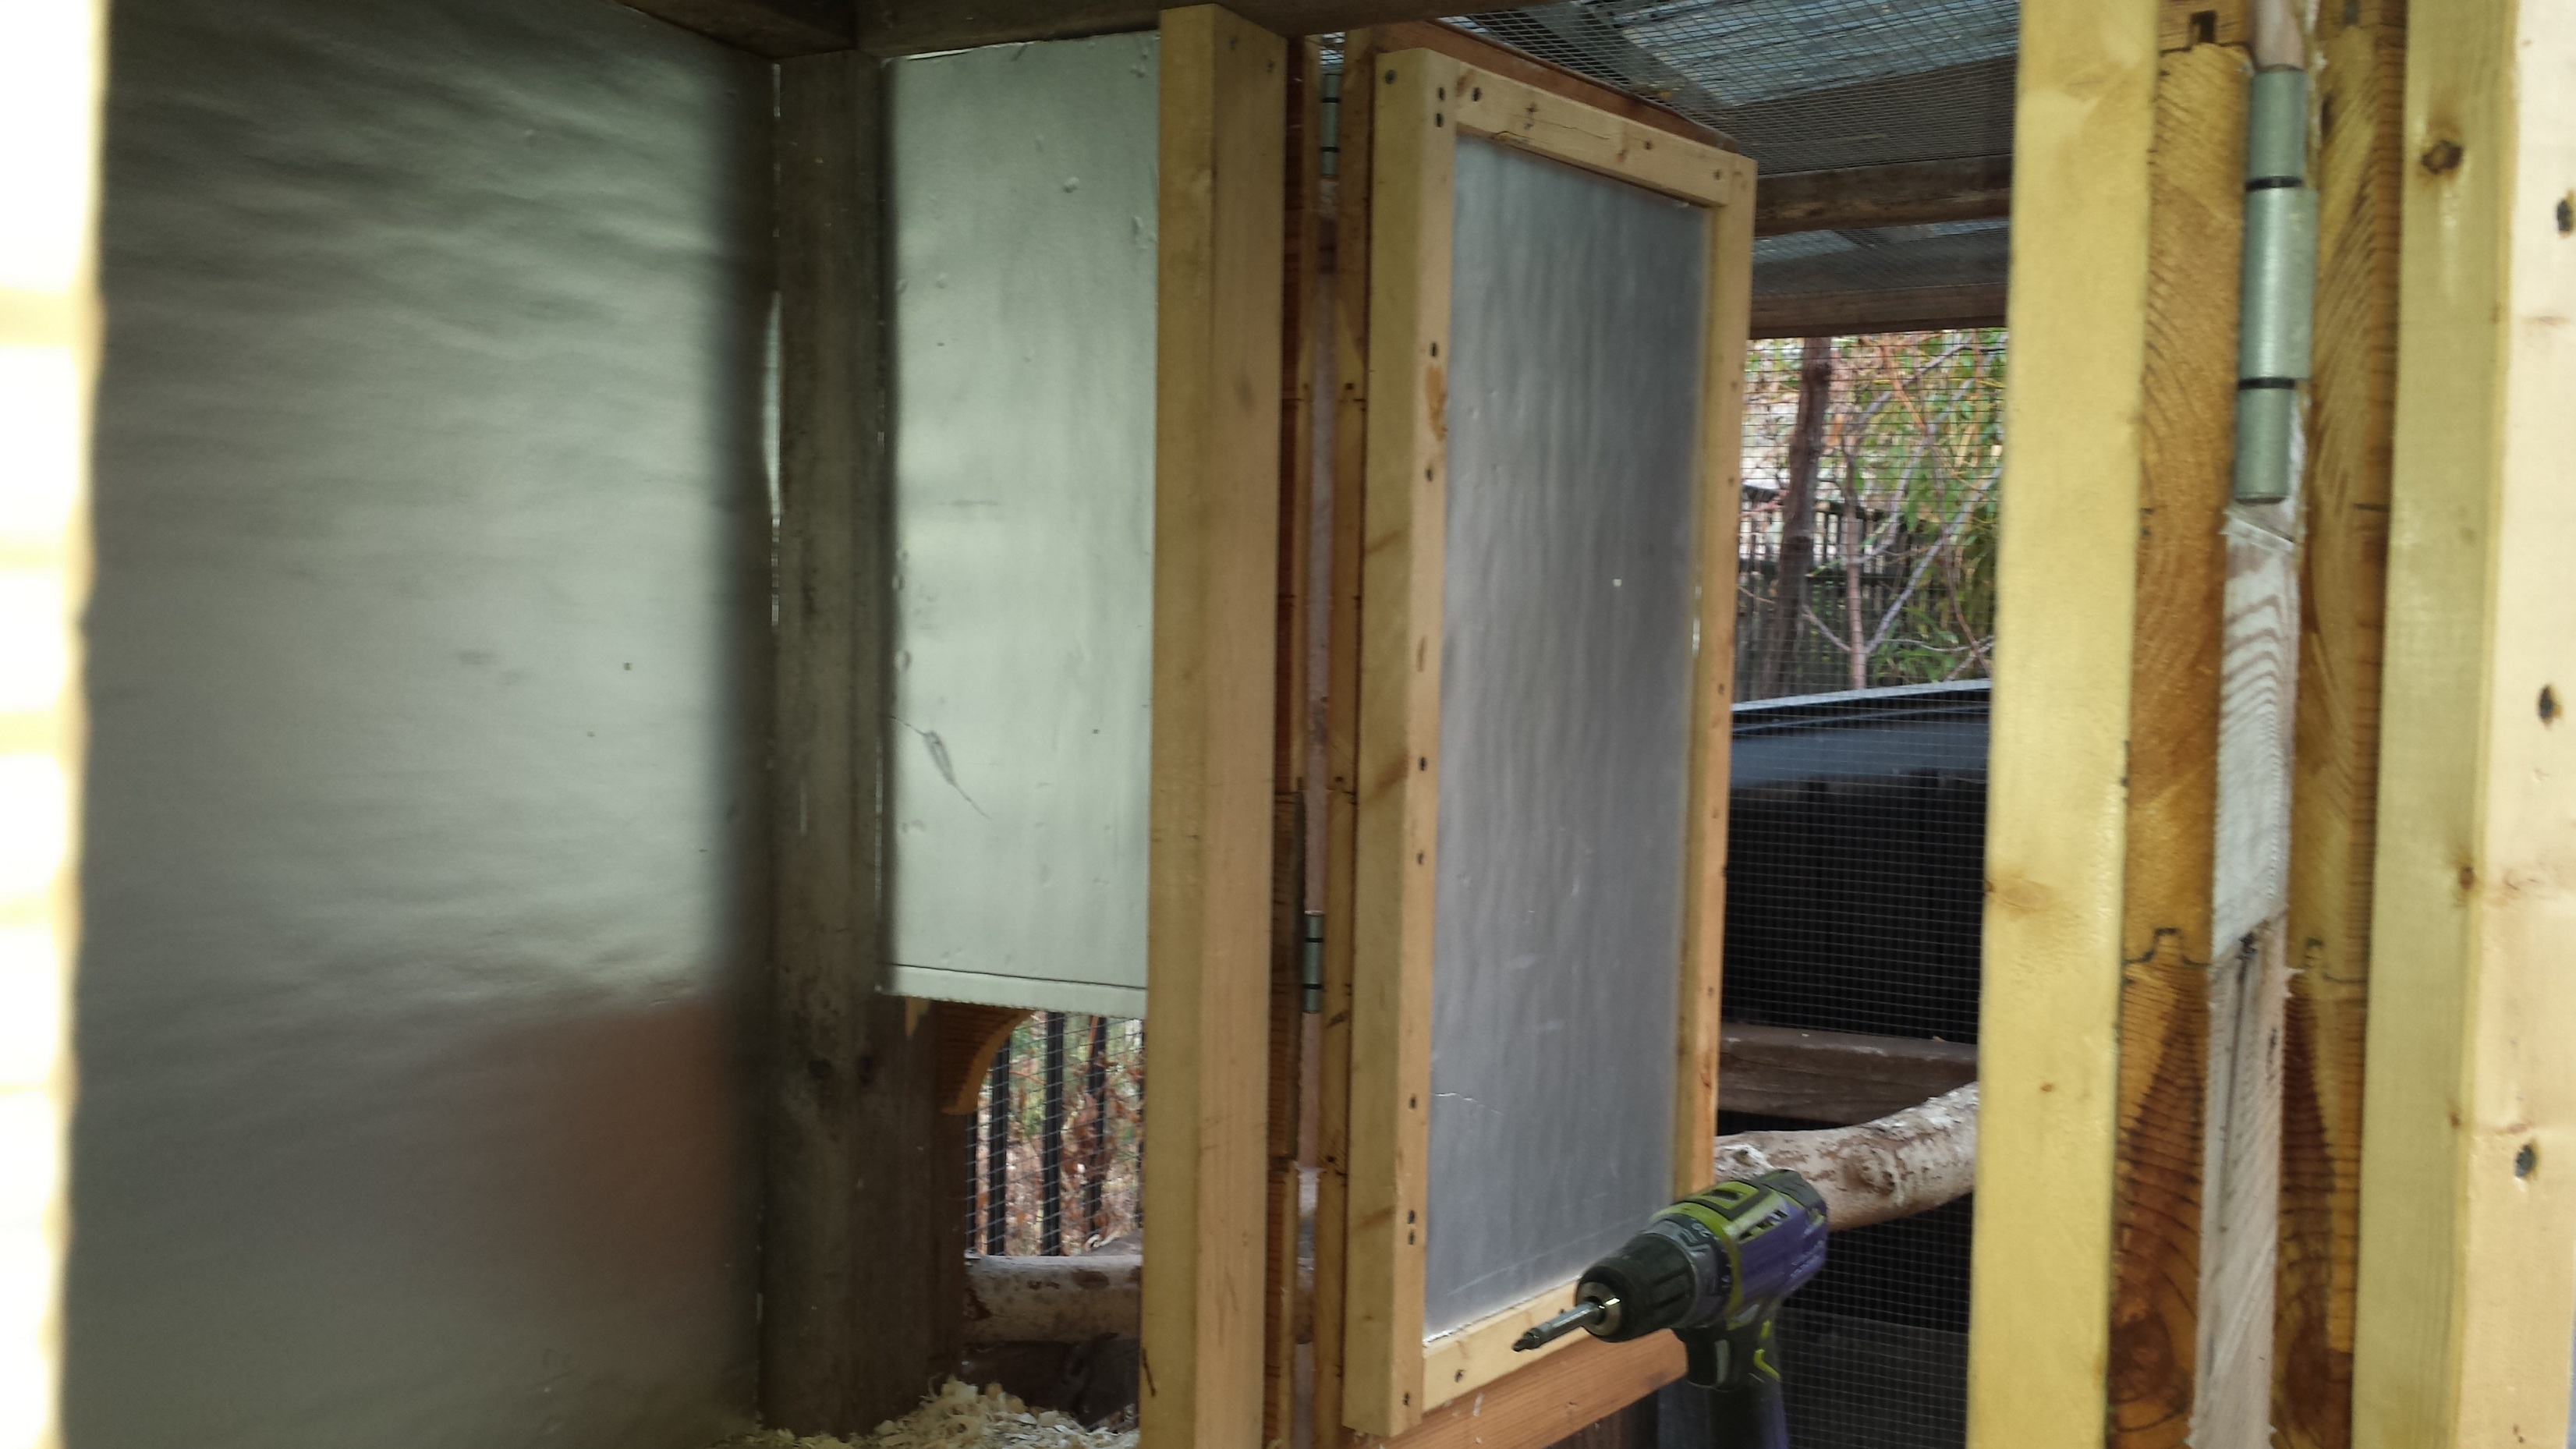
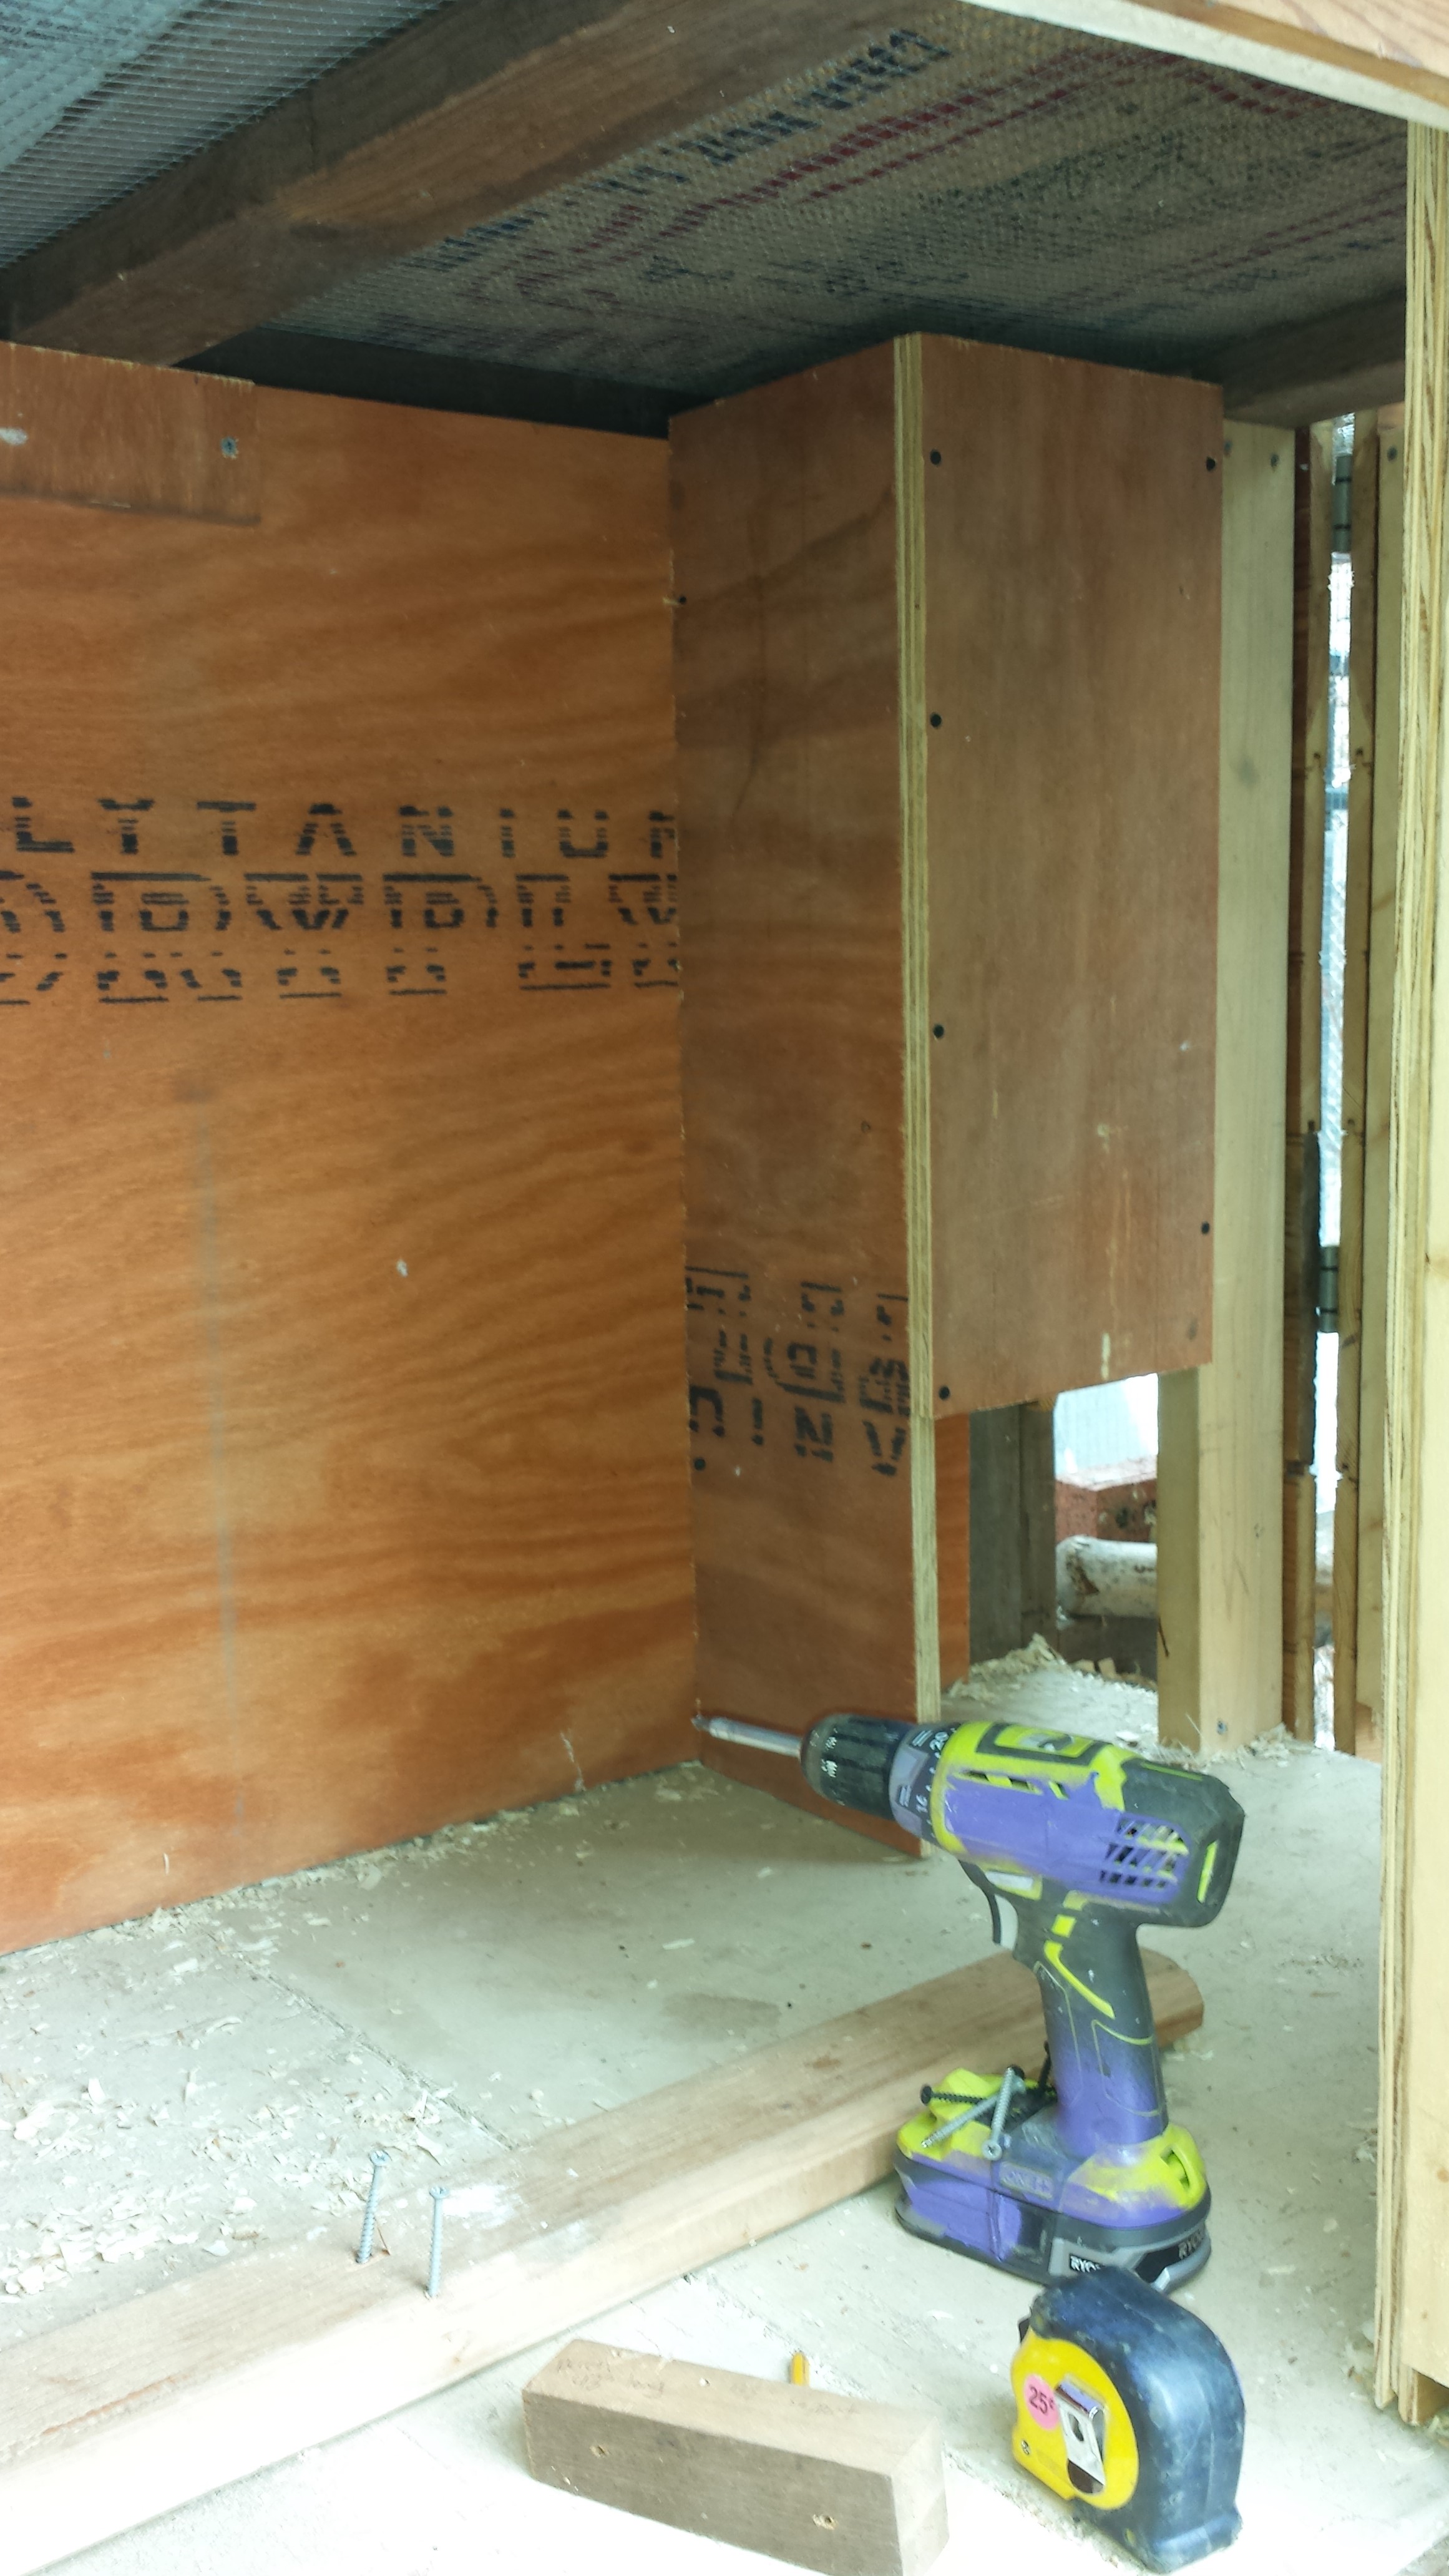
The start of this year’s winter insulation project. Here I was cutting and fitting in 1′ insulation board.
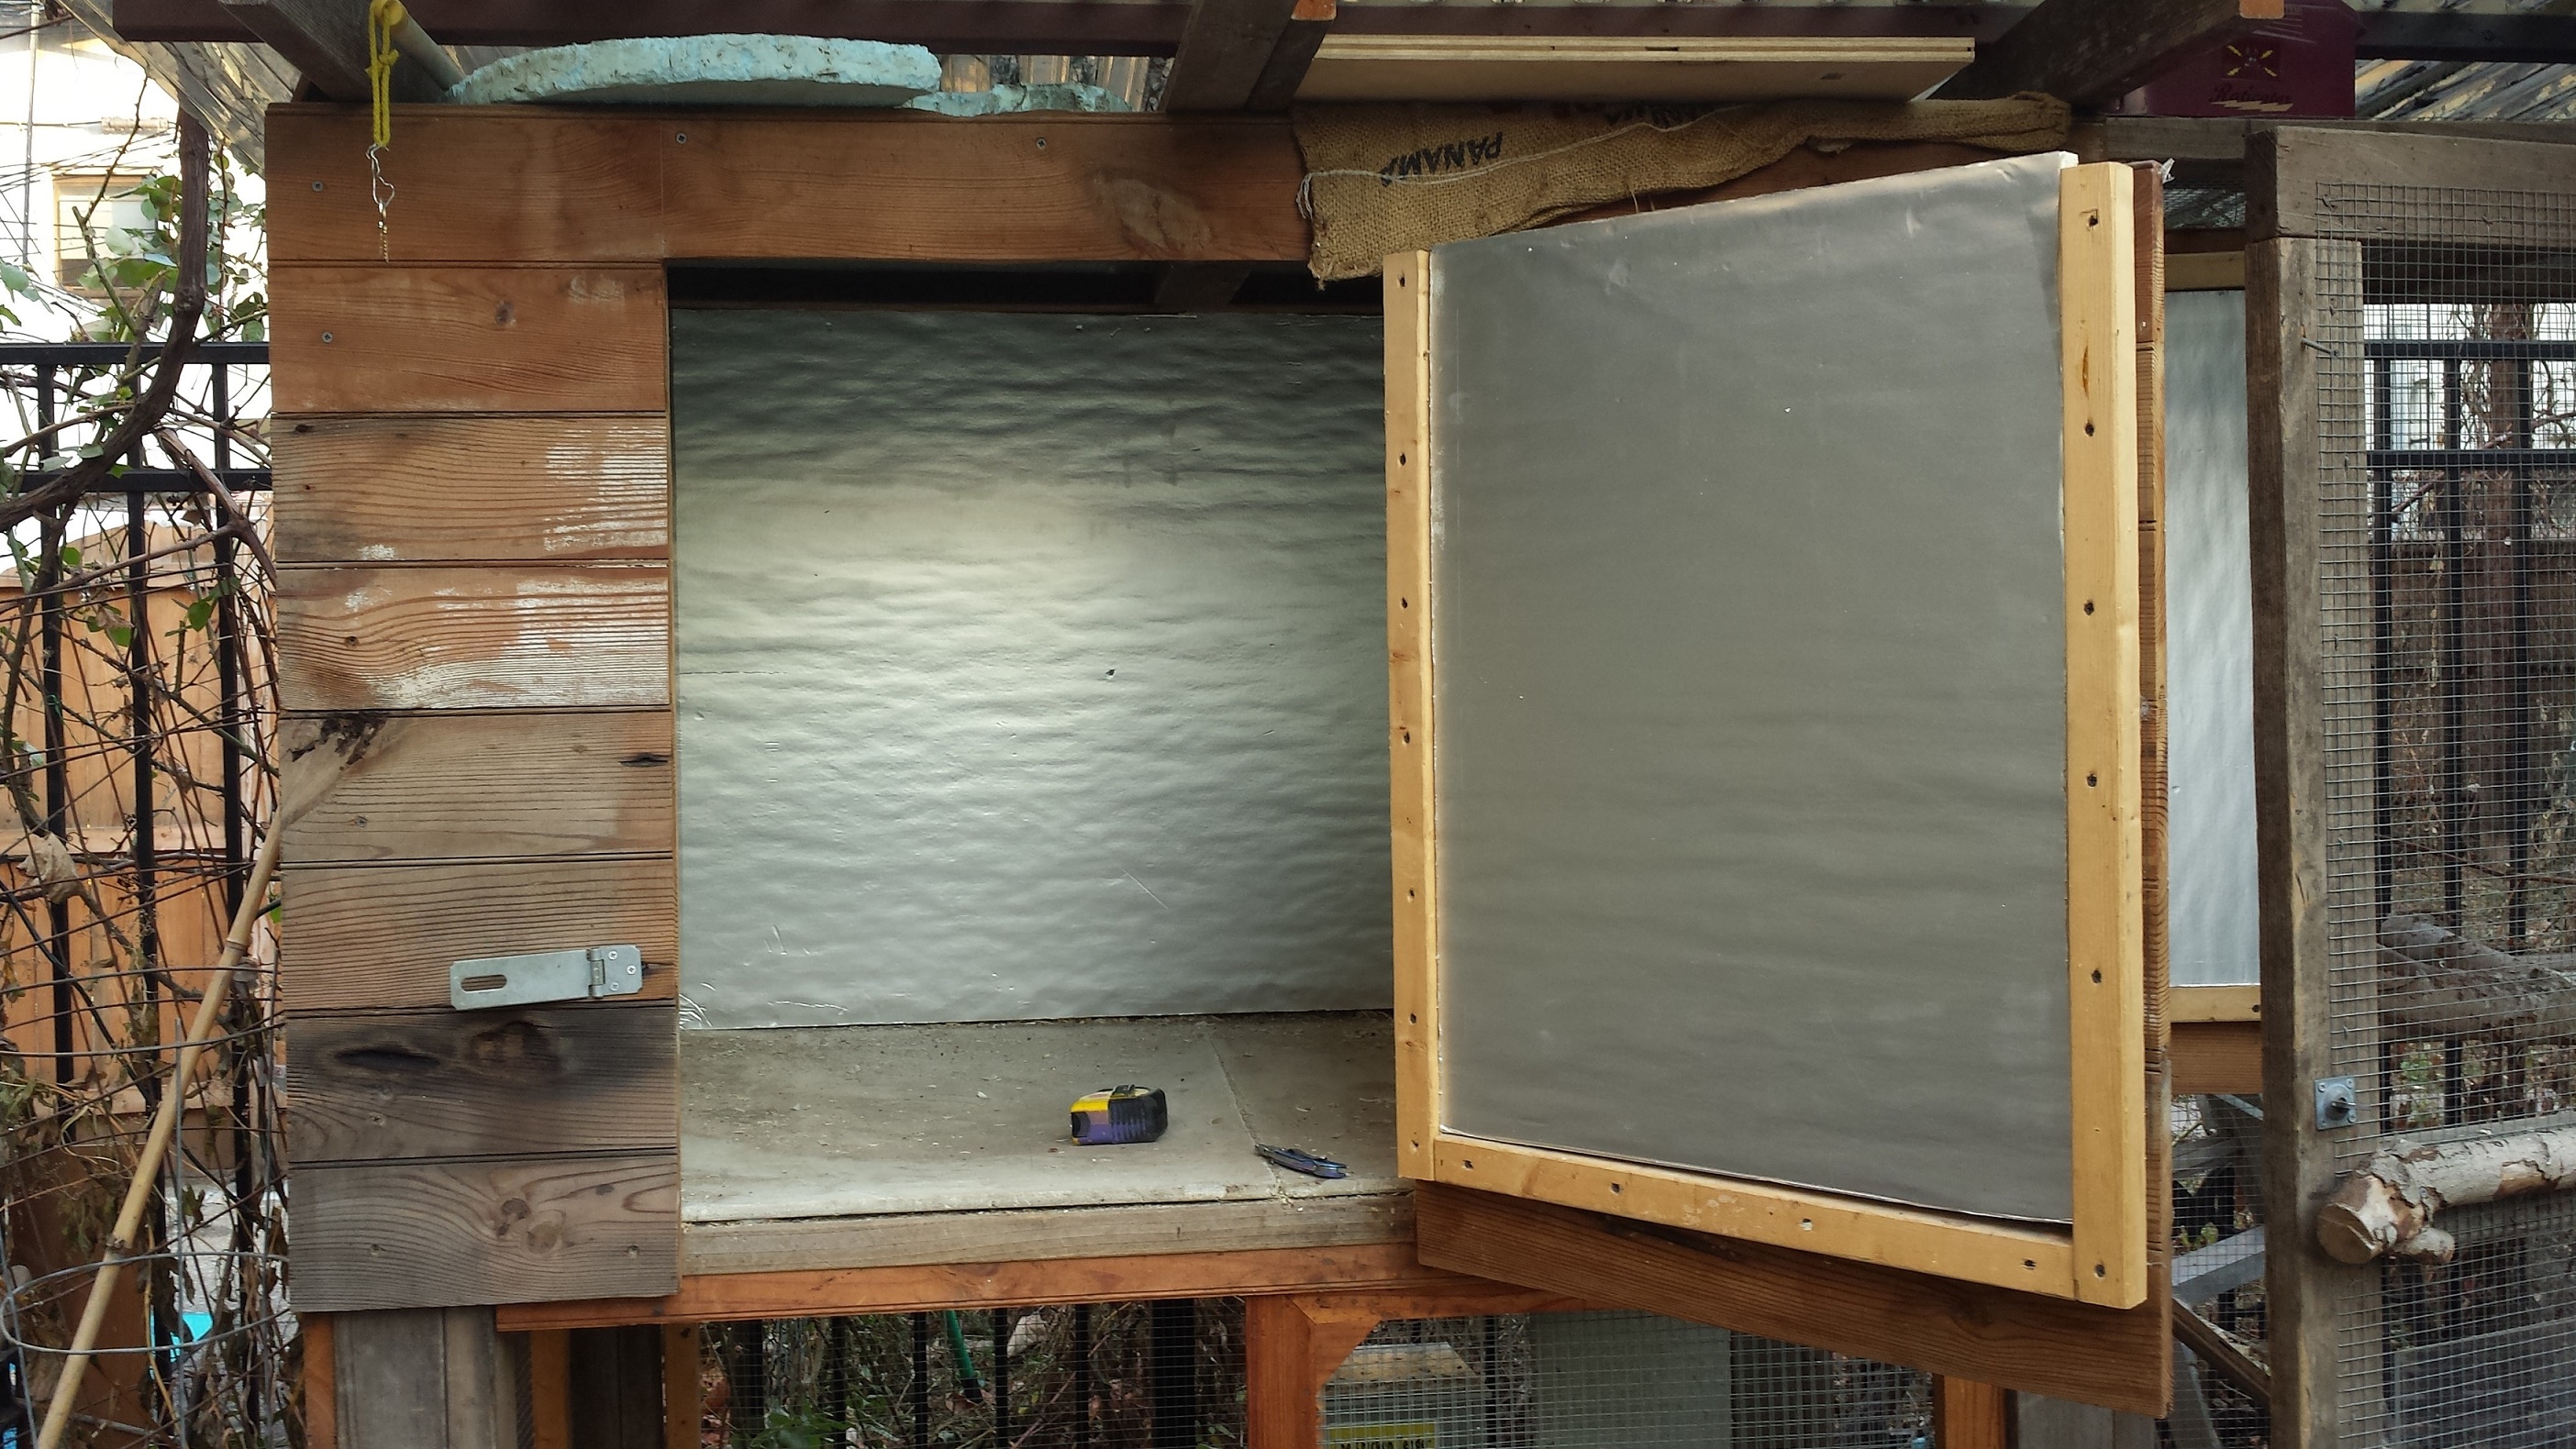
Even the doors are getting the treatment.


Getting ready for the night with the new temporary roost.

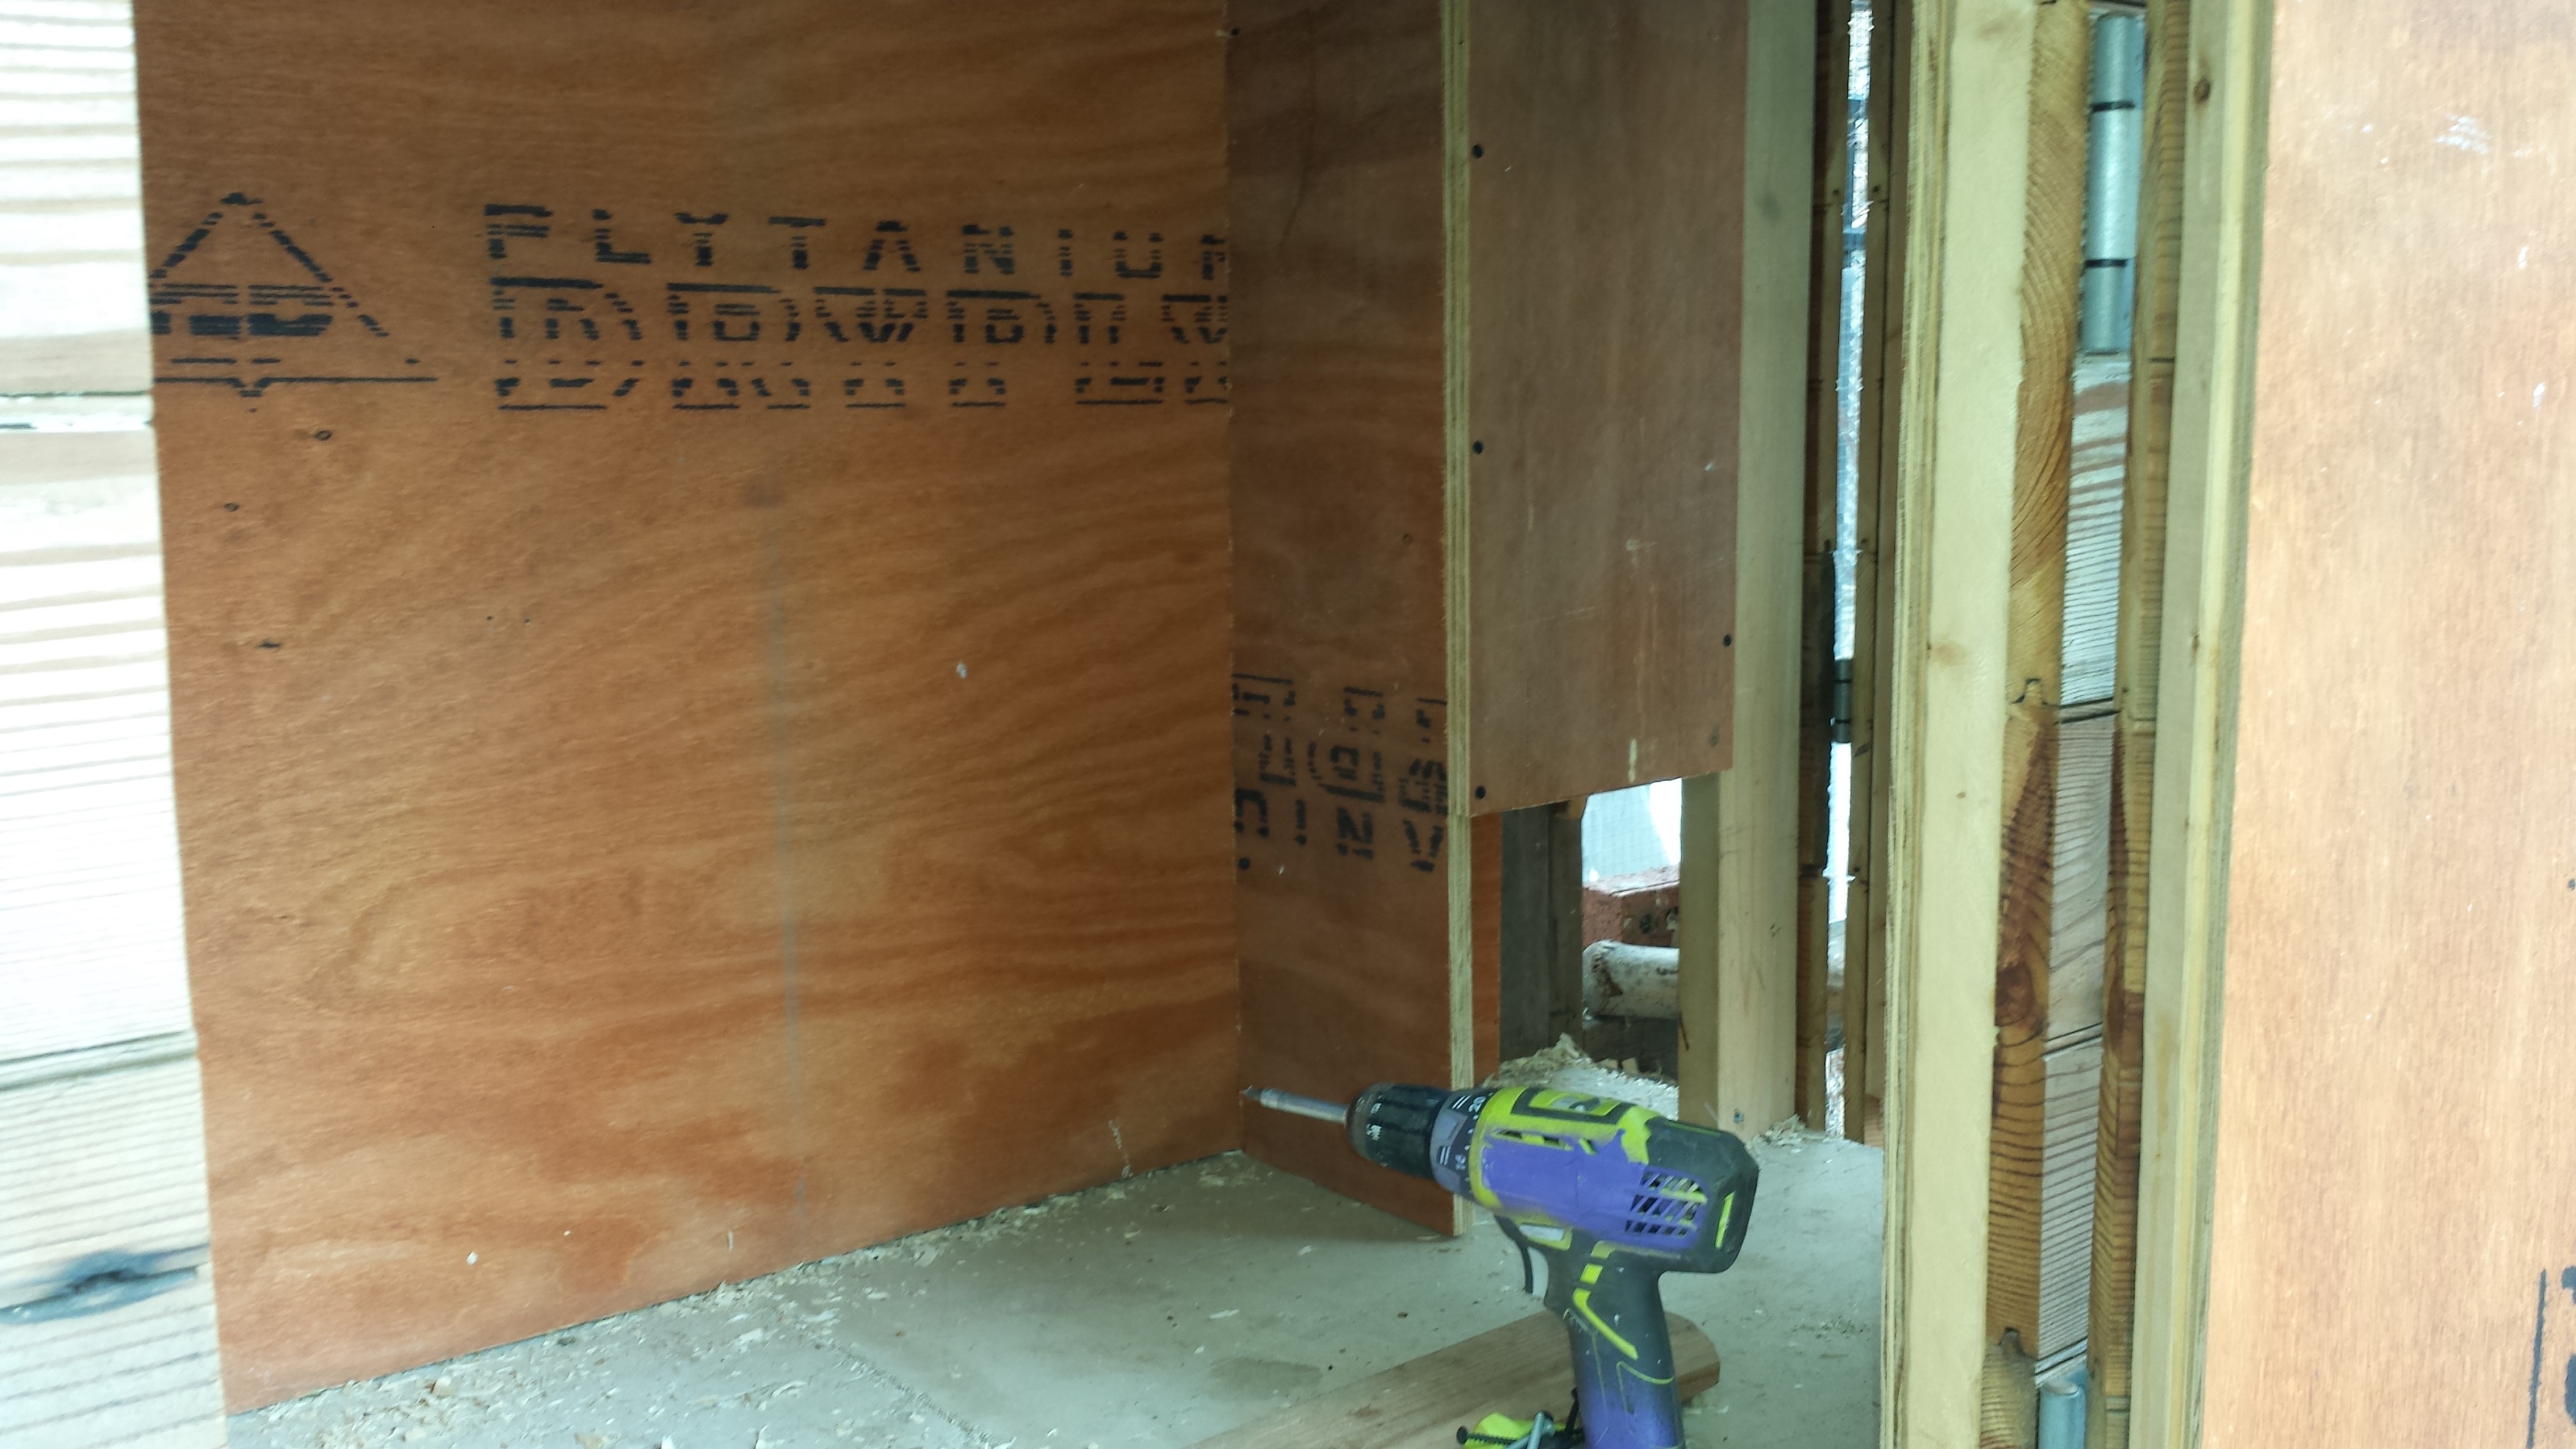
After the insulation board, I used non formaldehyde, water resistant, 3/4″ plywood to wall the interior house.
Chicken need good ventilation, with out draftiness. Her you can see the top of the coop is covered with mesh, again to keep out vermin, but allow the coop to breathe.

Zen and the Art of Backyard Brooklyn Chicken.