This is a current and ongoing project. Job is fairly simple. The apartment owner decided he wanted make the room a little bigger by removing the framed out sheet rock walls. He was also interested in the beauty of an exposed brick wall. Unfortunately like most interior brick walls in the city, they weren’t built for aesthetics originally. The mortar work is rough and some of the bricks are broken or scored. To make this wall look good, it will definitely requires a re-pointing job. What follows is a pictorial transformation from an untouched wall to completed form.
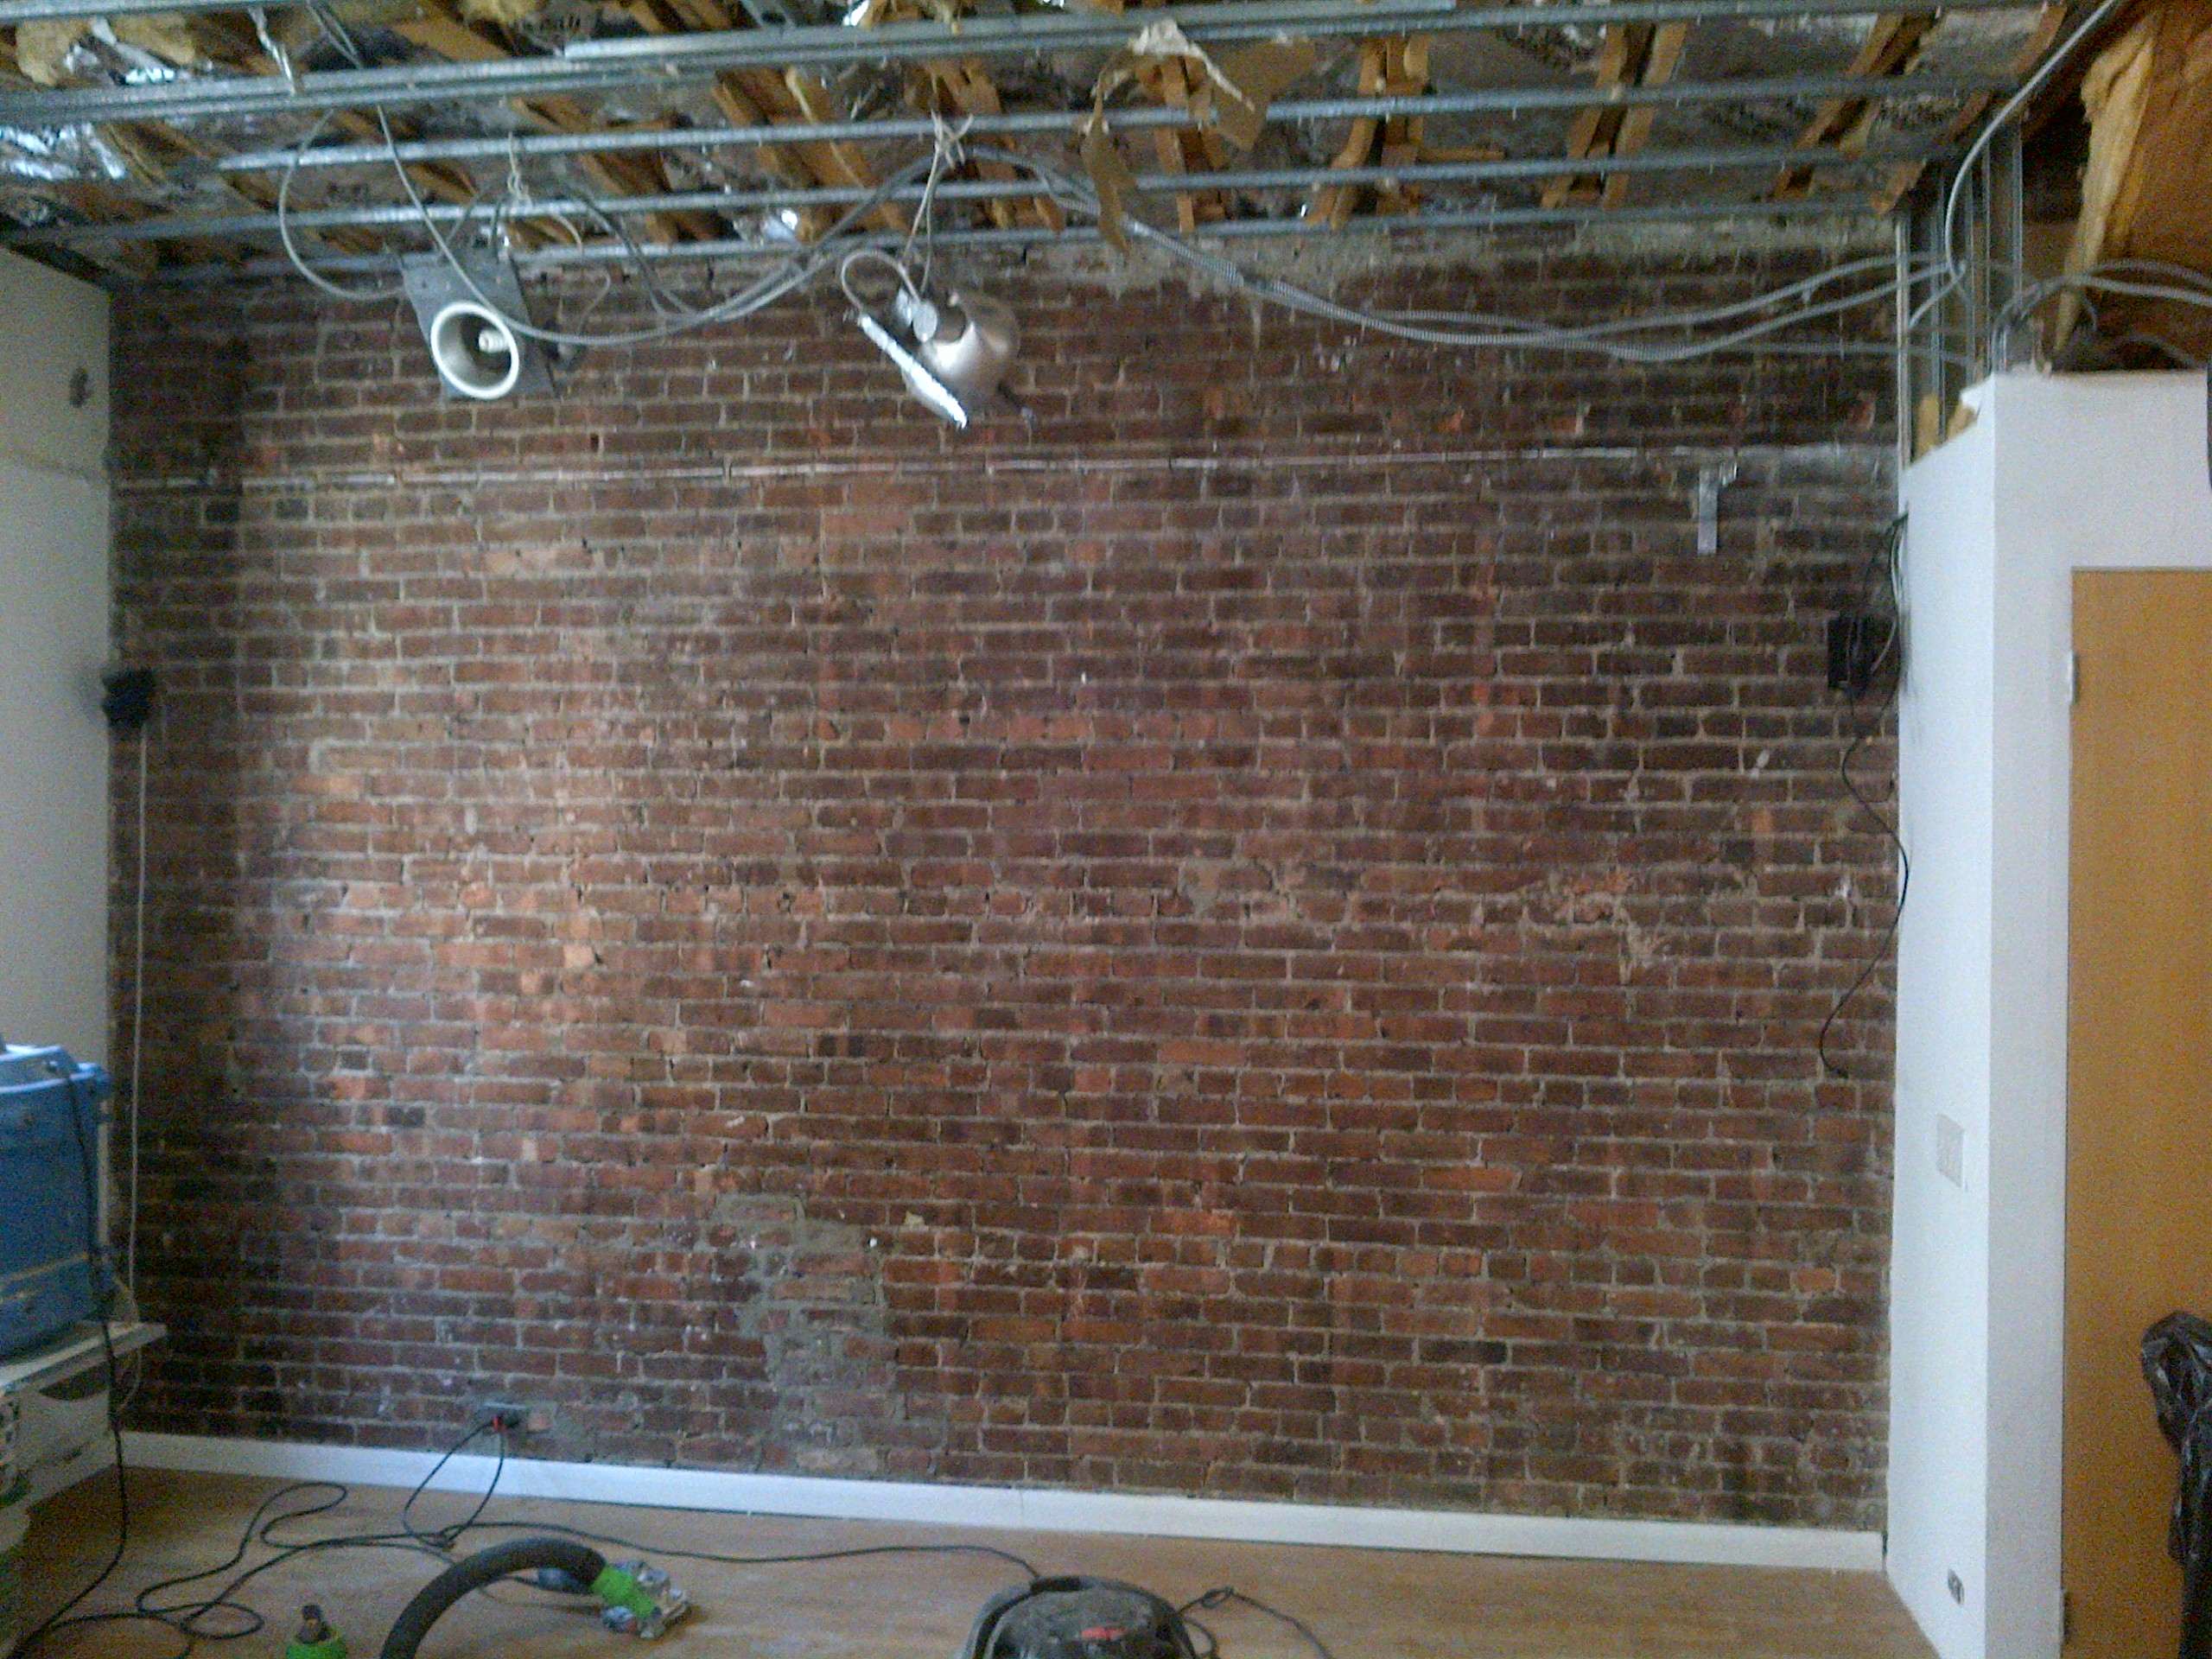
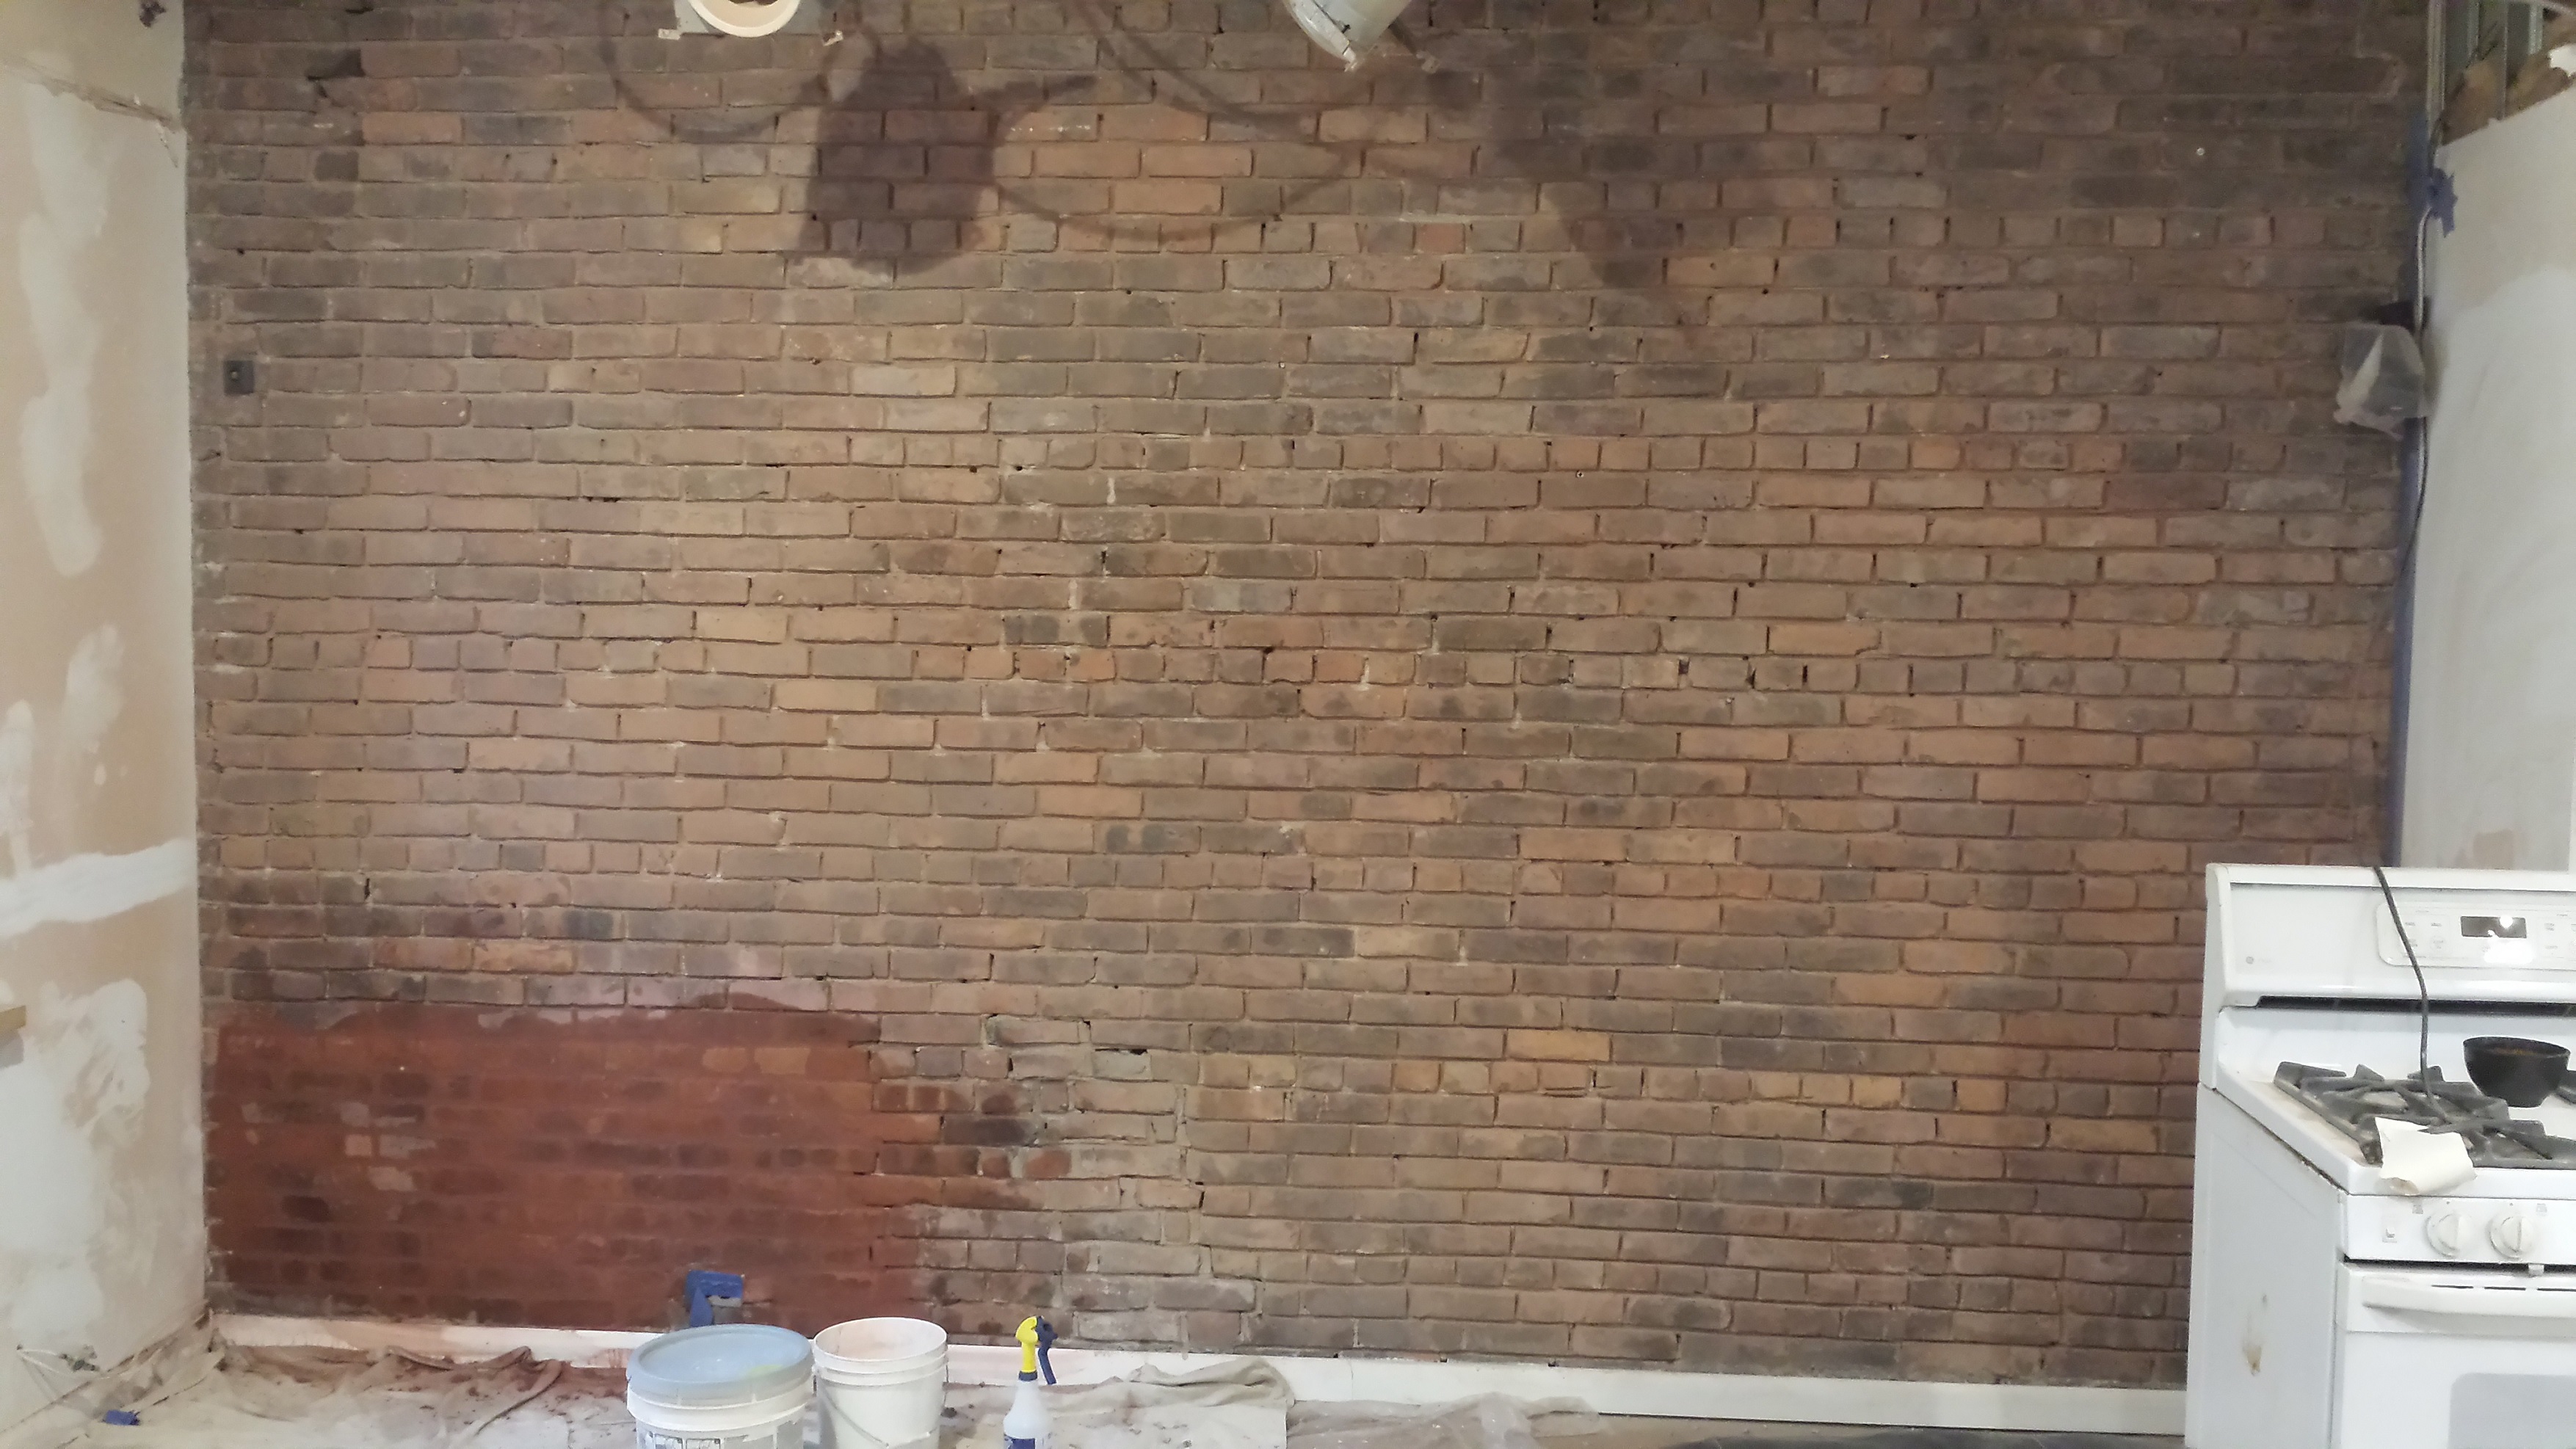
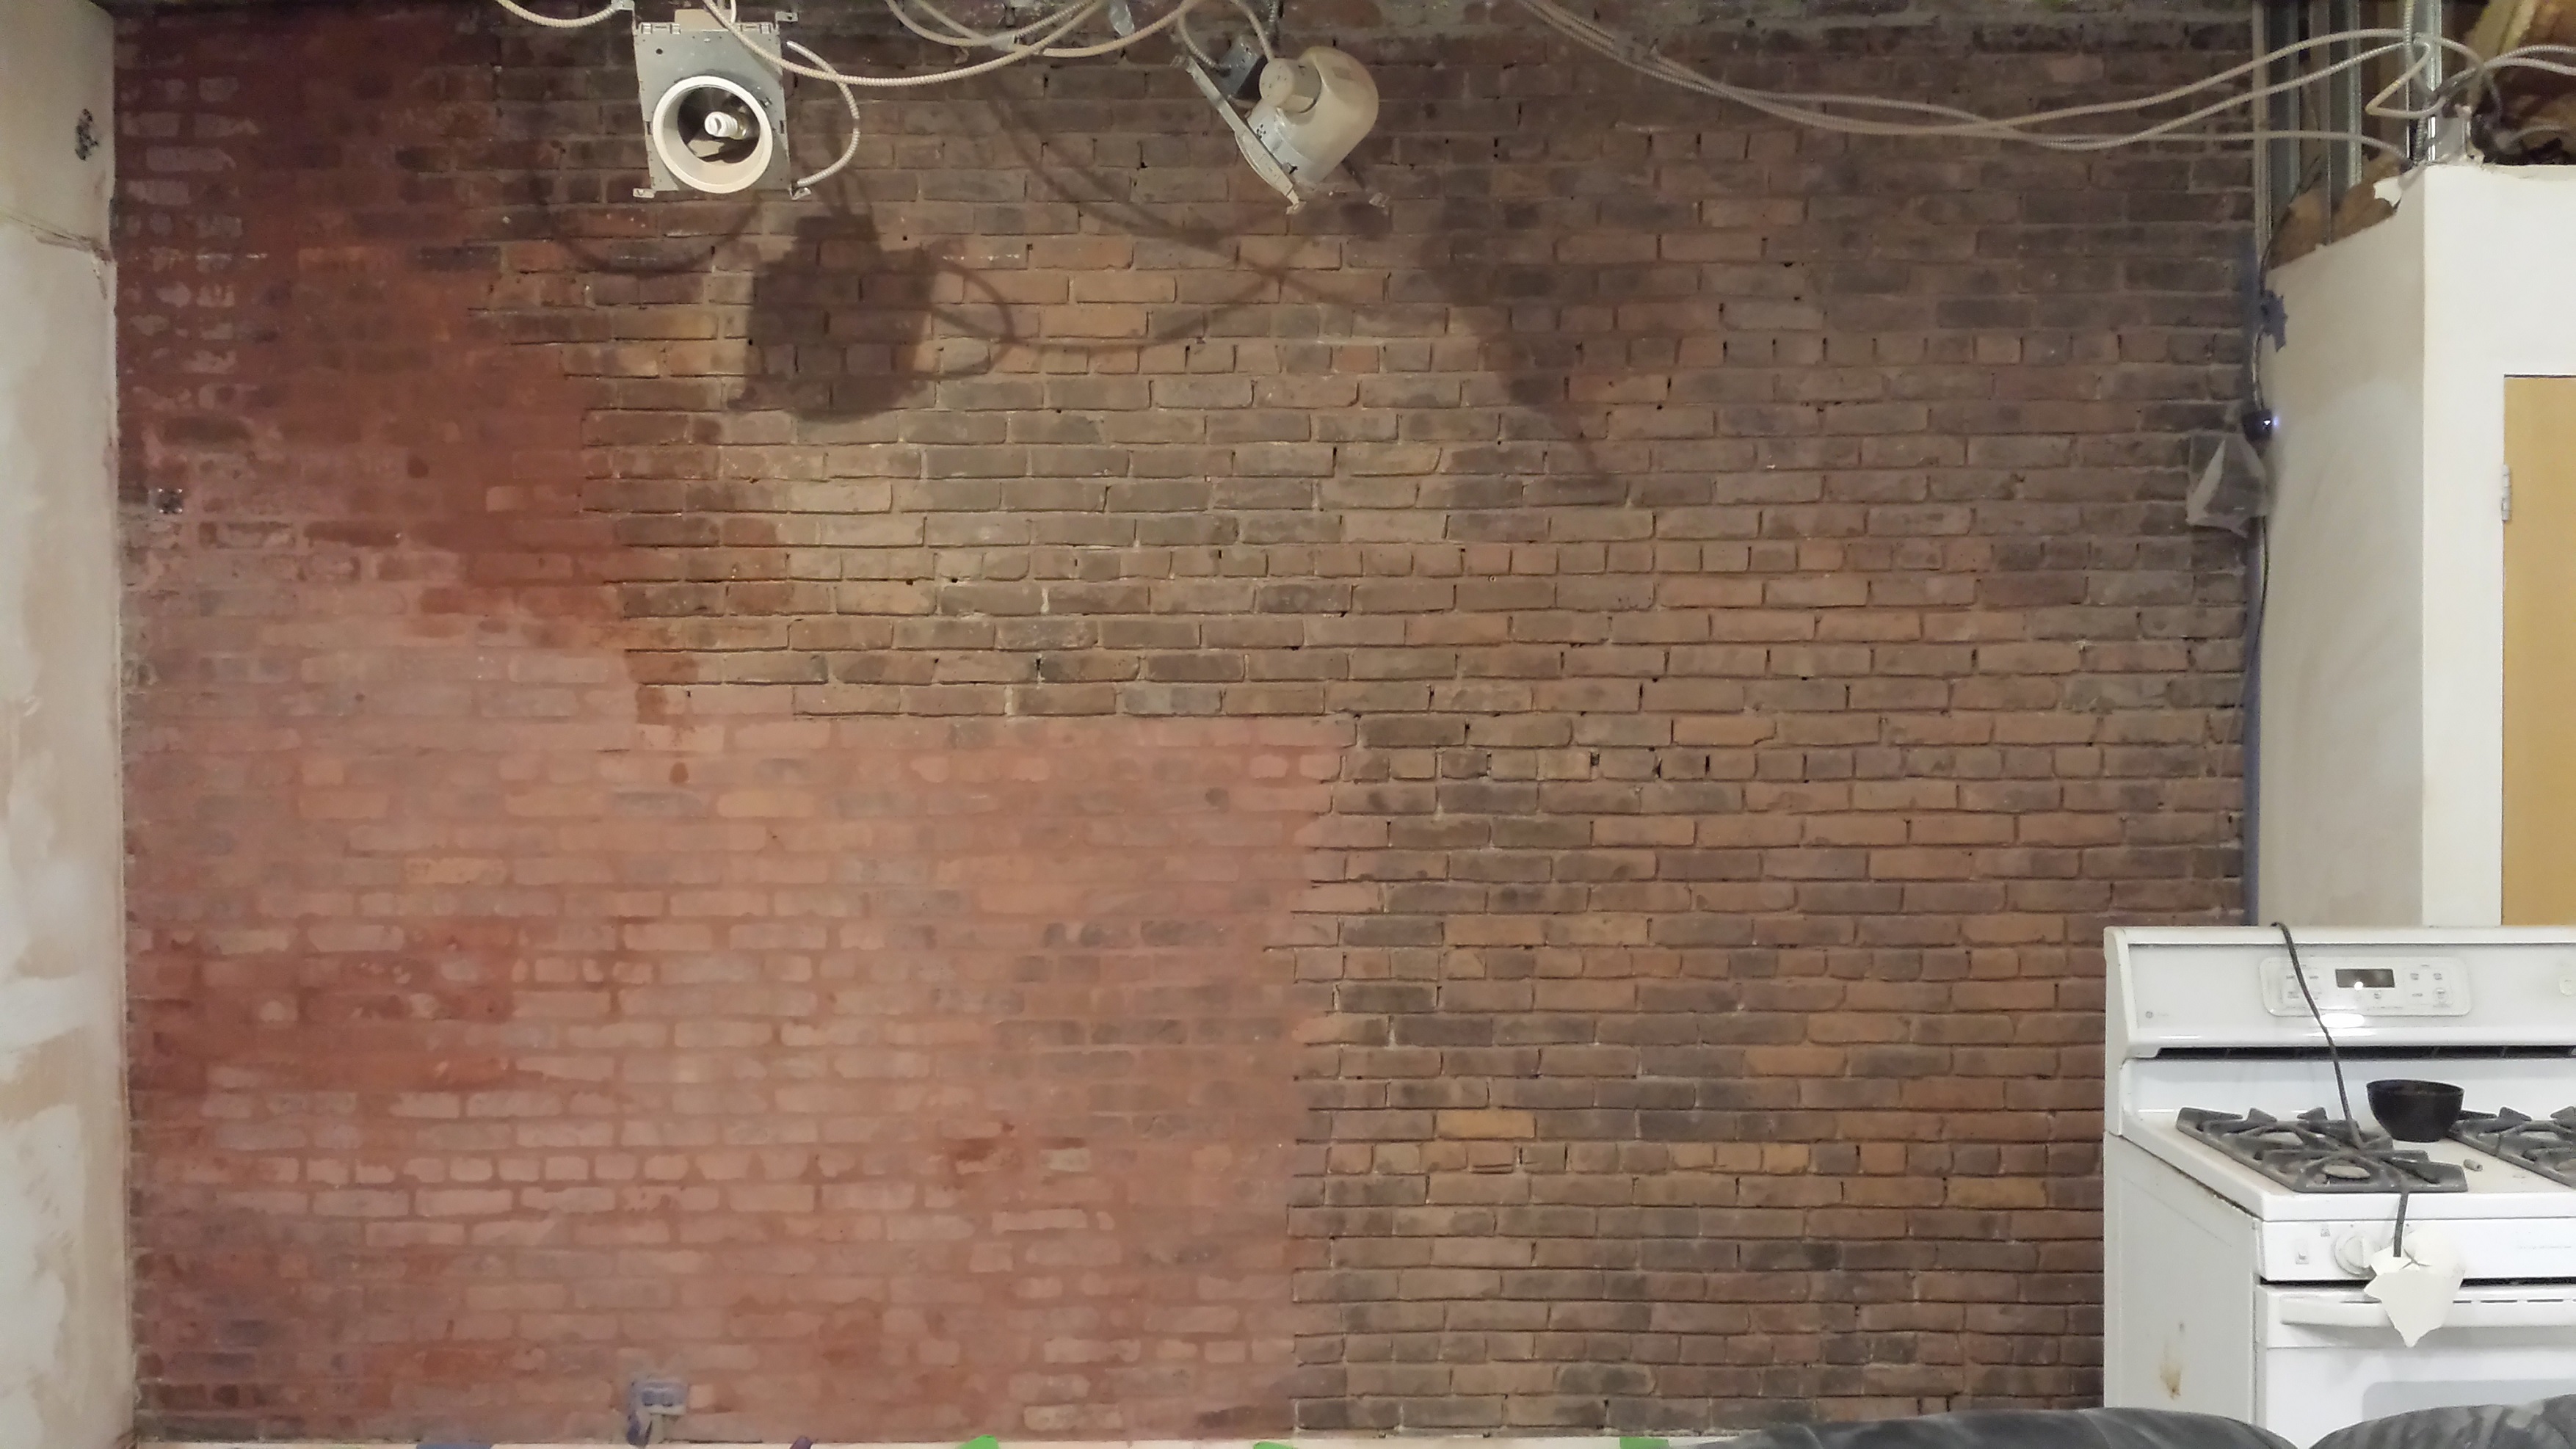
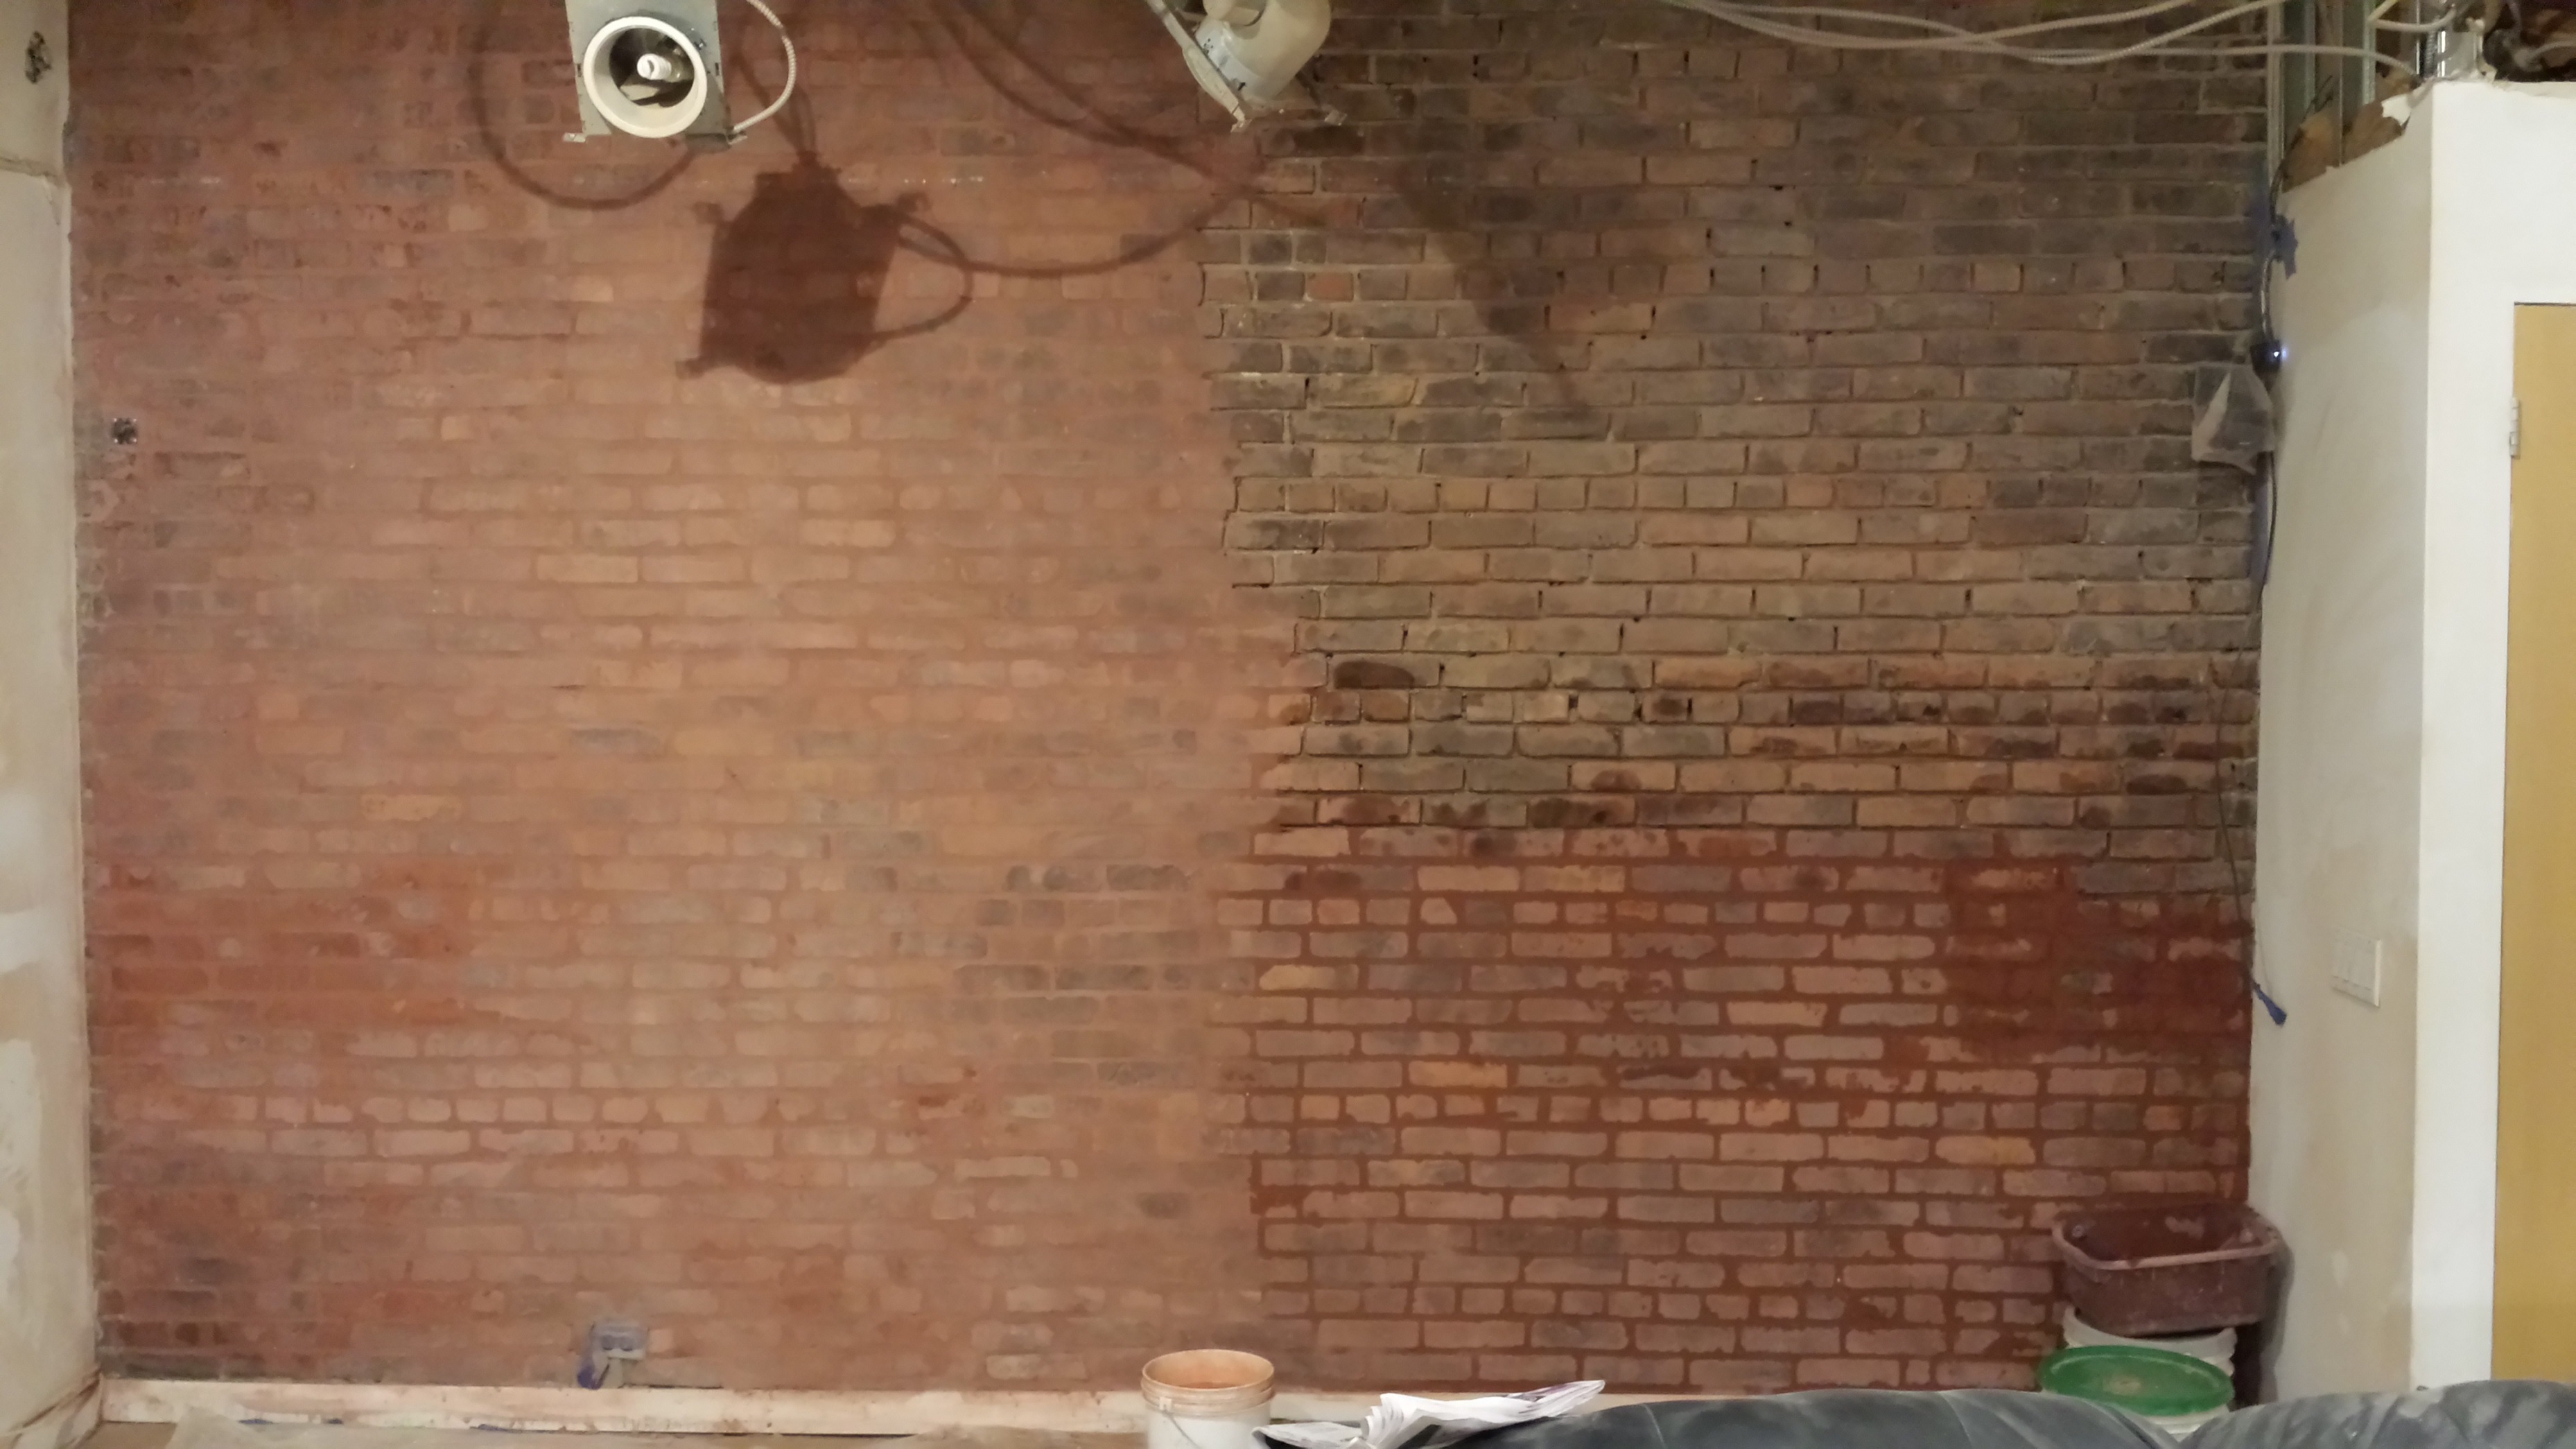
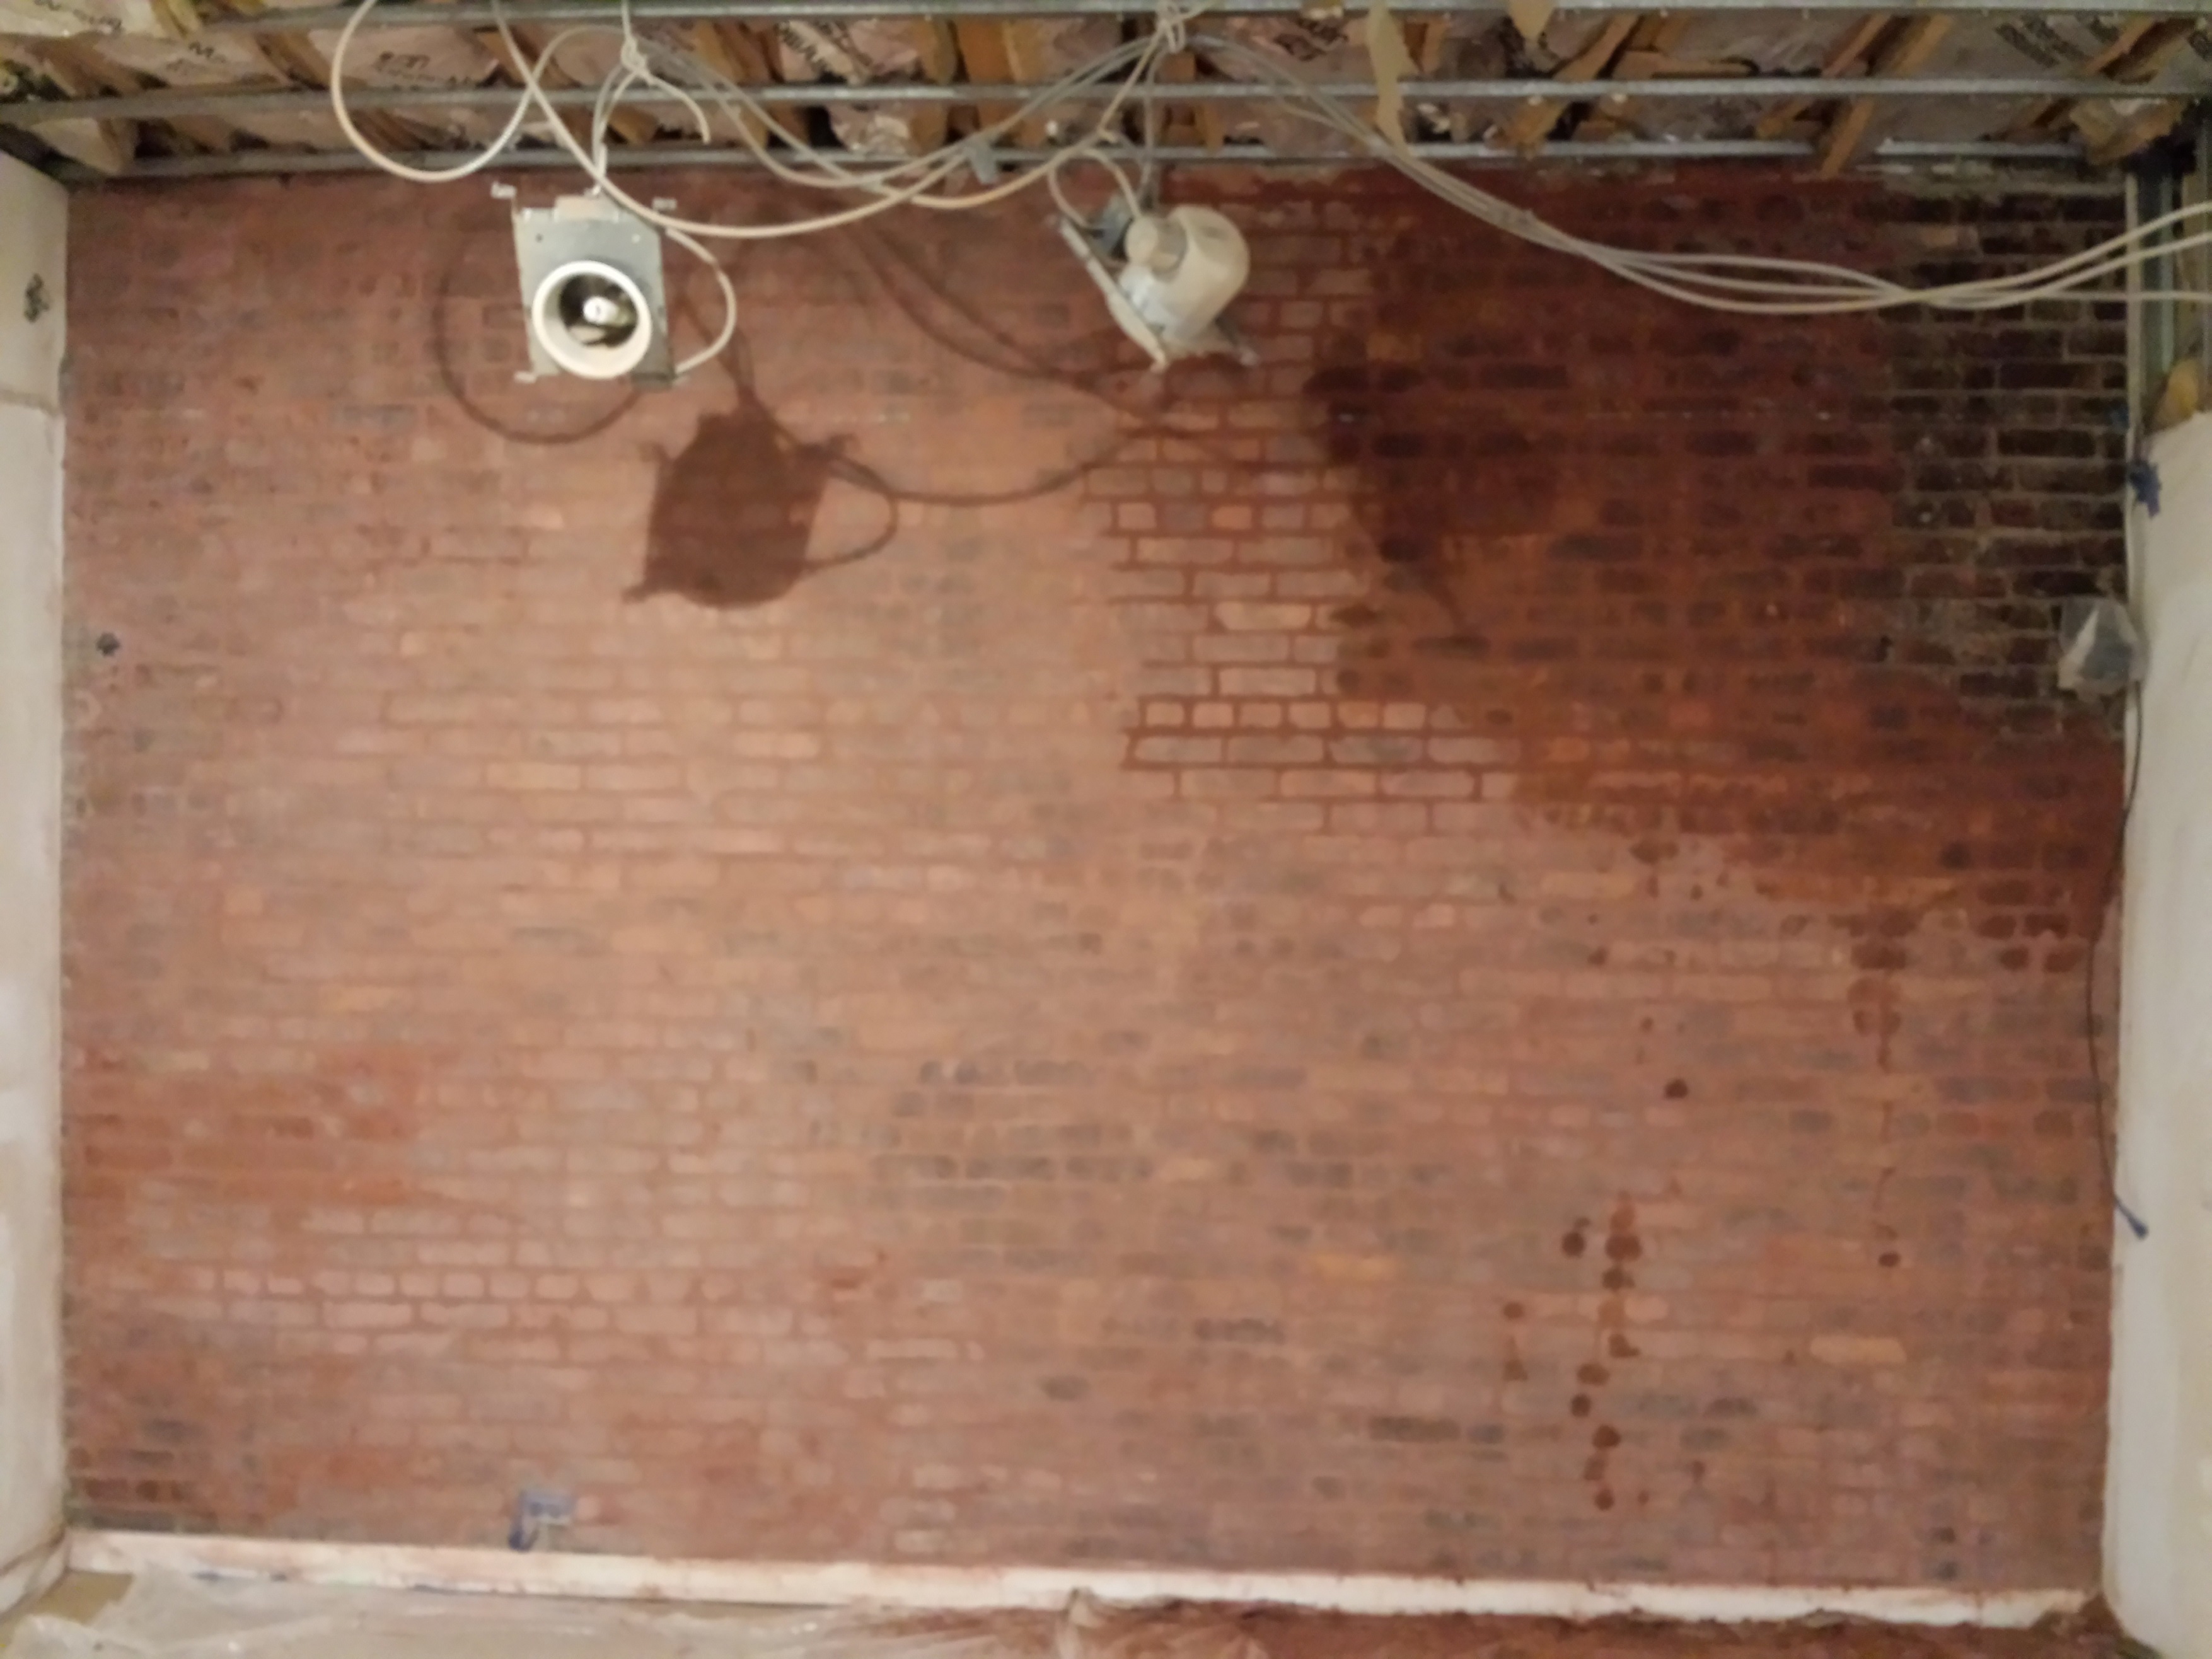
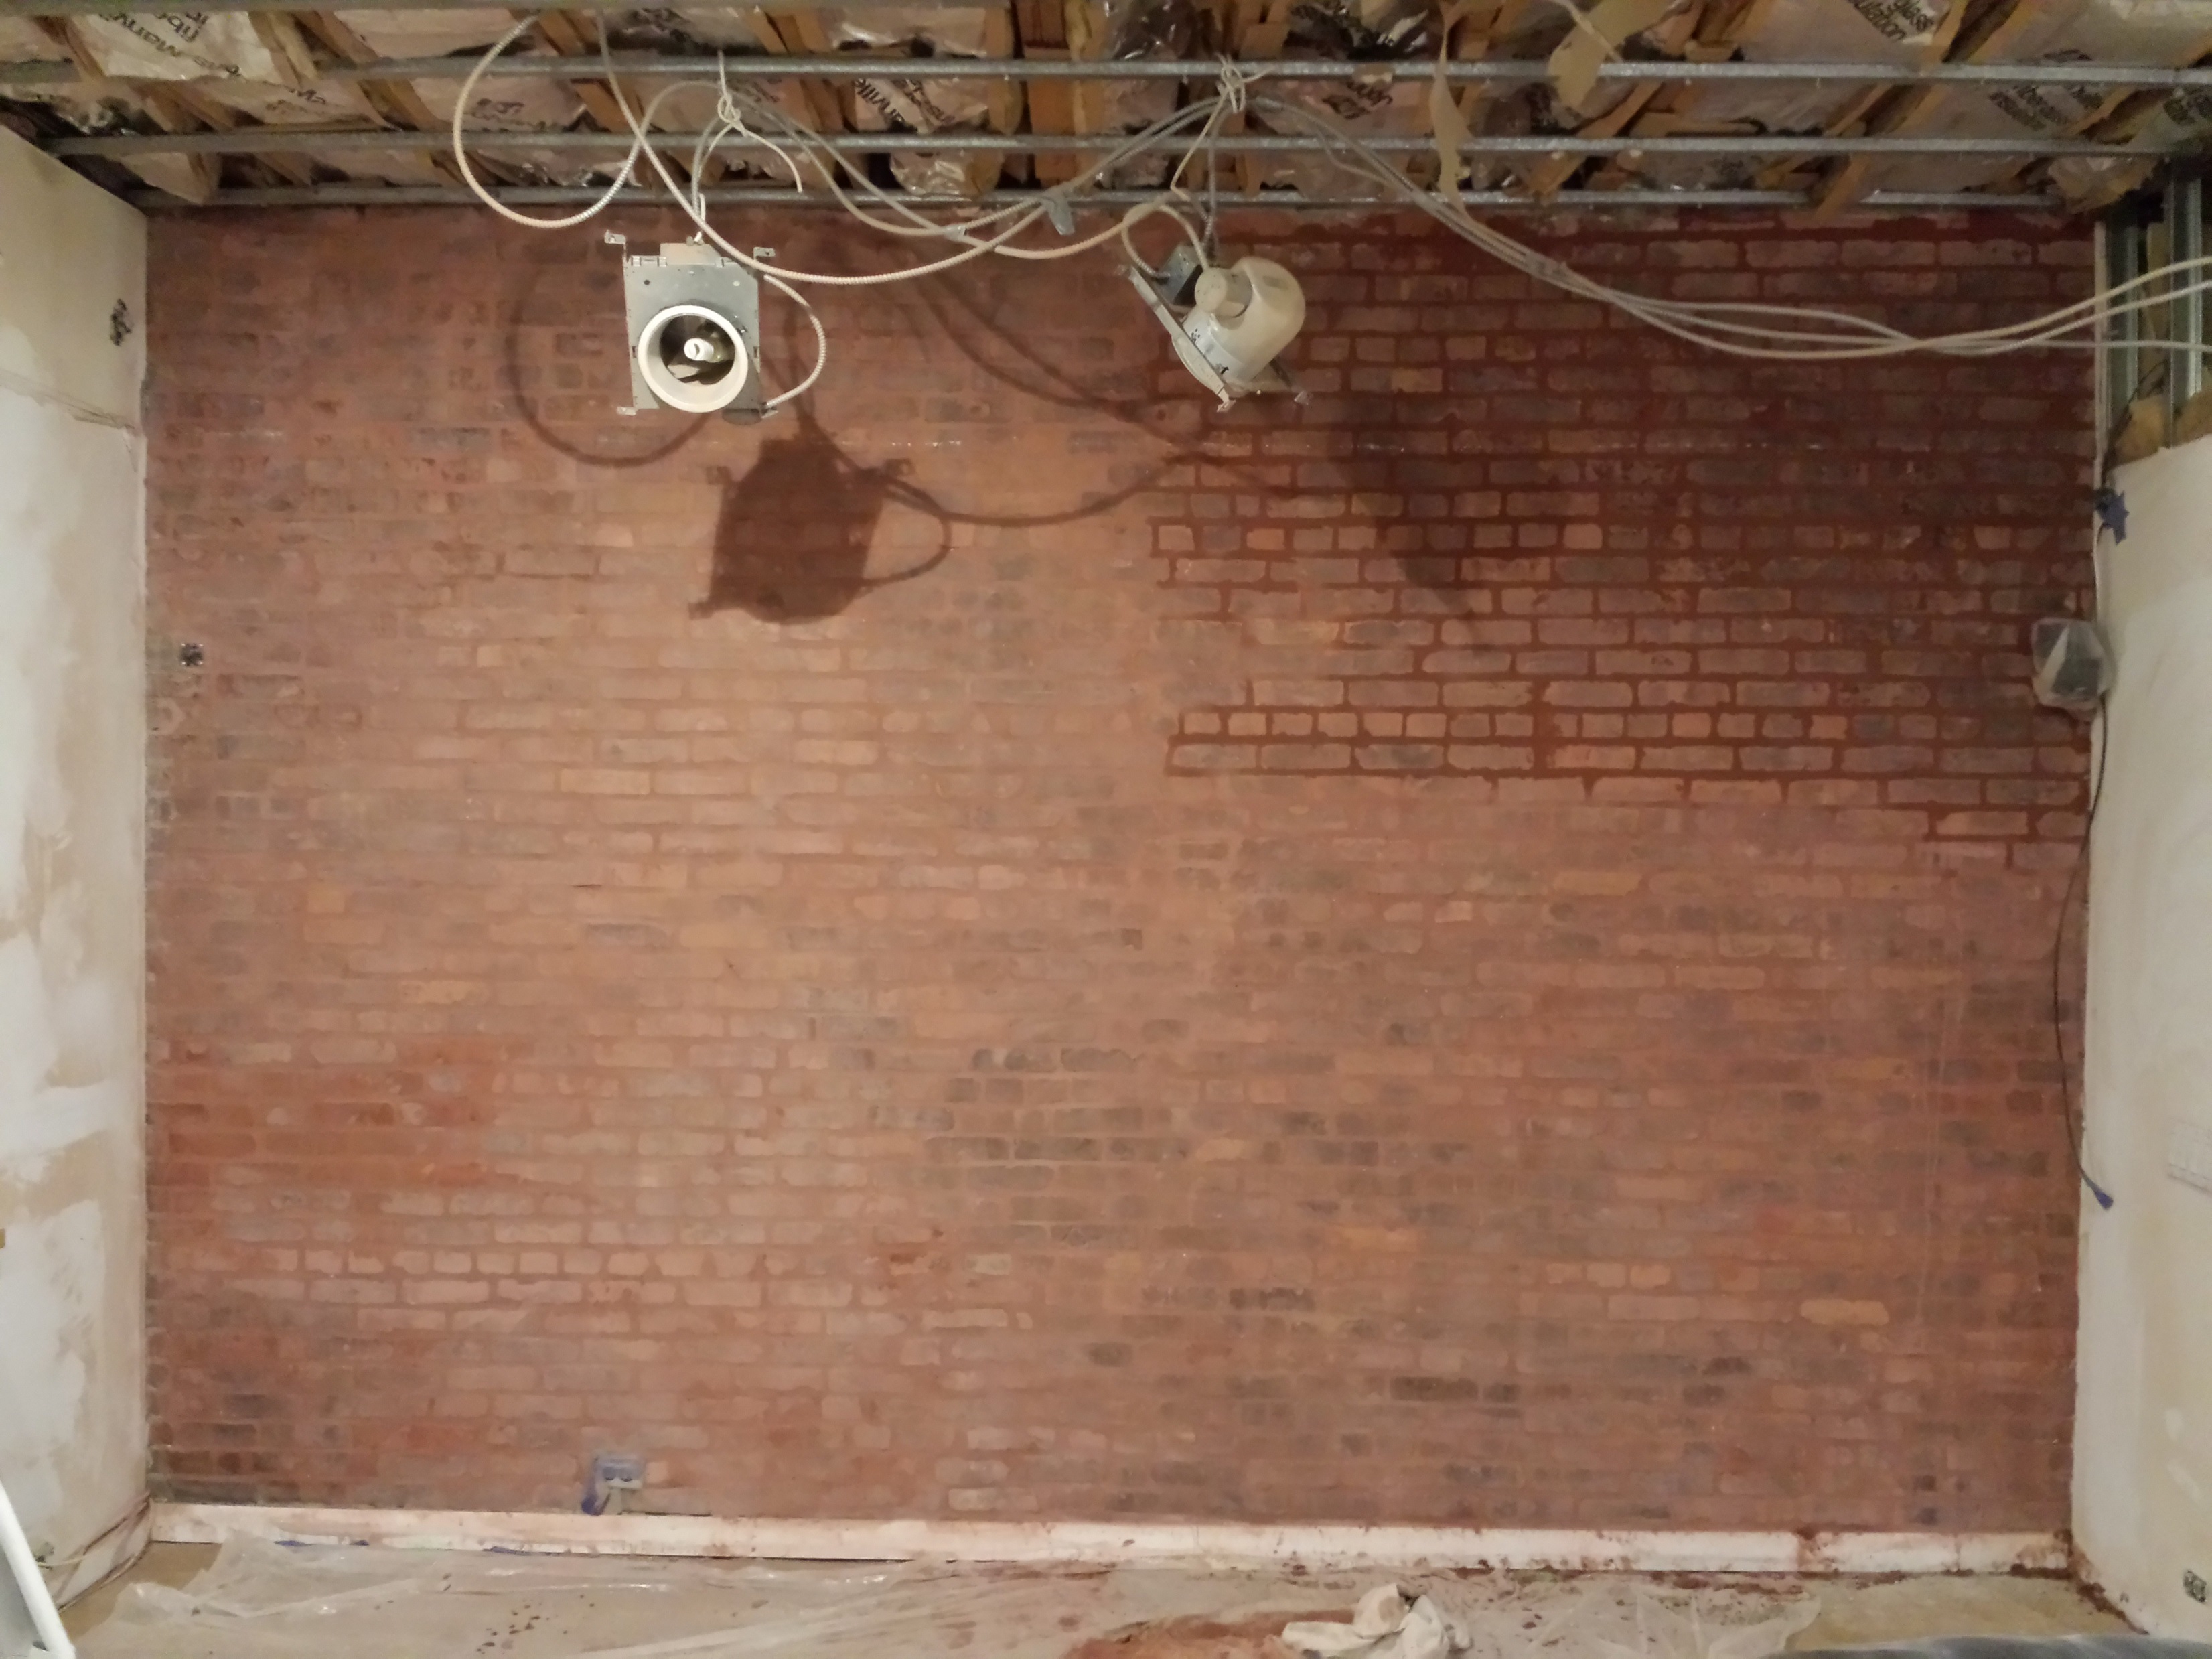
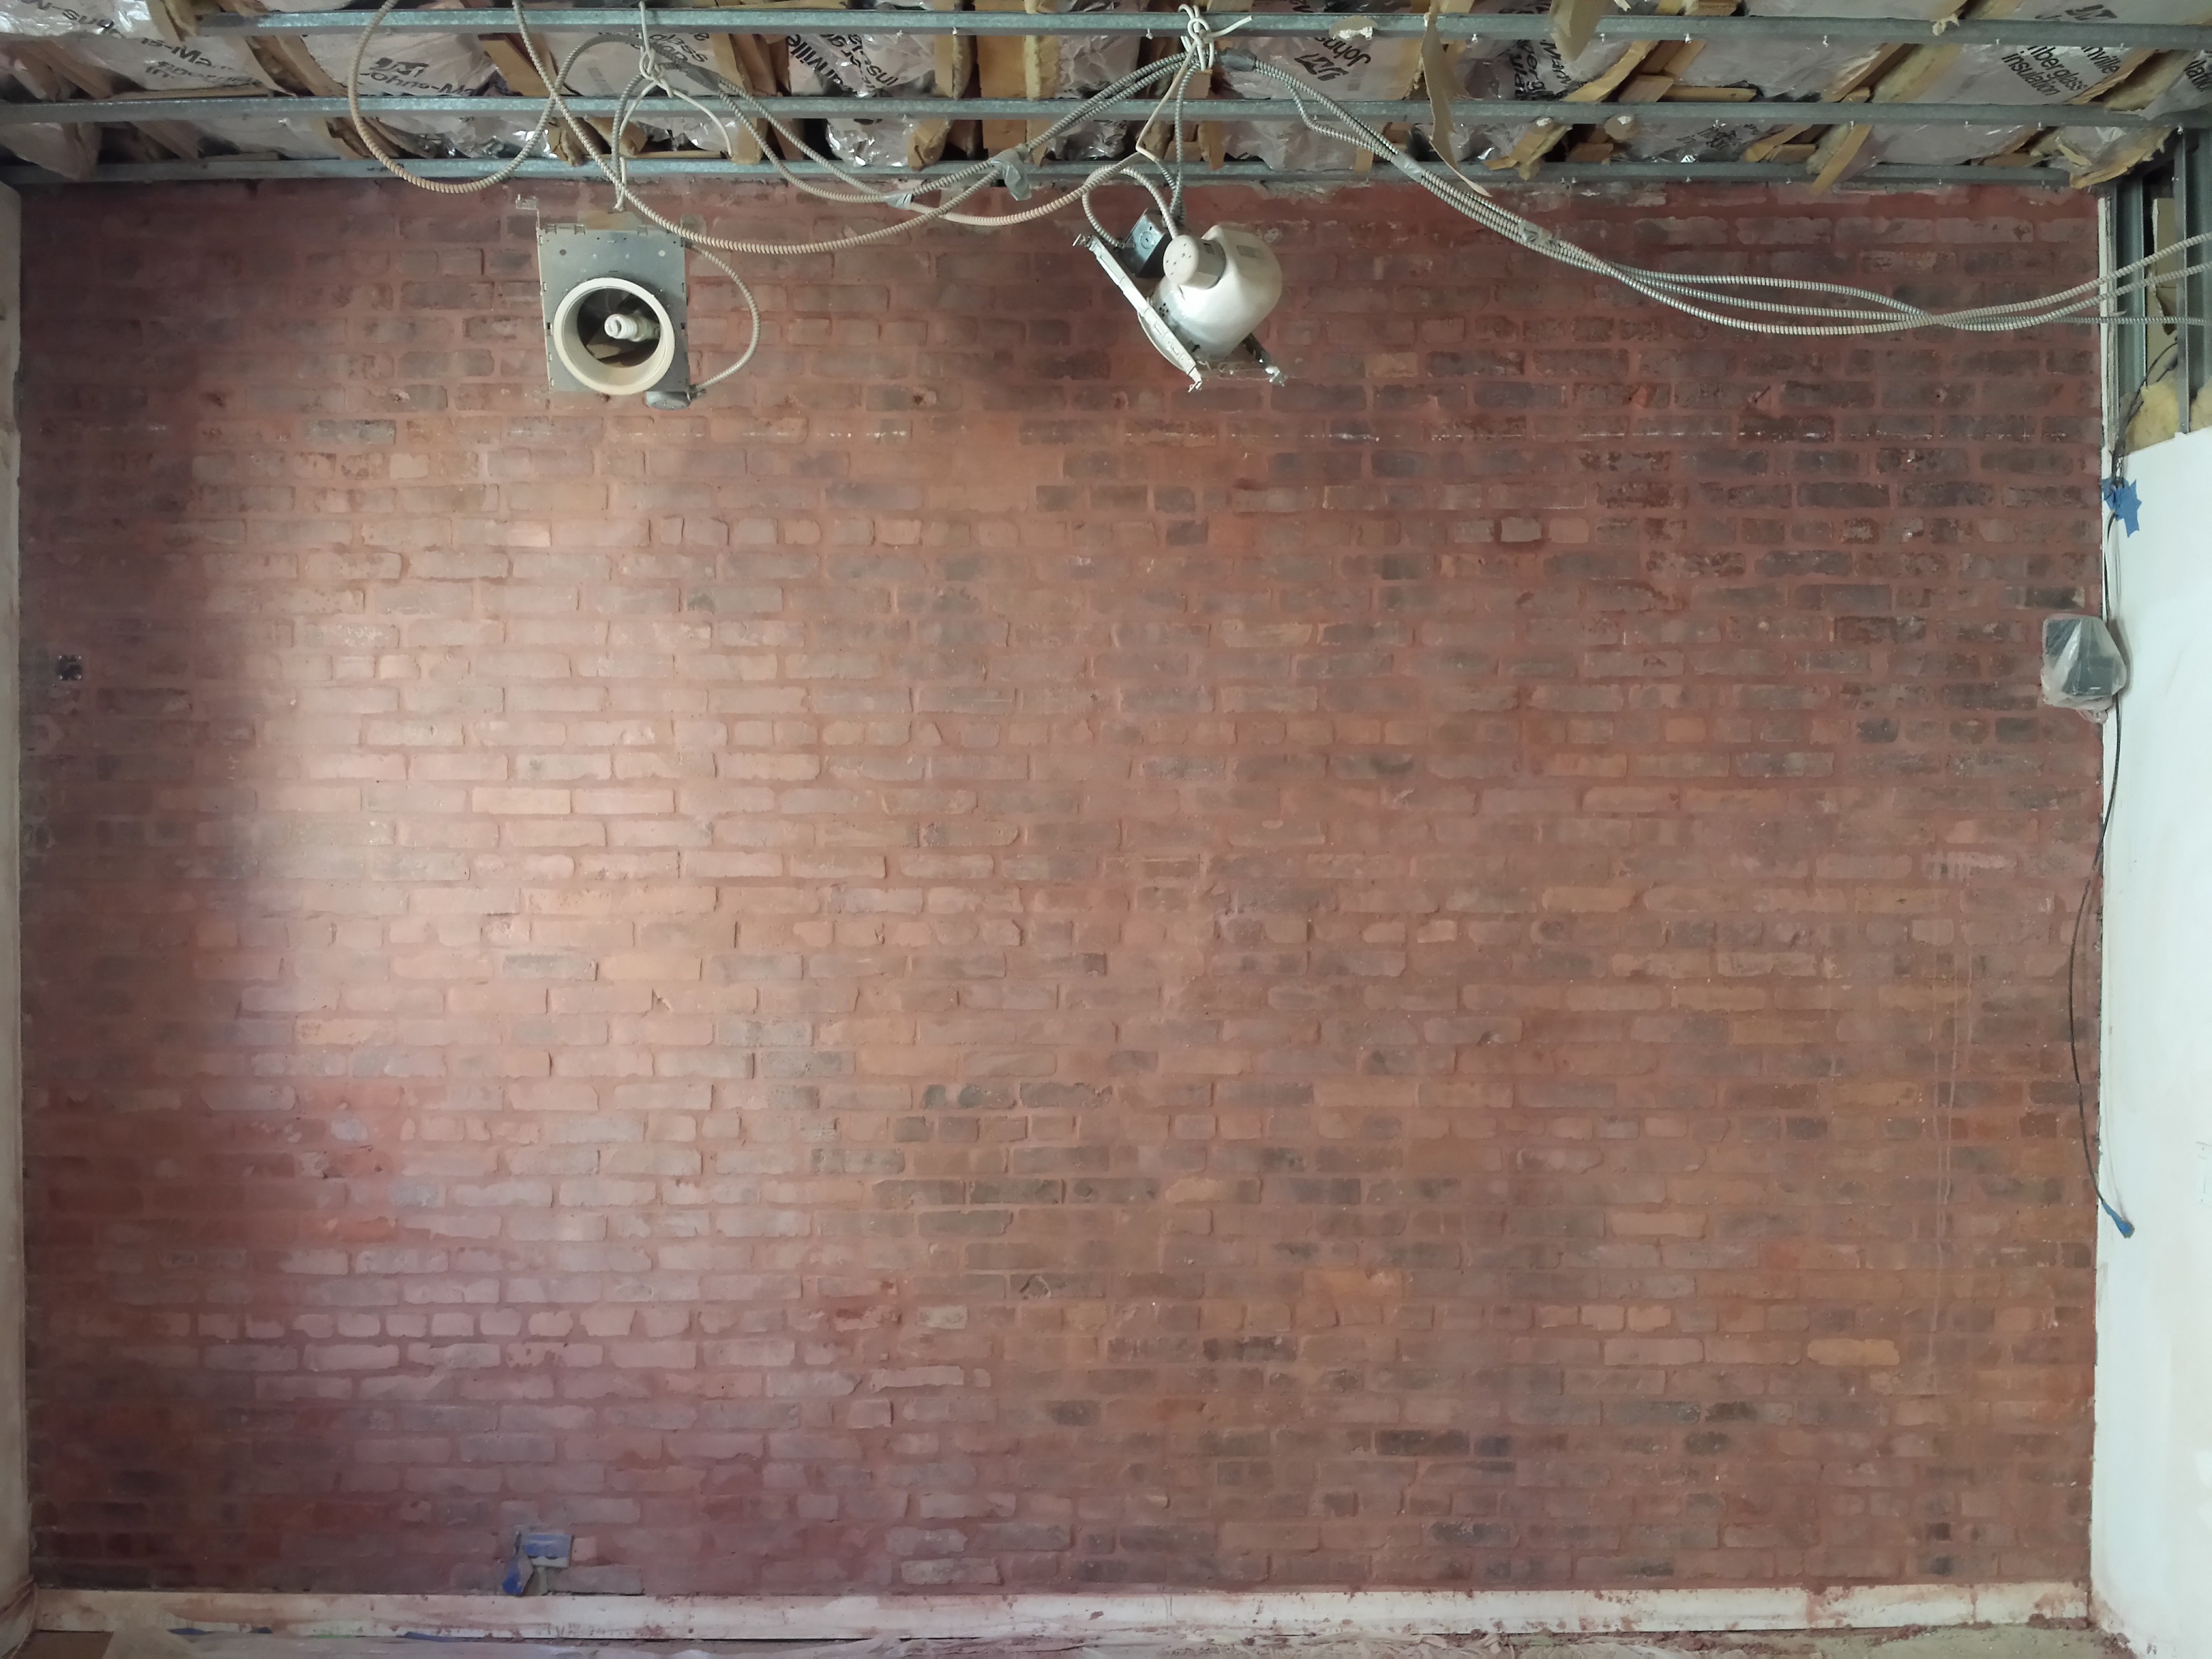
The Beginning, the as yet untouched brick wall.

My set up to try to contain the grinding dust, while at the same time making it possible to breathe and see while working on the wall. We have a plastic zip-wall, and industrial air sweeper, tarps on the floor, and a tuck-point grinder collected to a shop-vac.

I used a second shop-vac to clean the filter of the shop-vac connected to the tuck-point grinder. Since I was pulling in almost exclusively dust, the filter had to be cleaned very often in order to keep the system working.

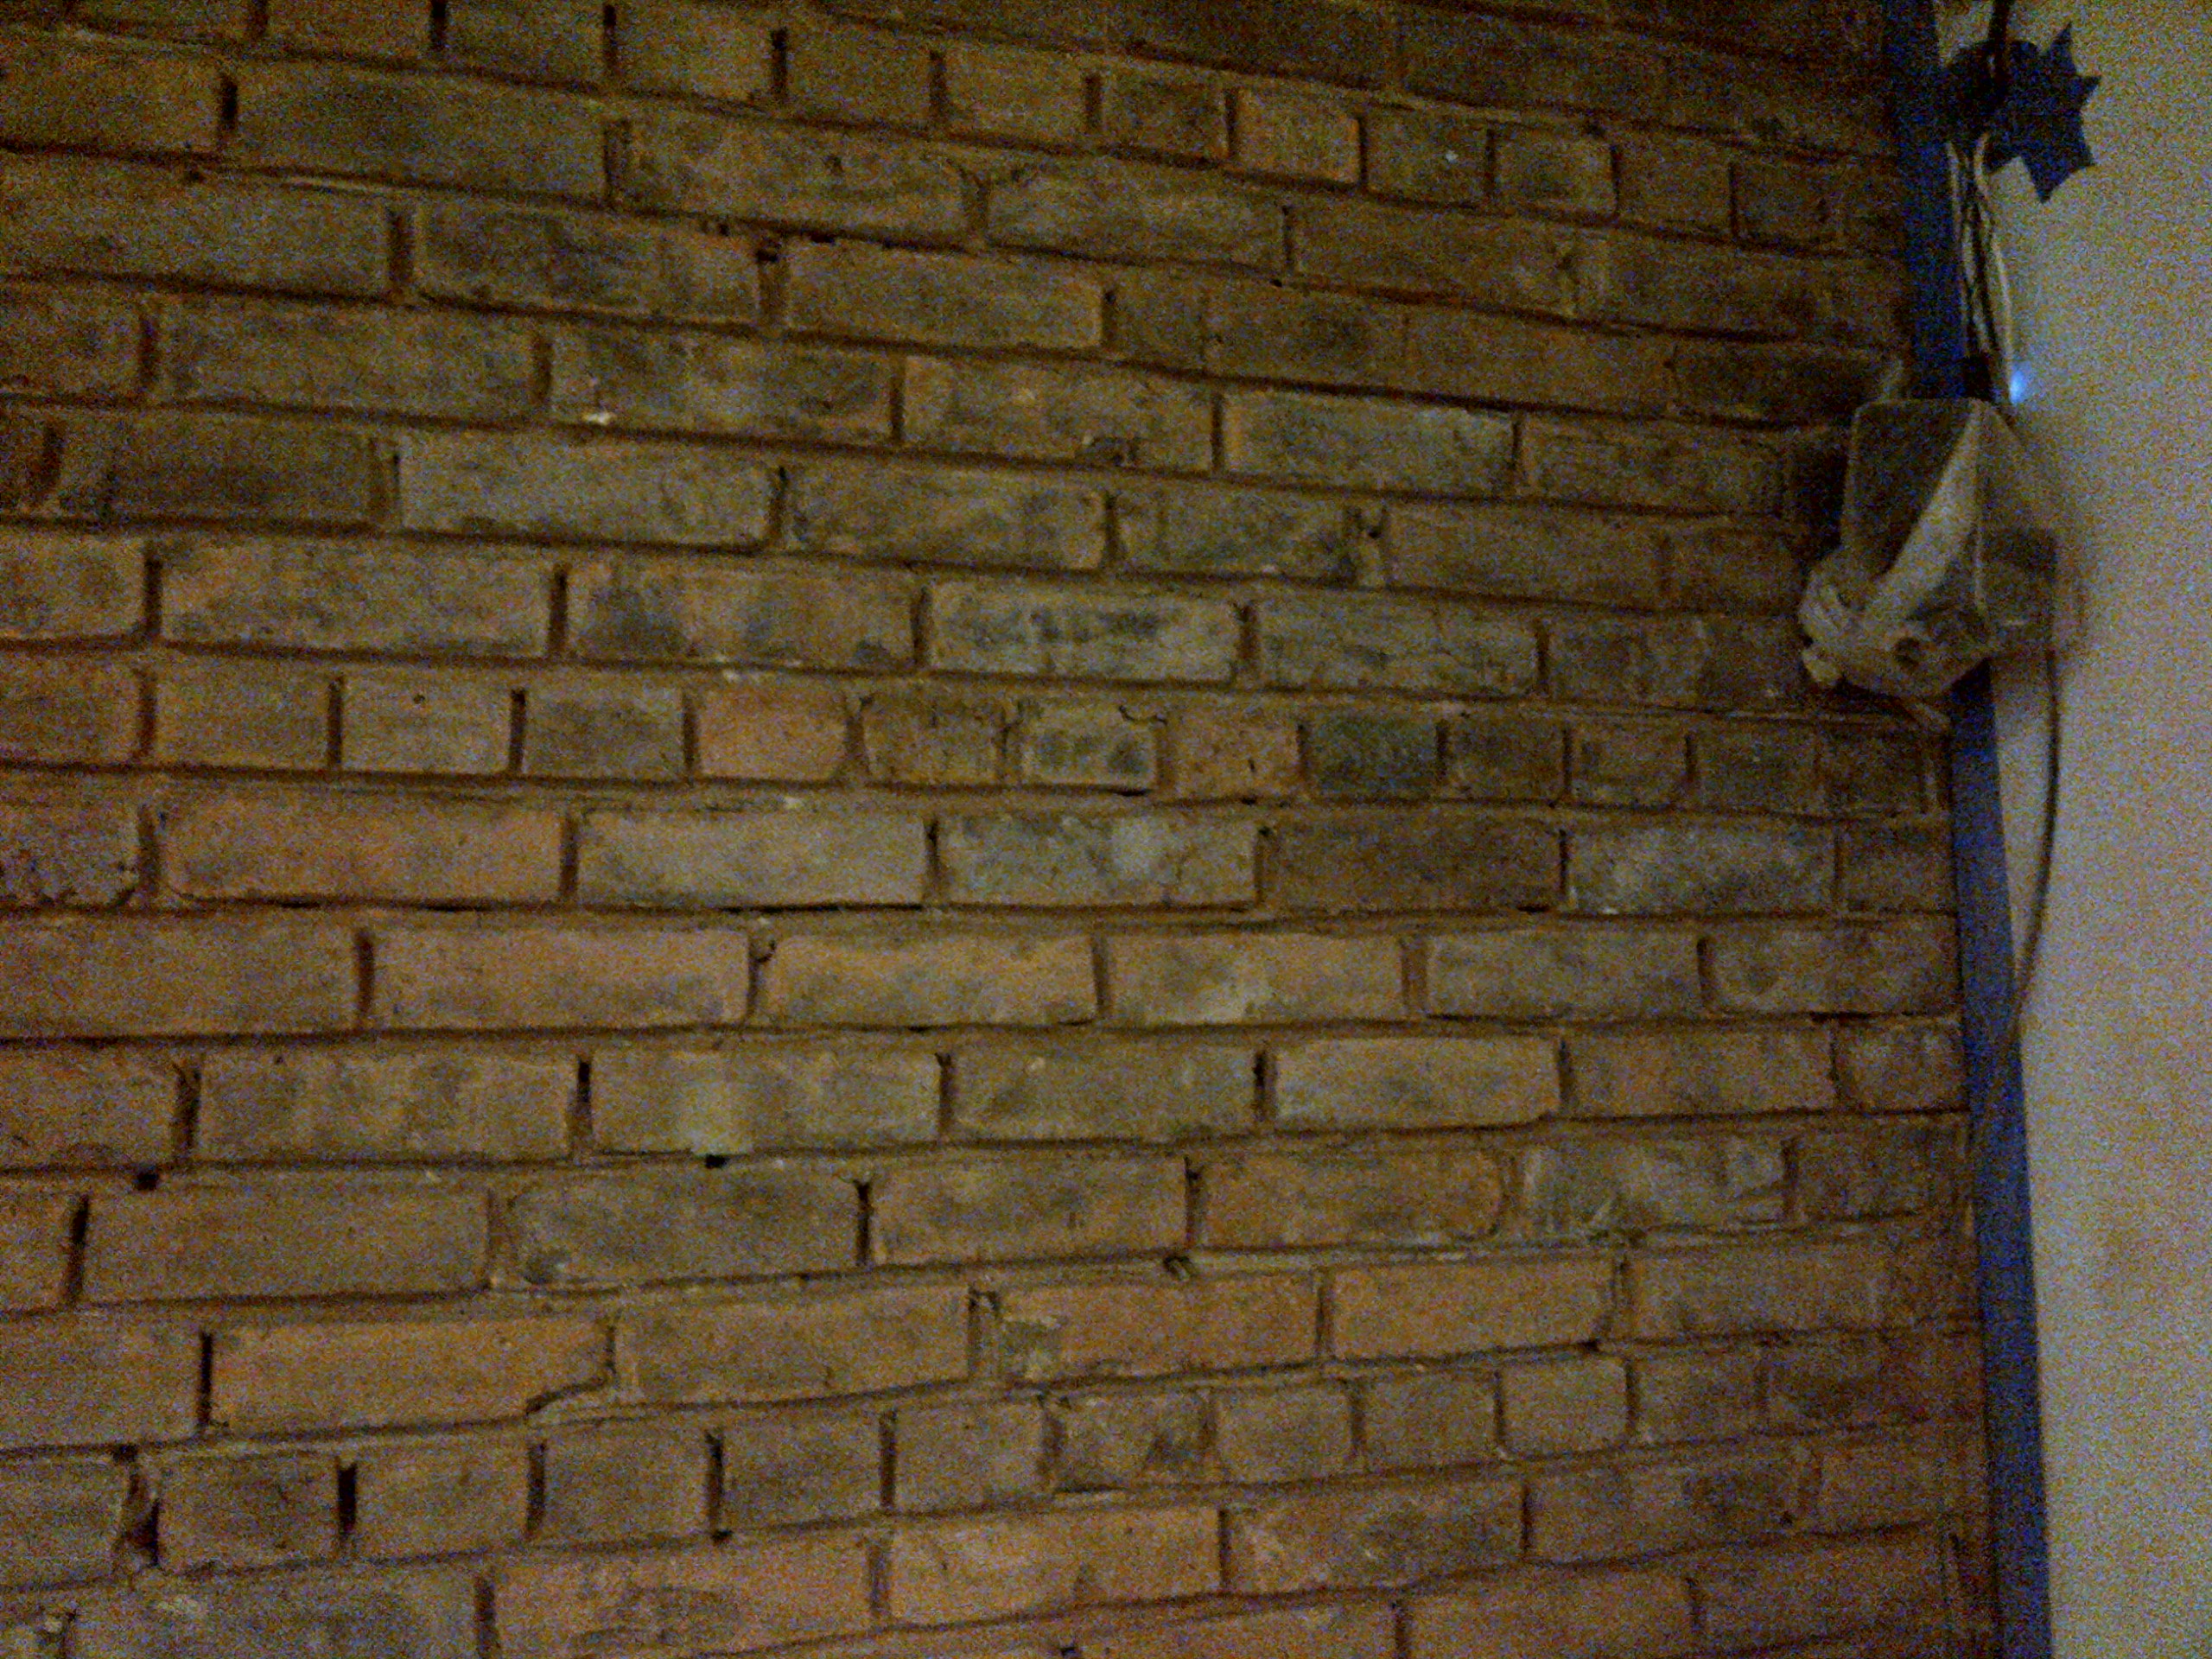
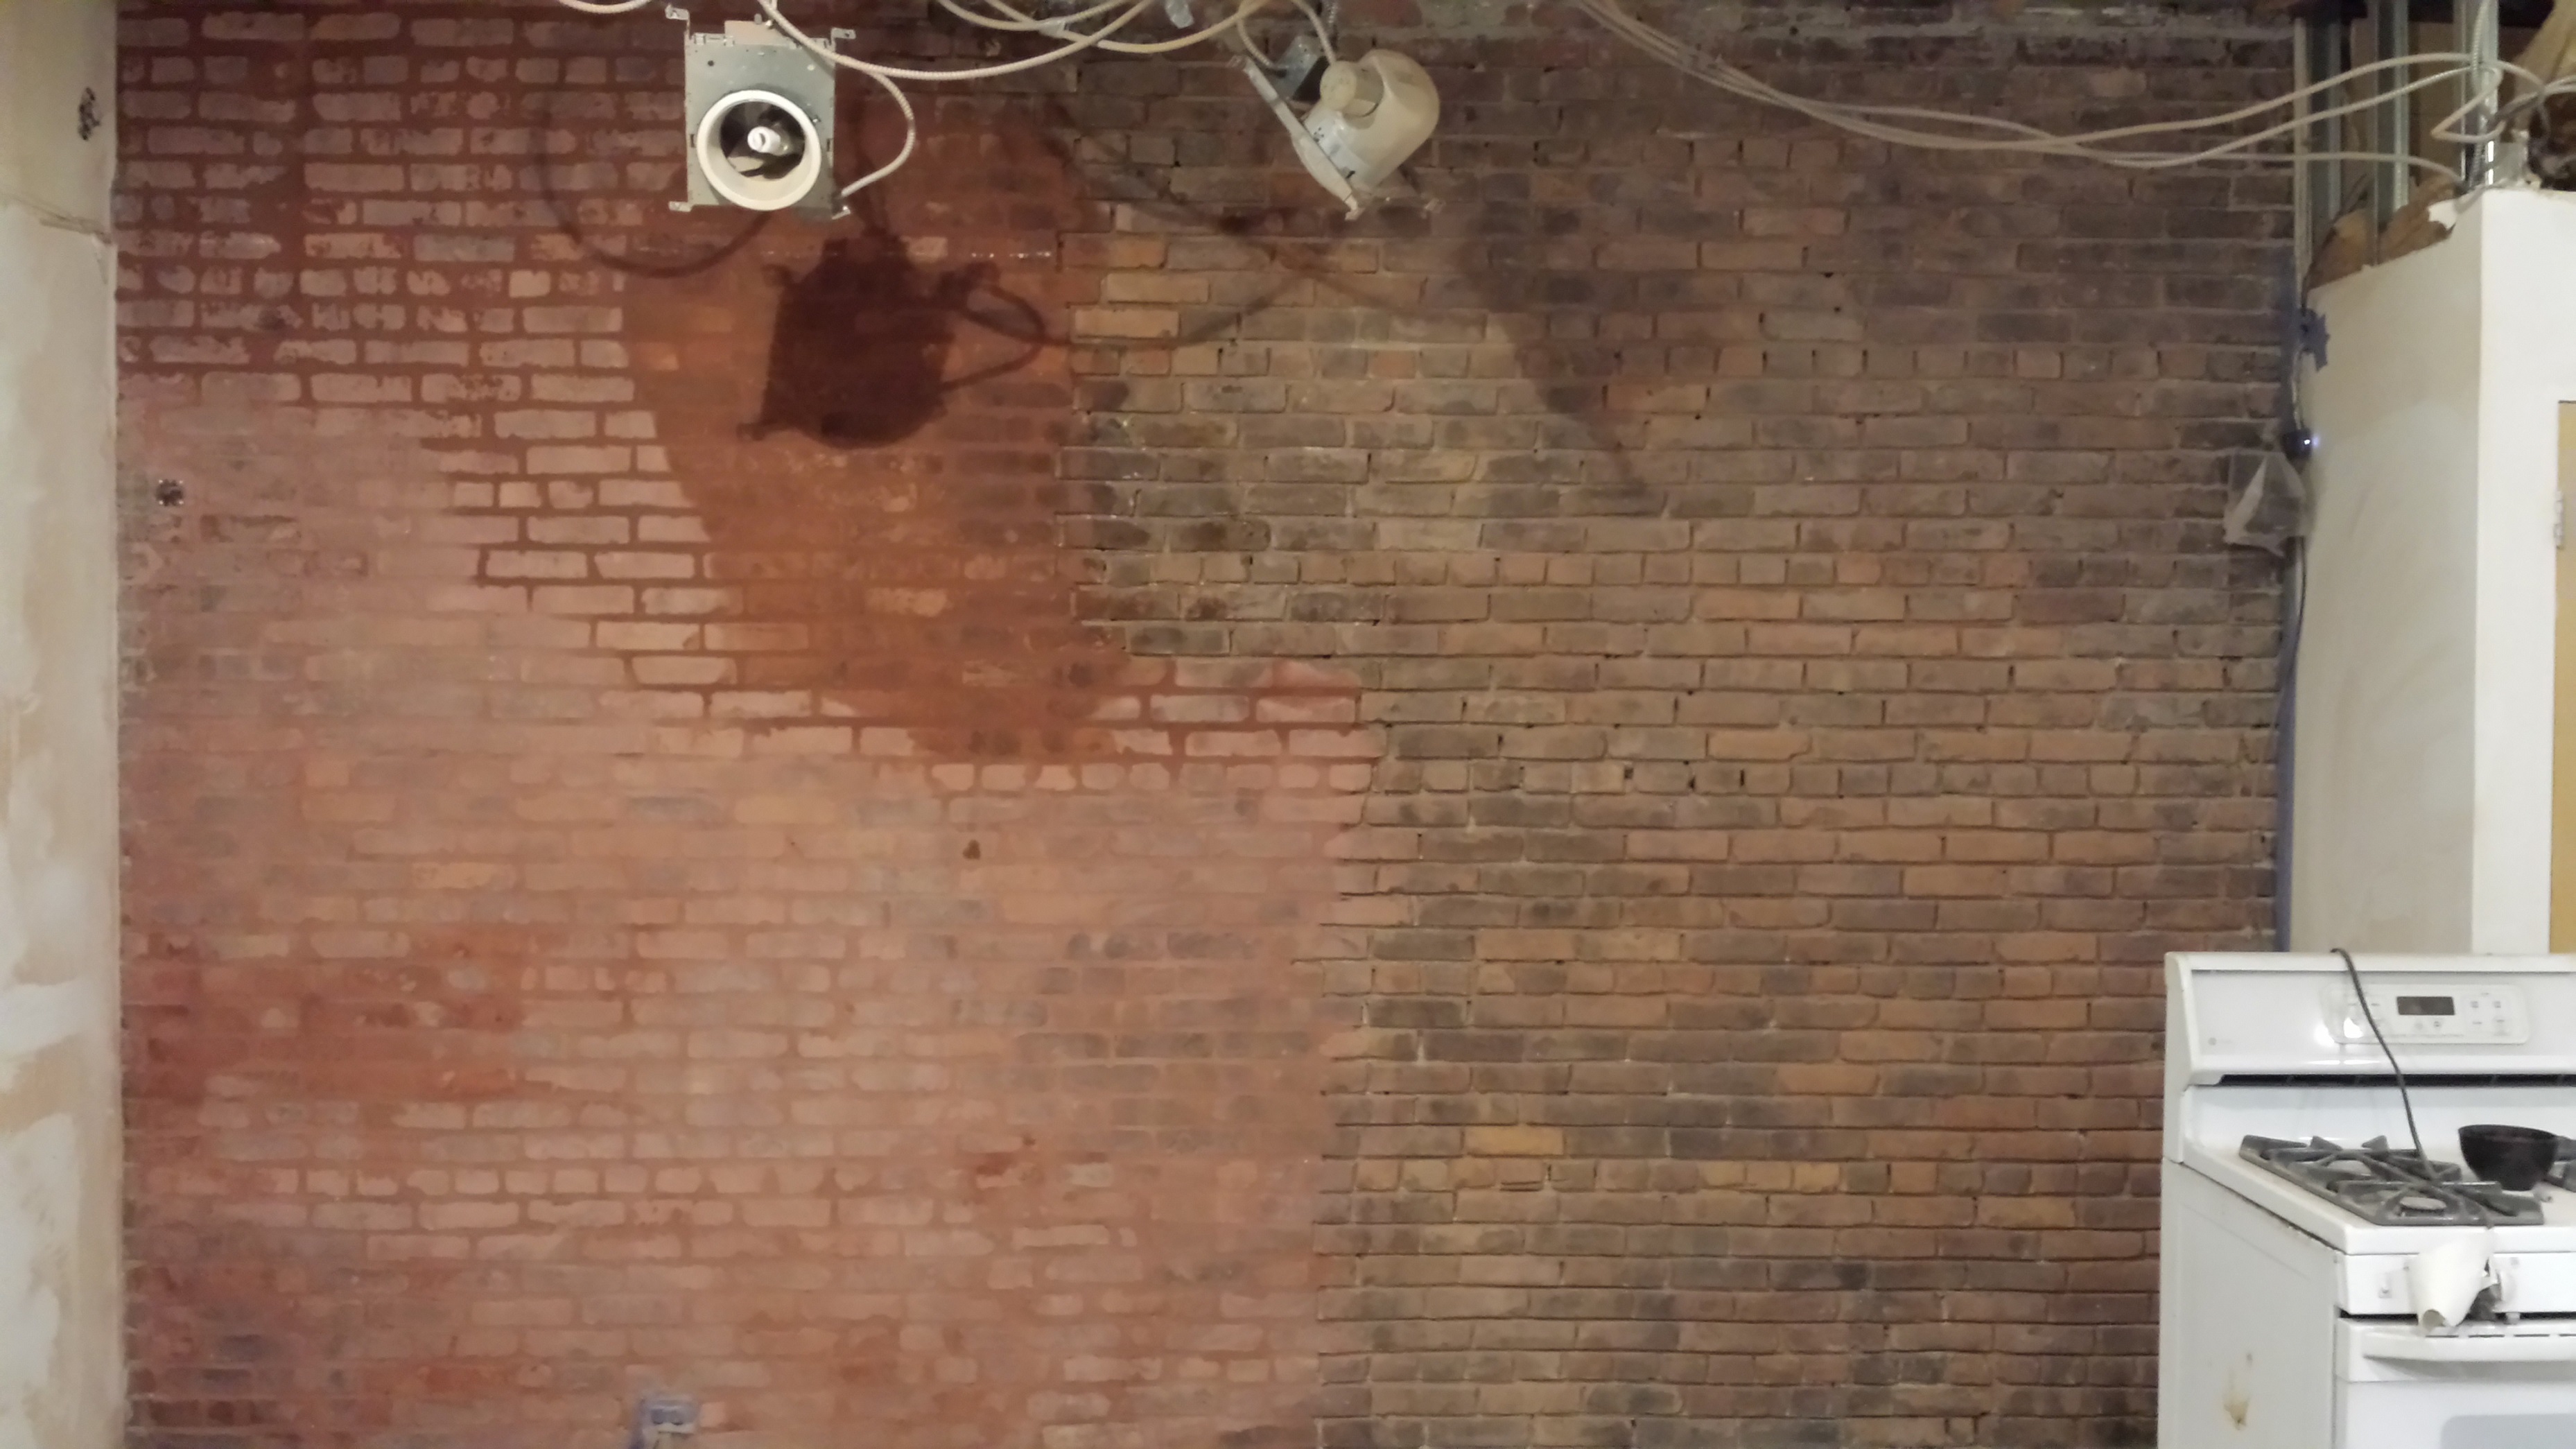
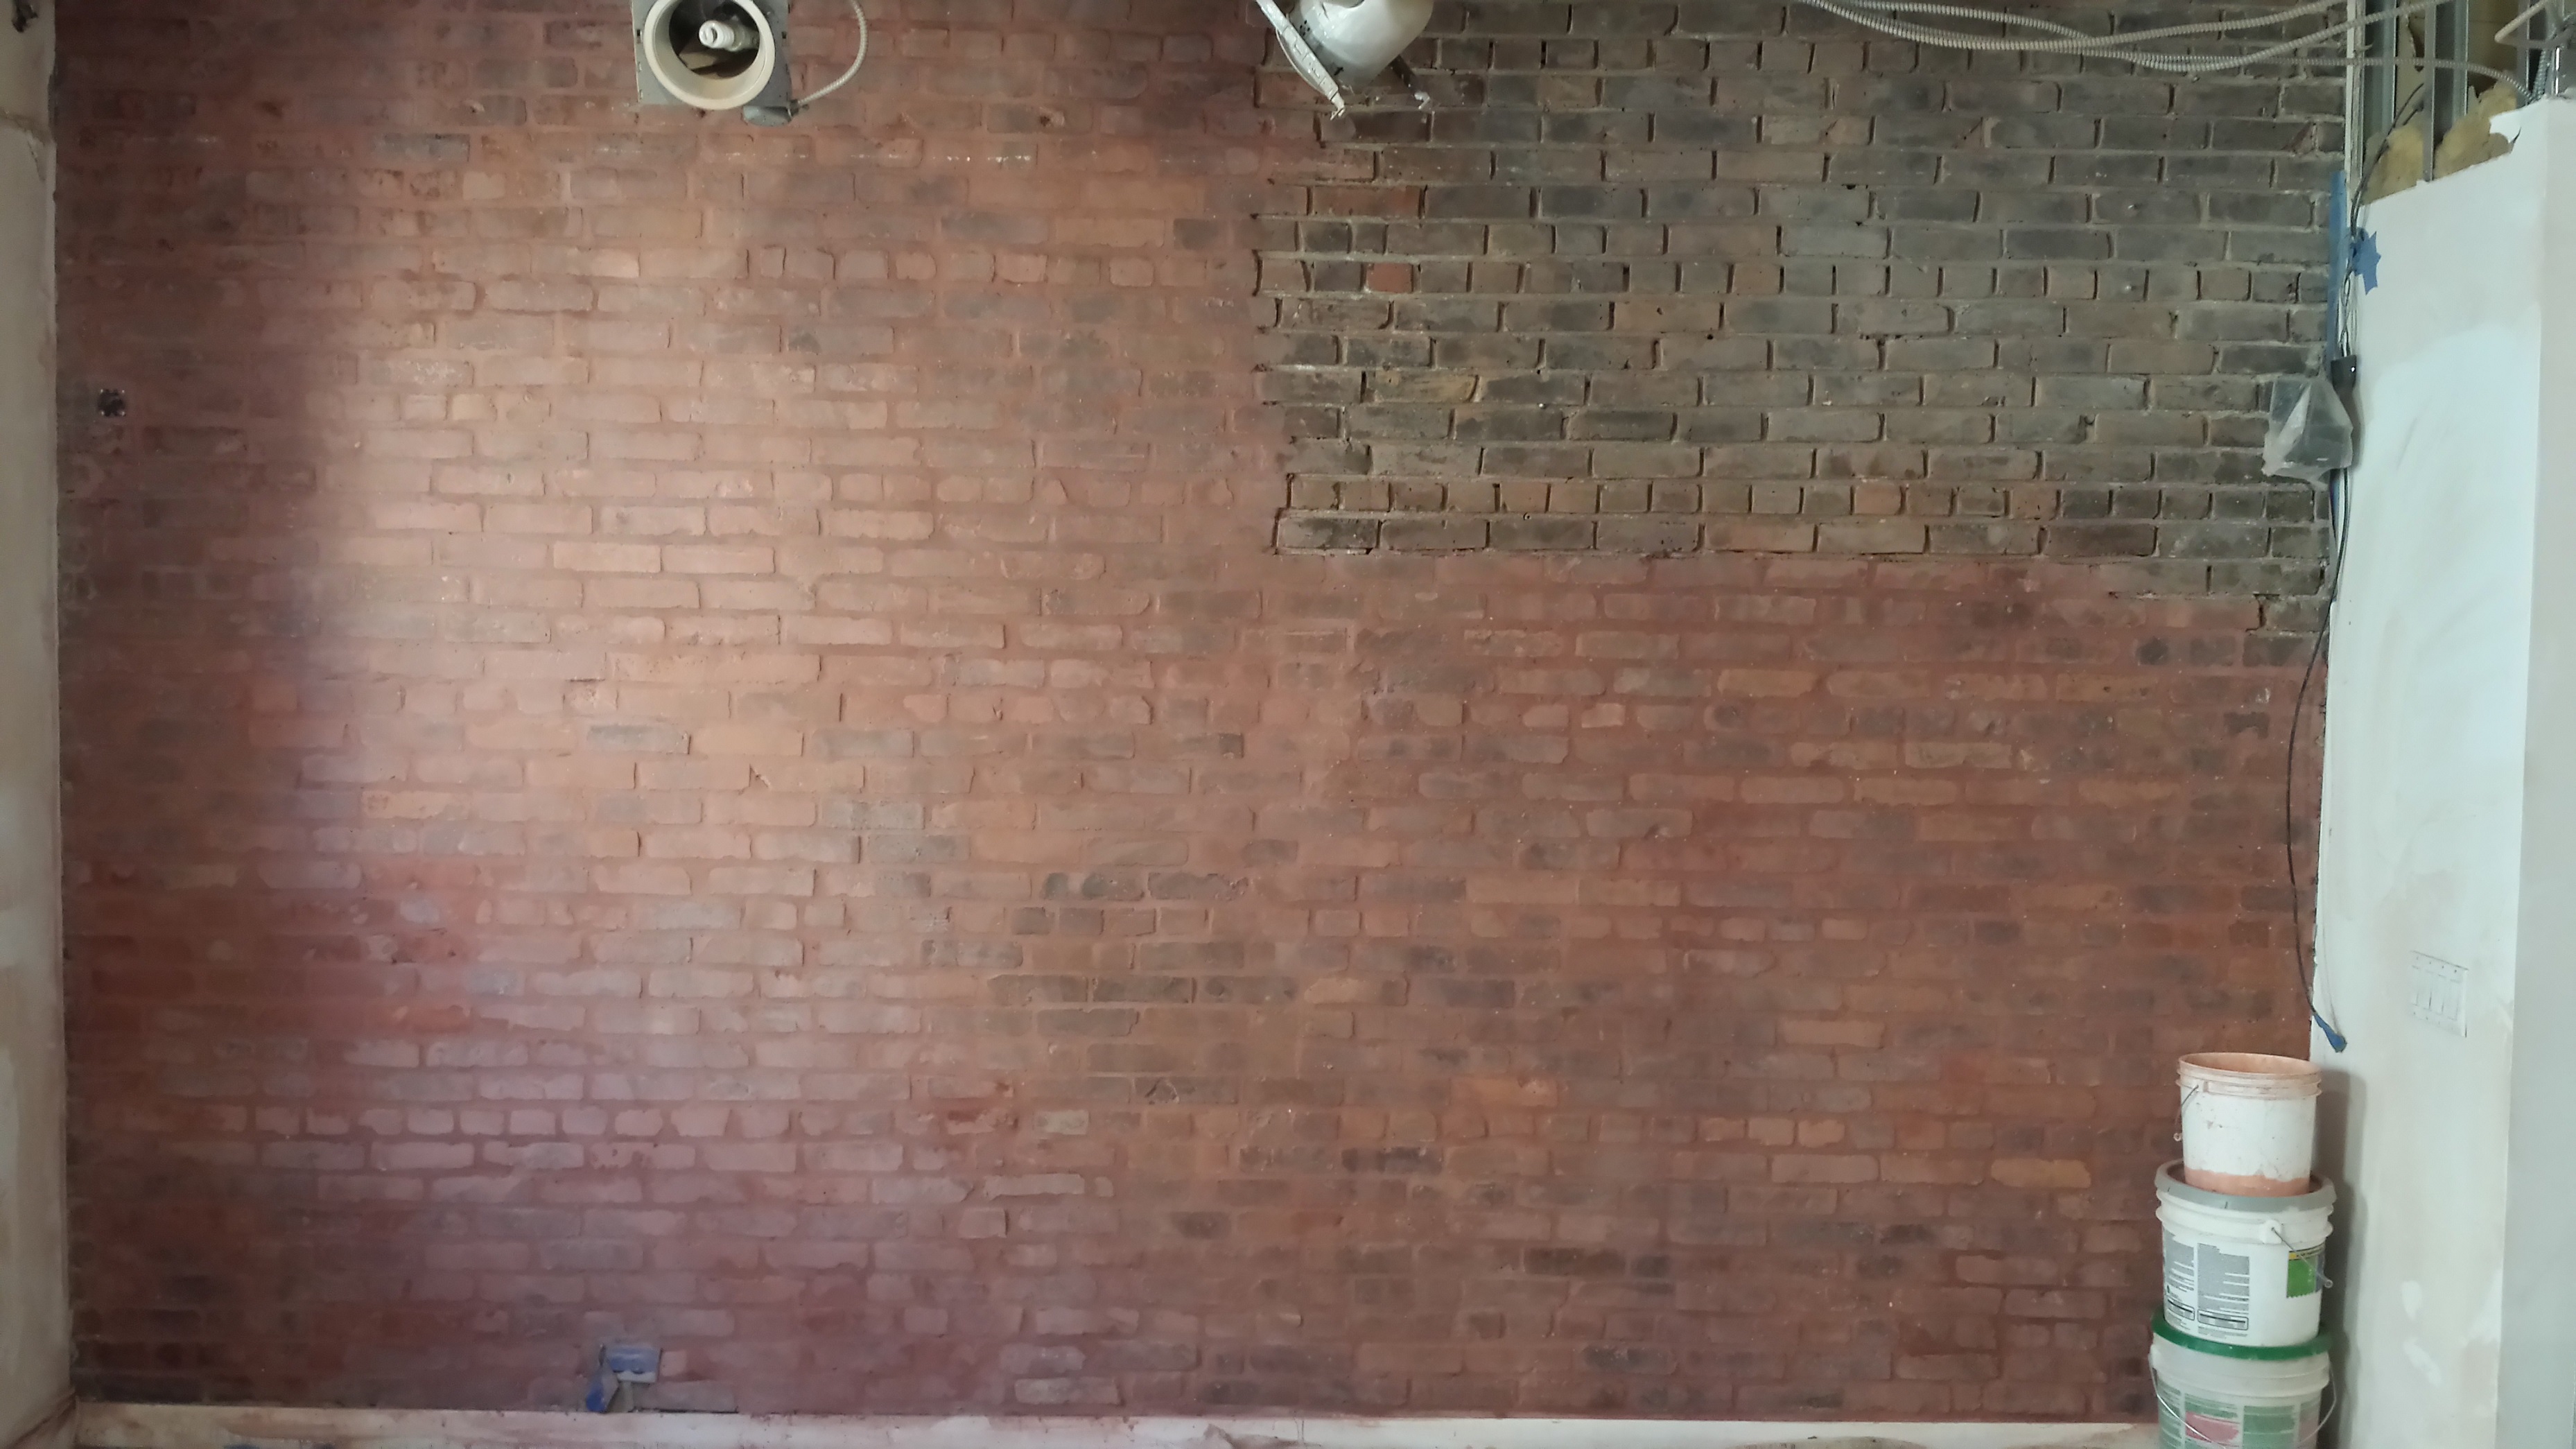
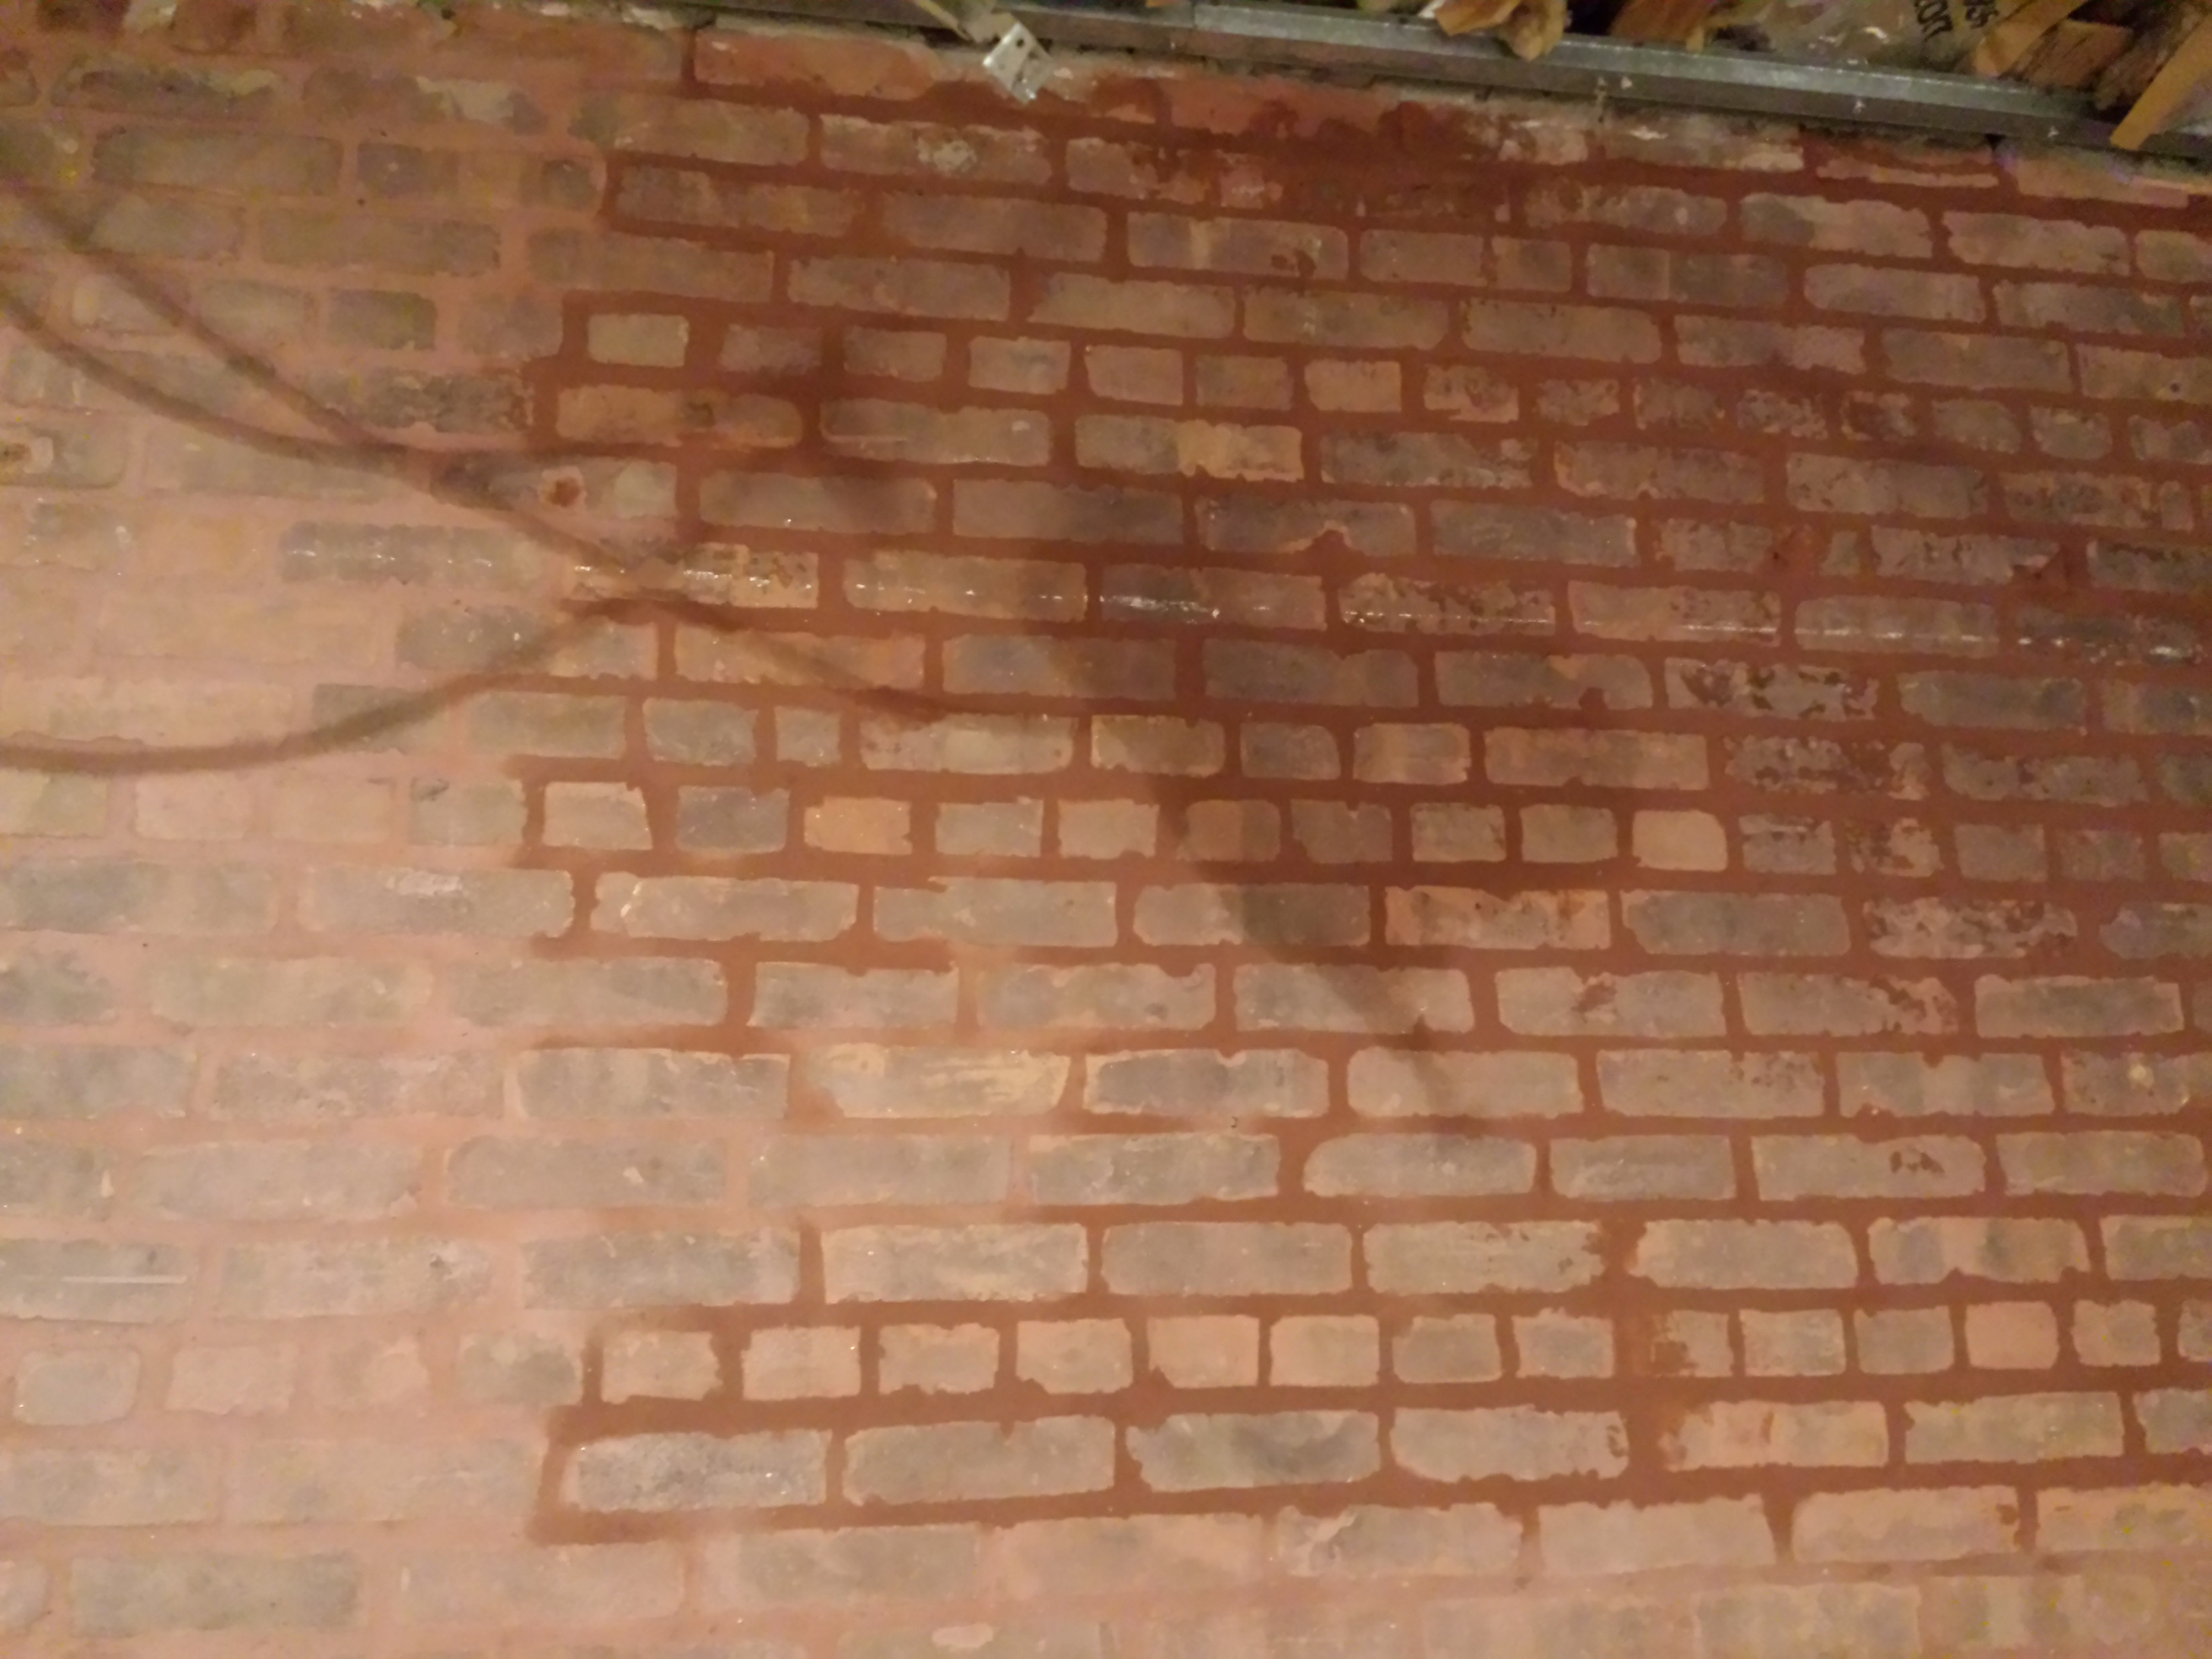
A closer look at the wall before the grinding started.
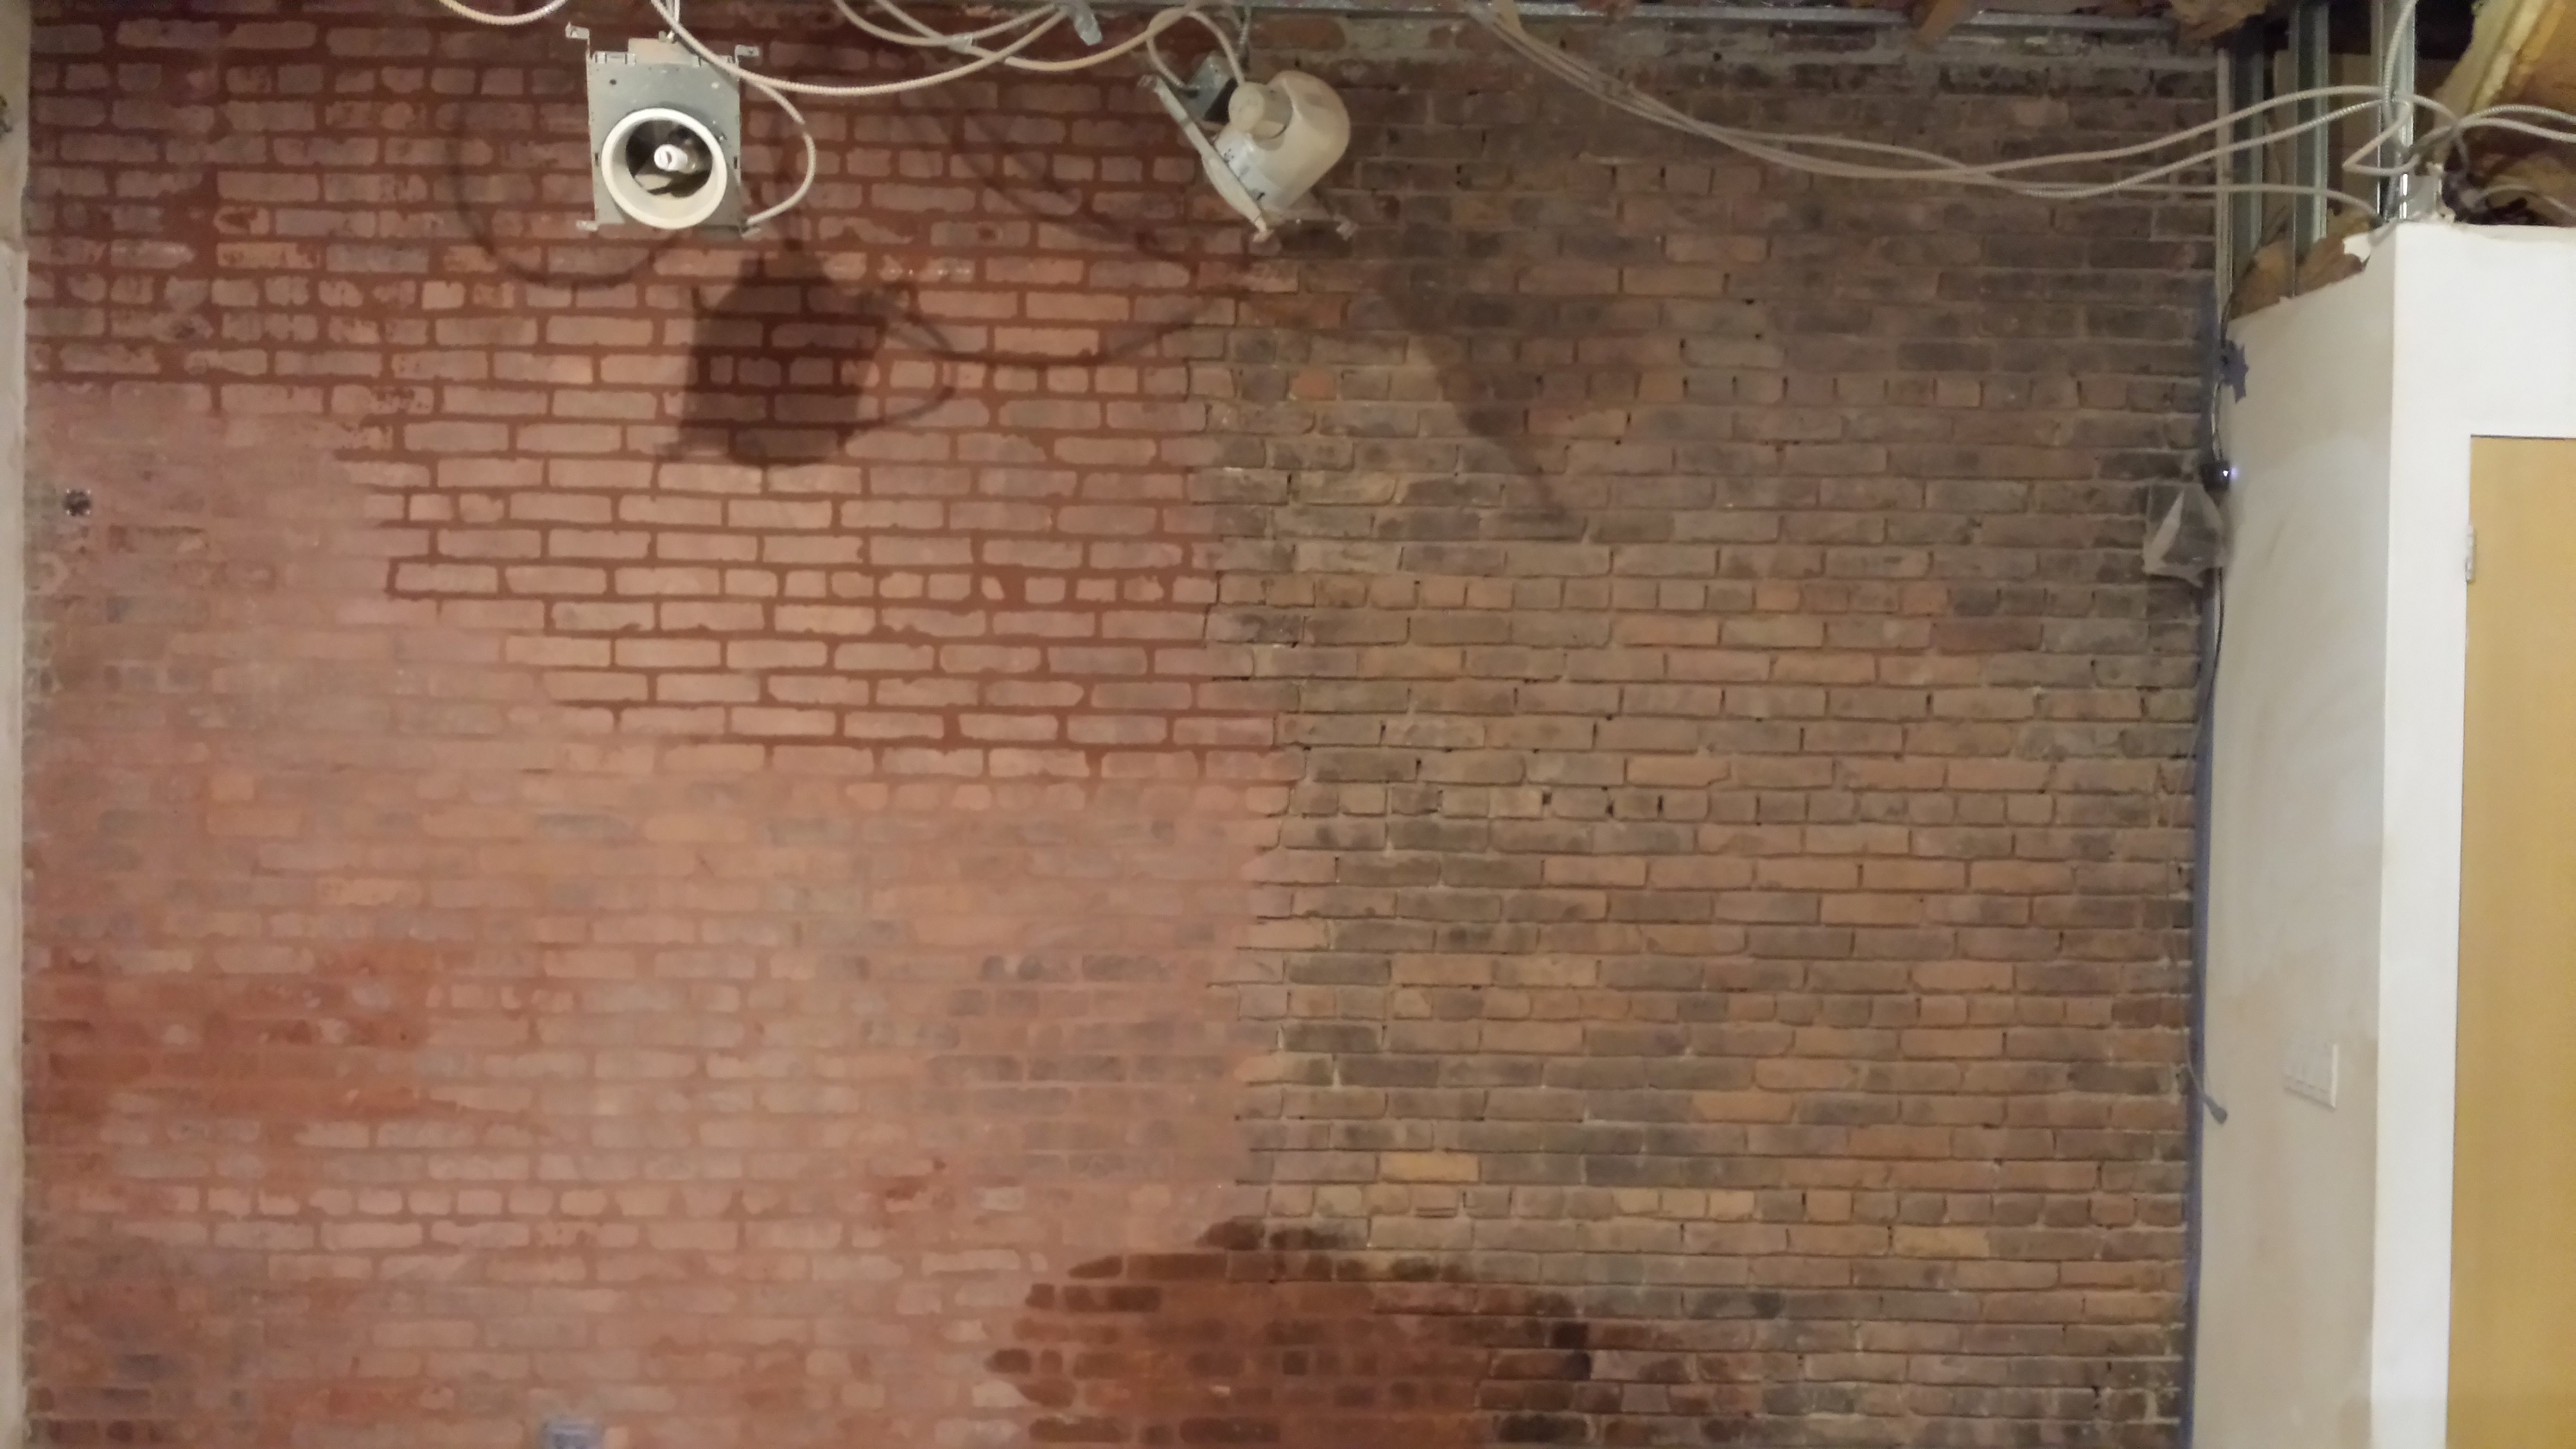
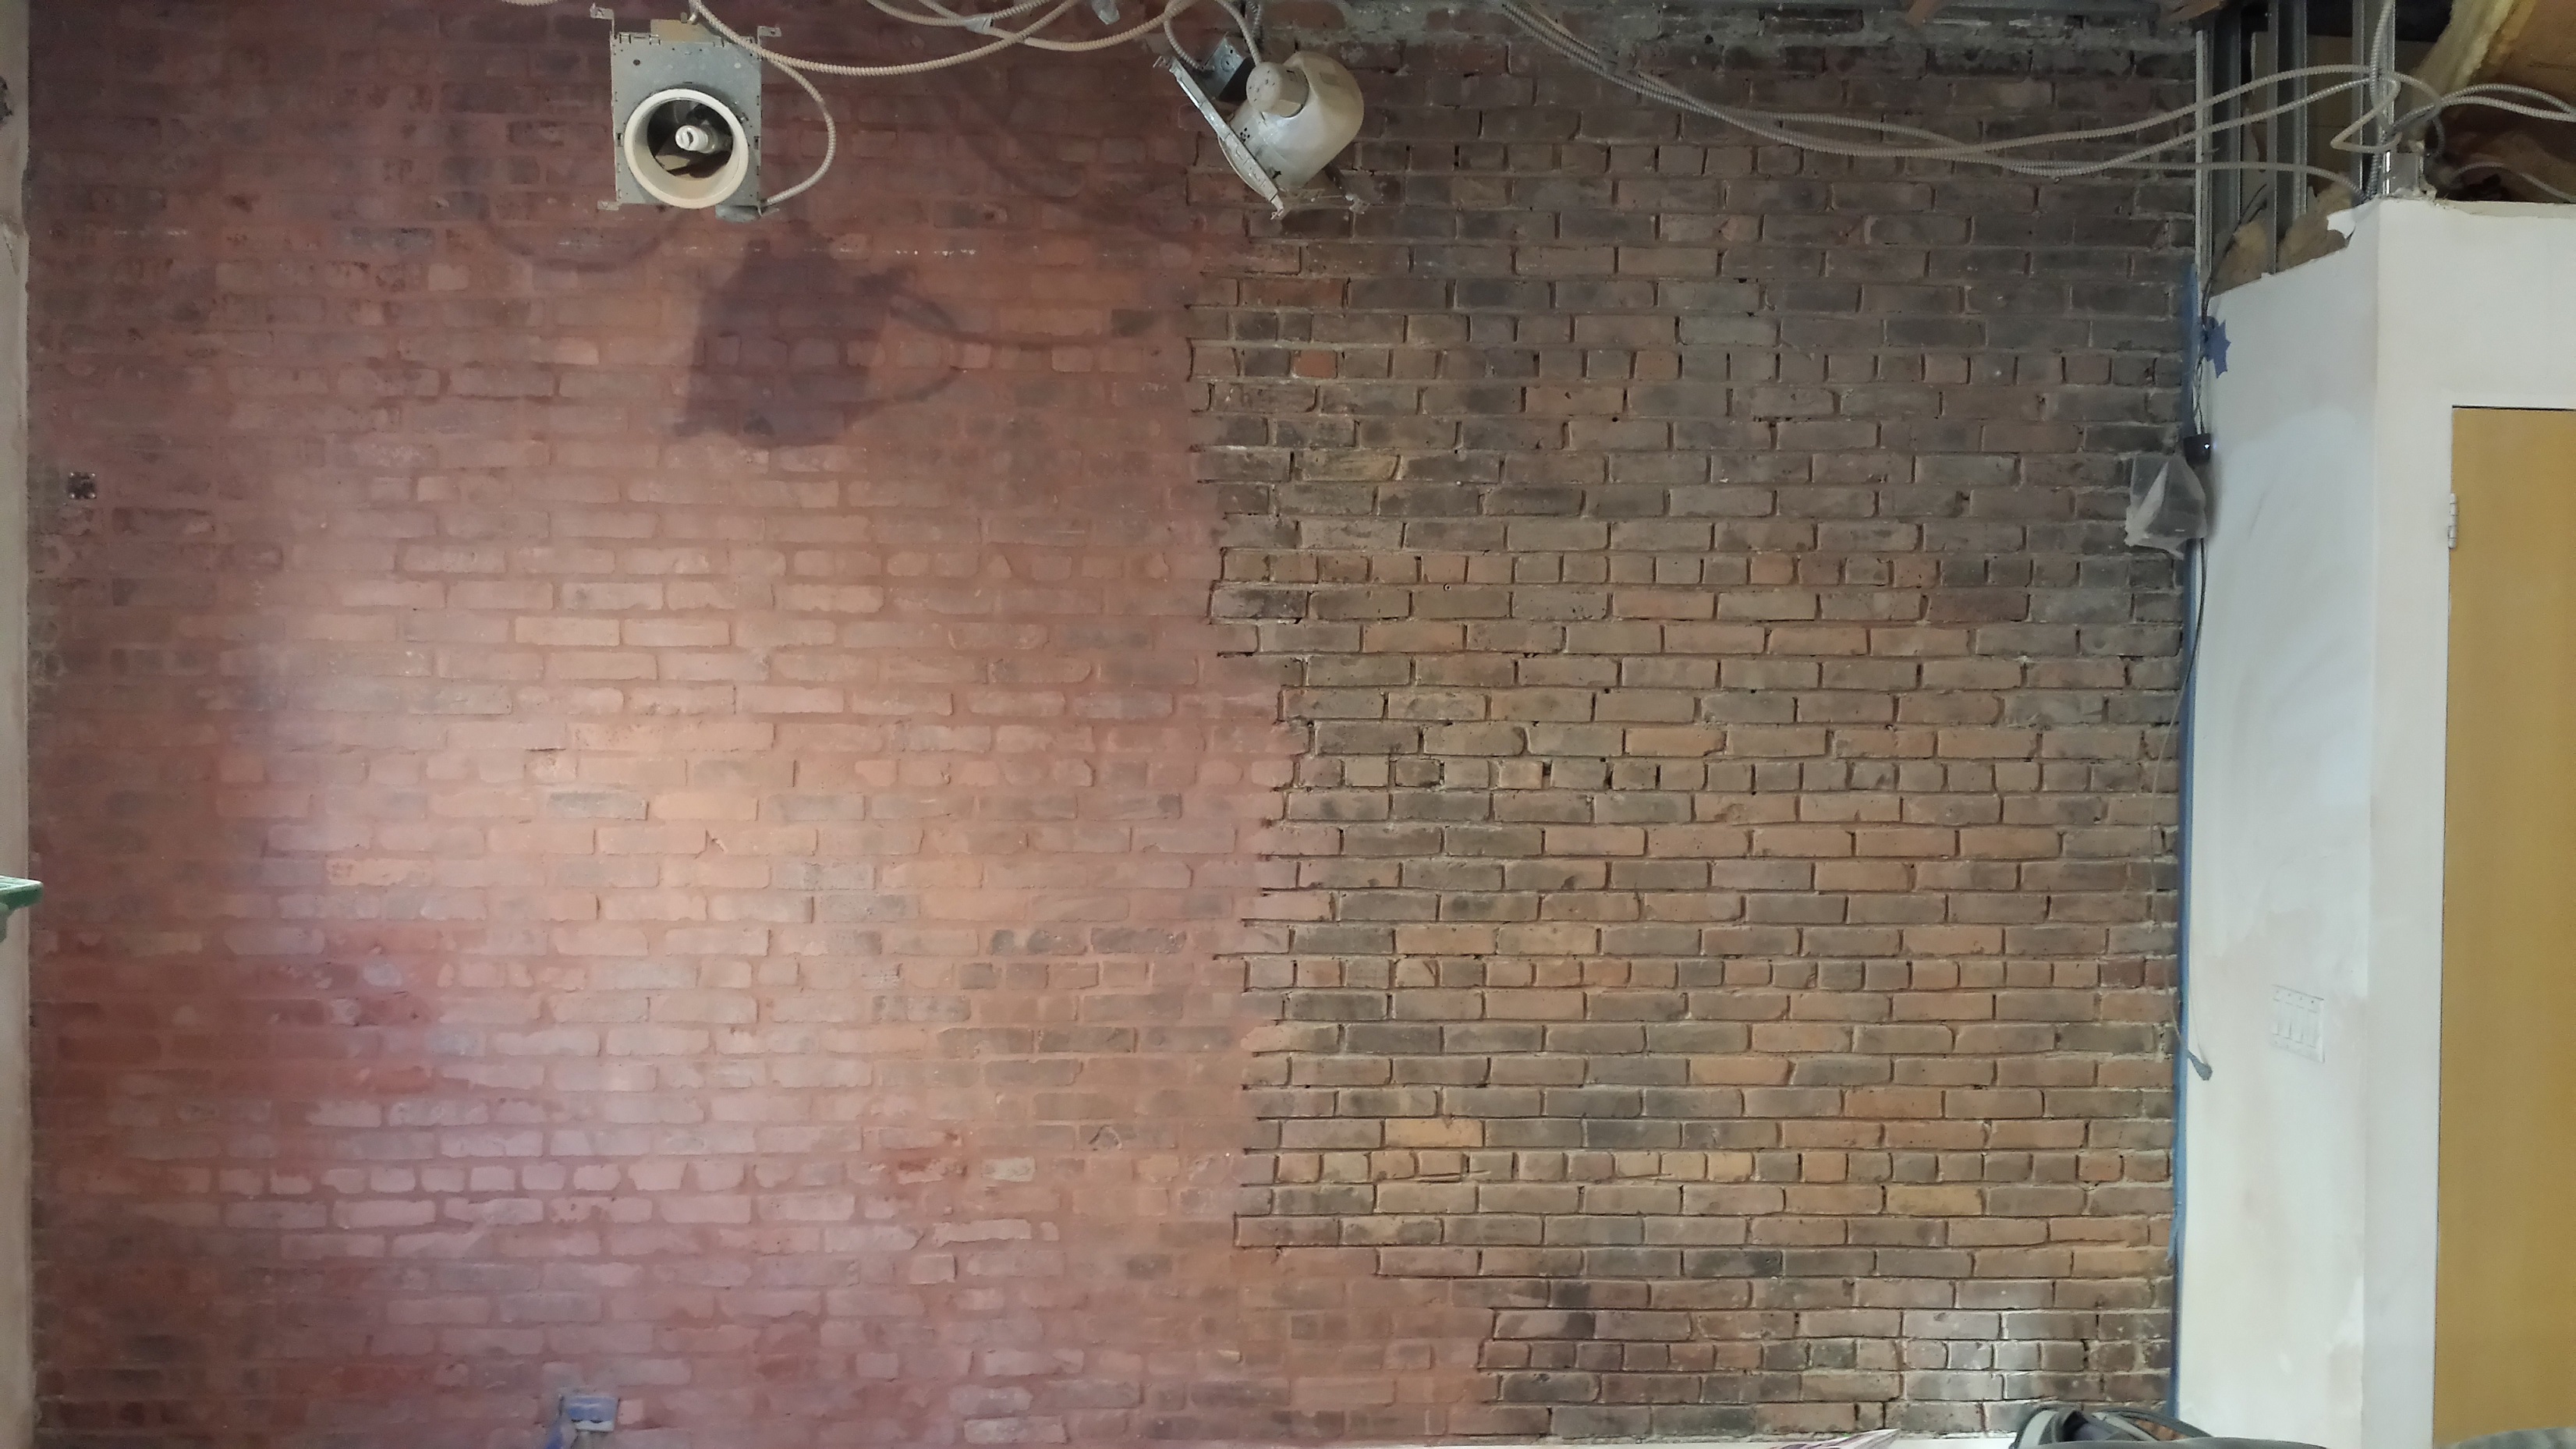
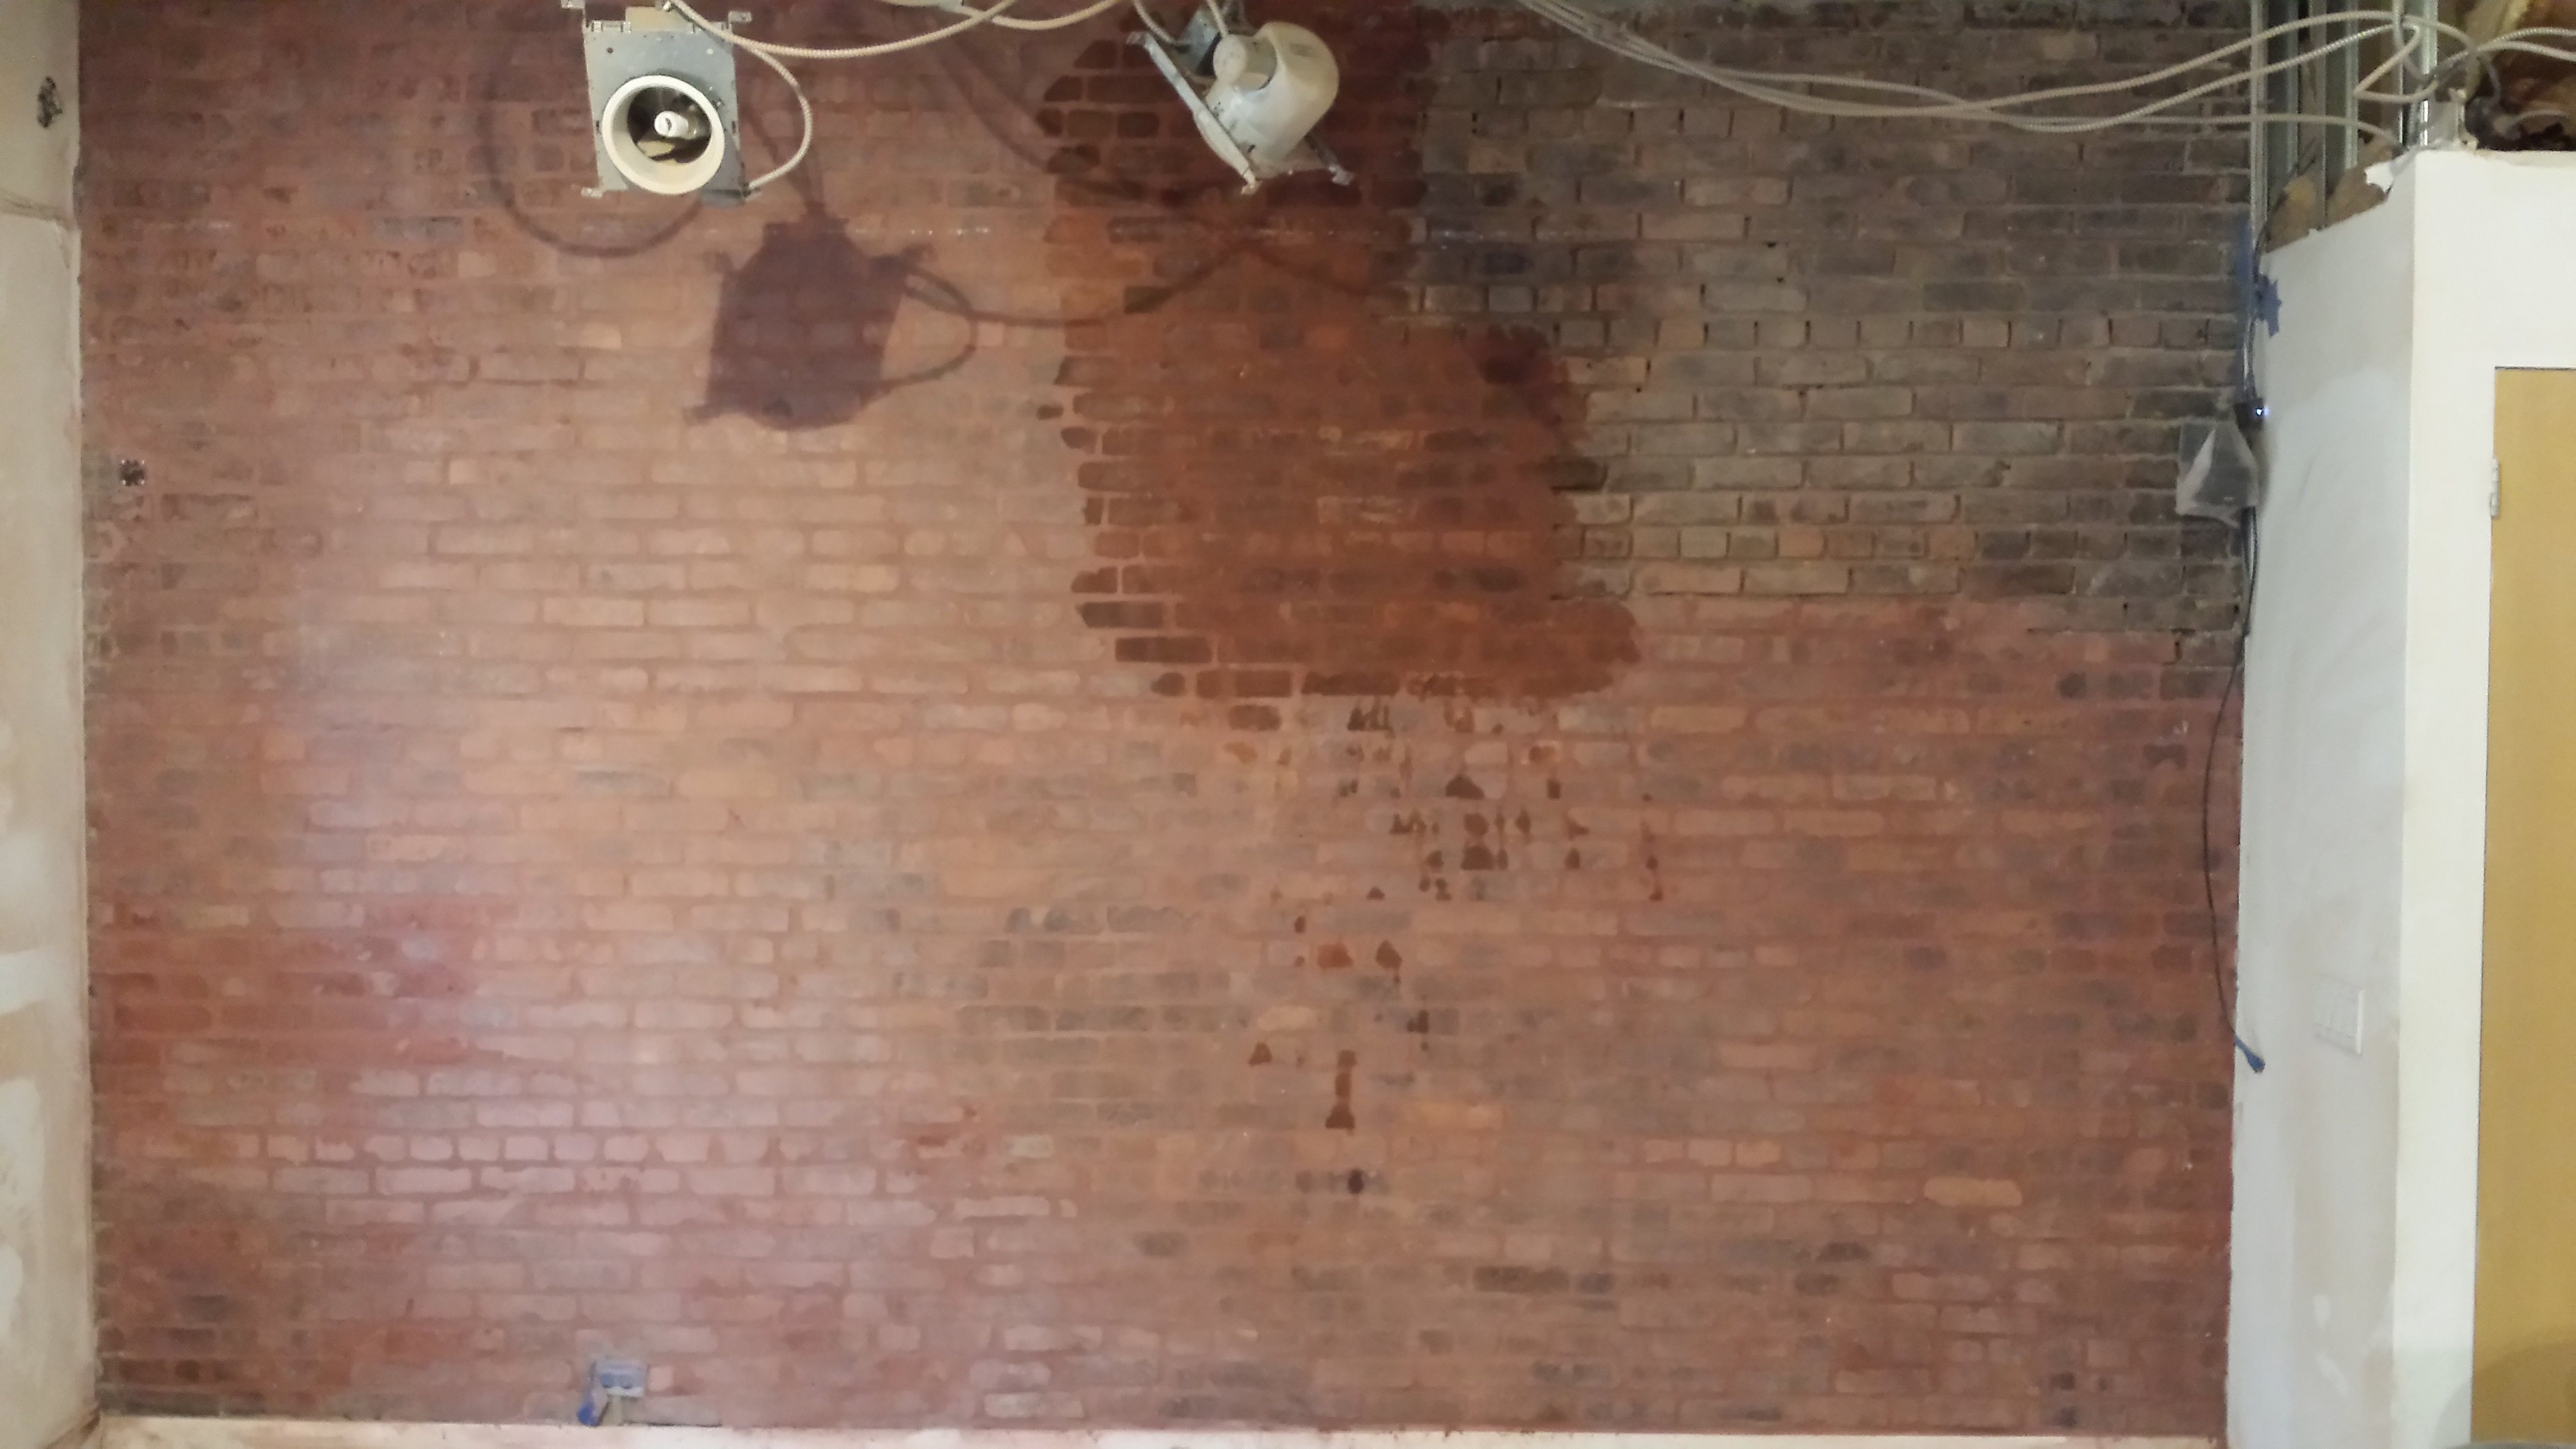
A post grinding look at the same section of wall.

A bigger view.
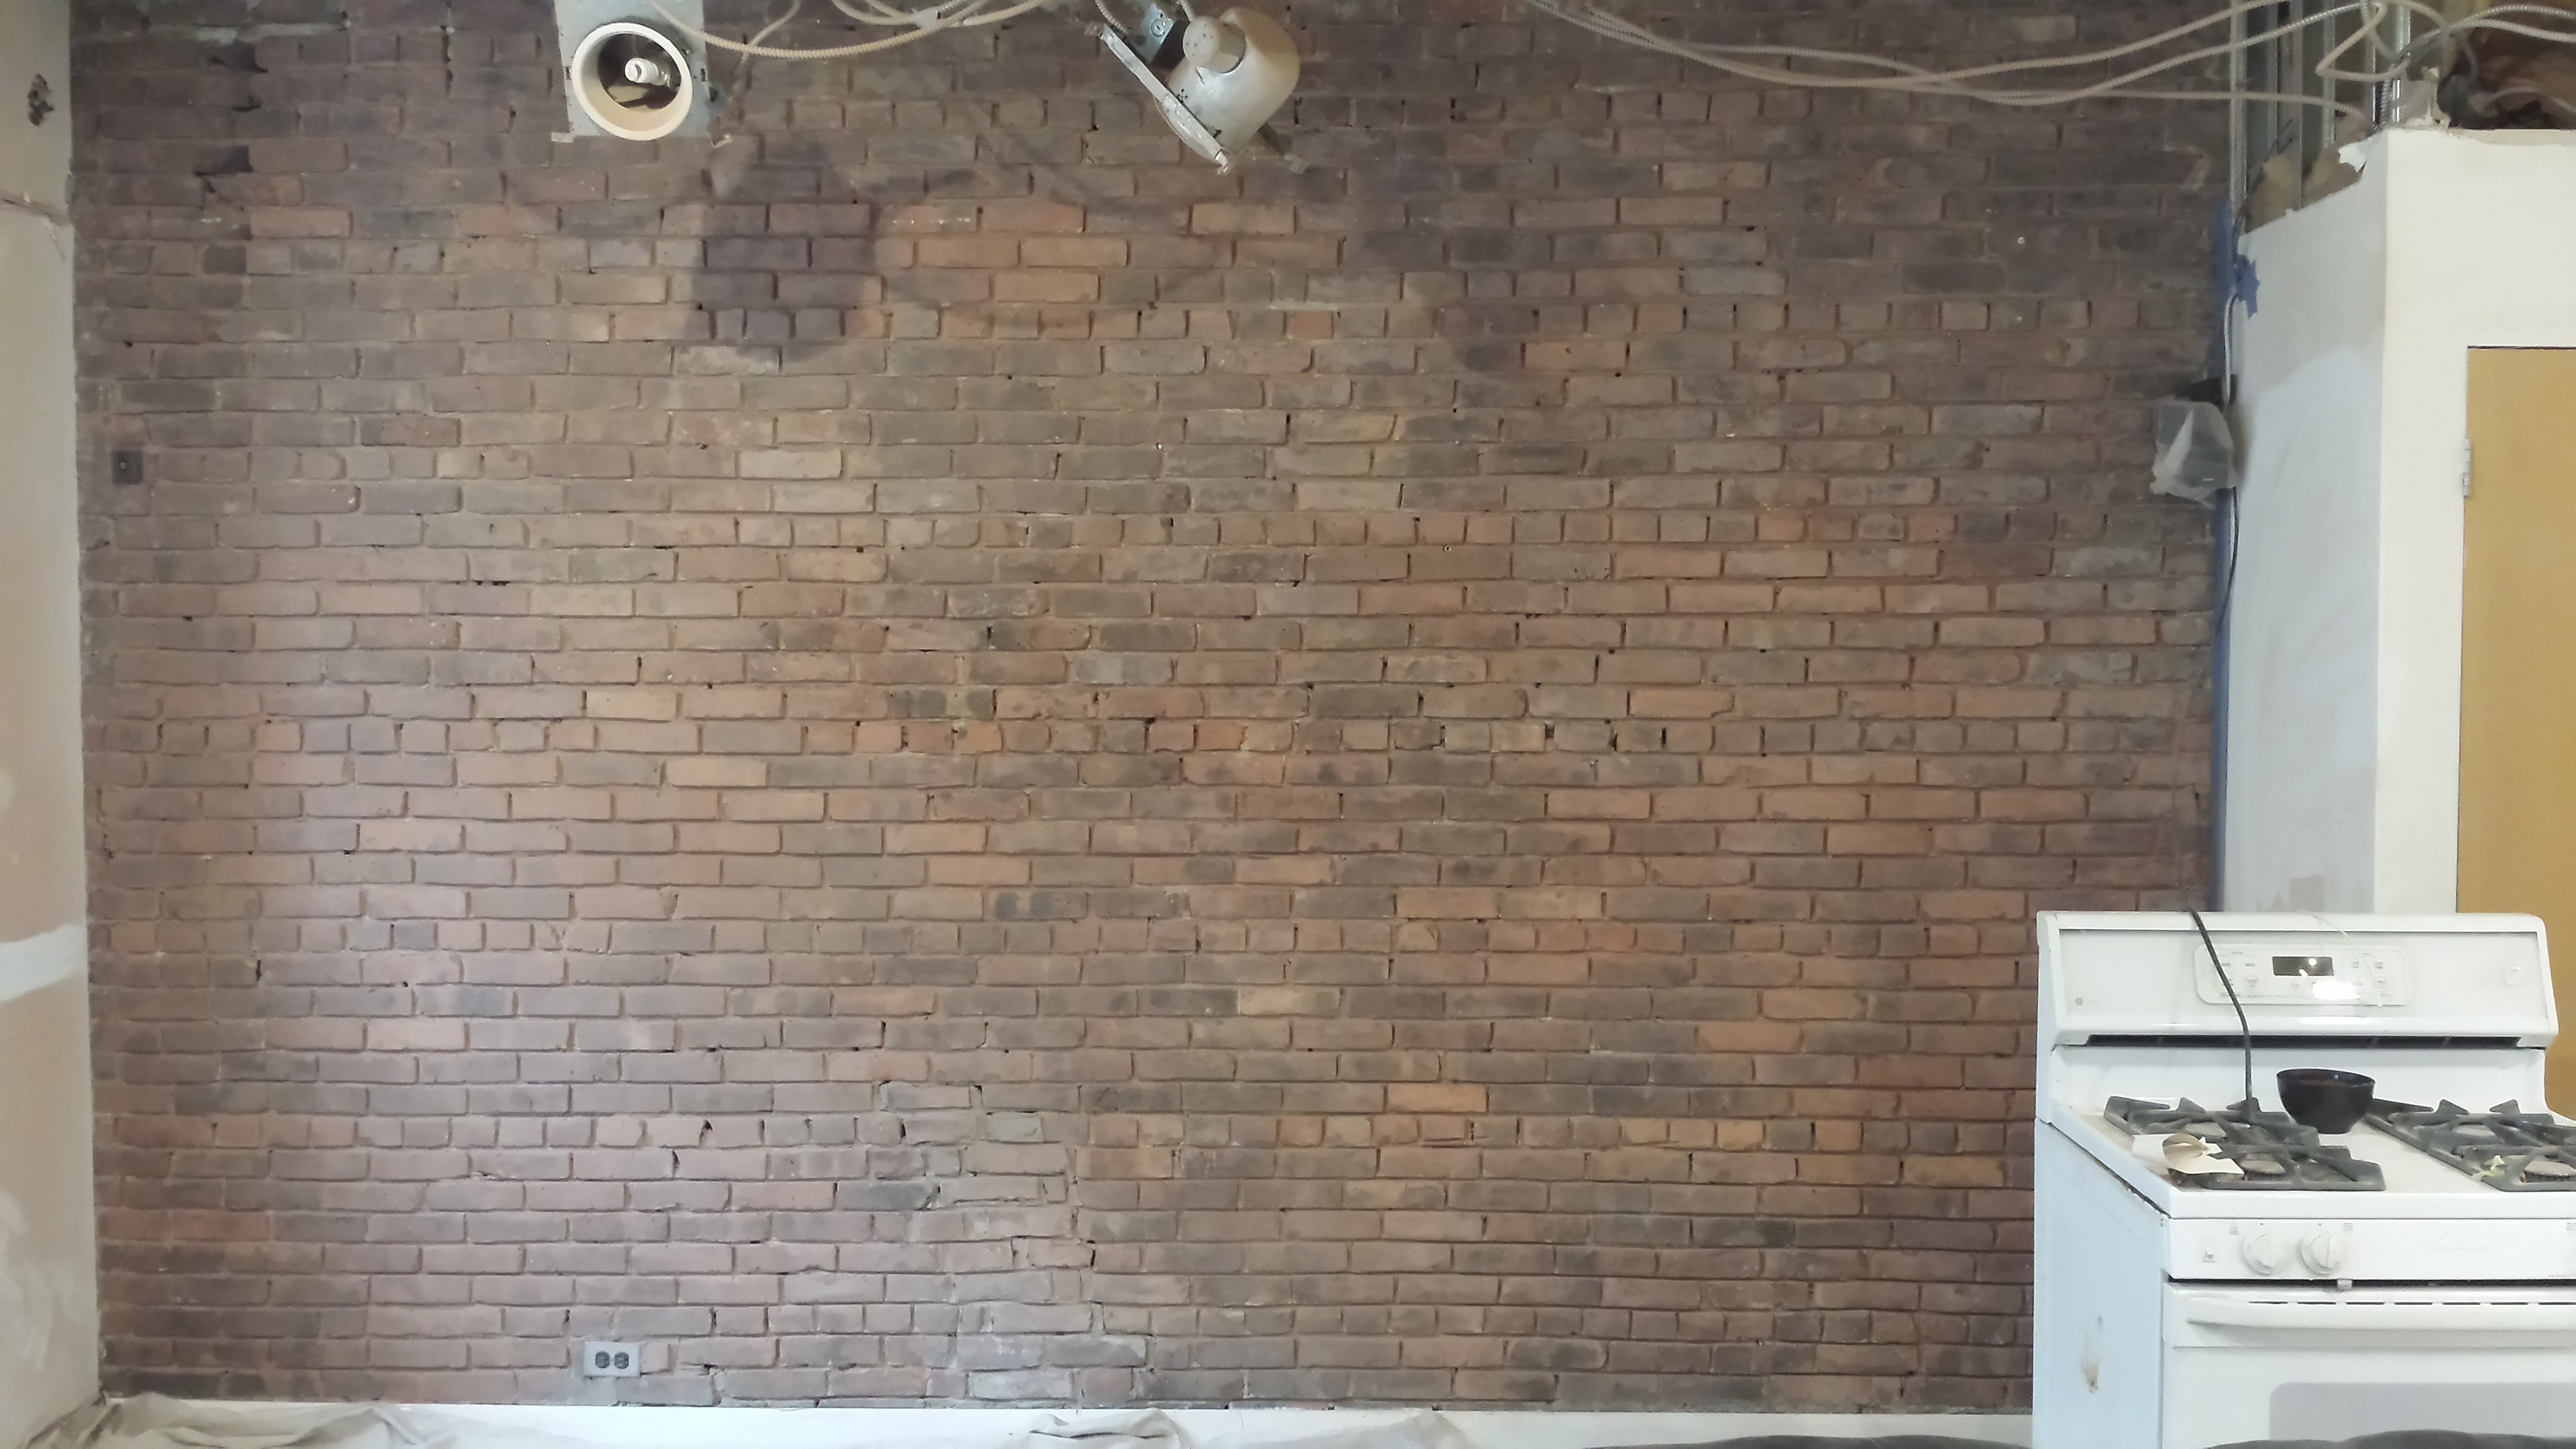
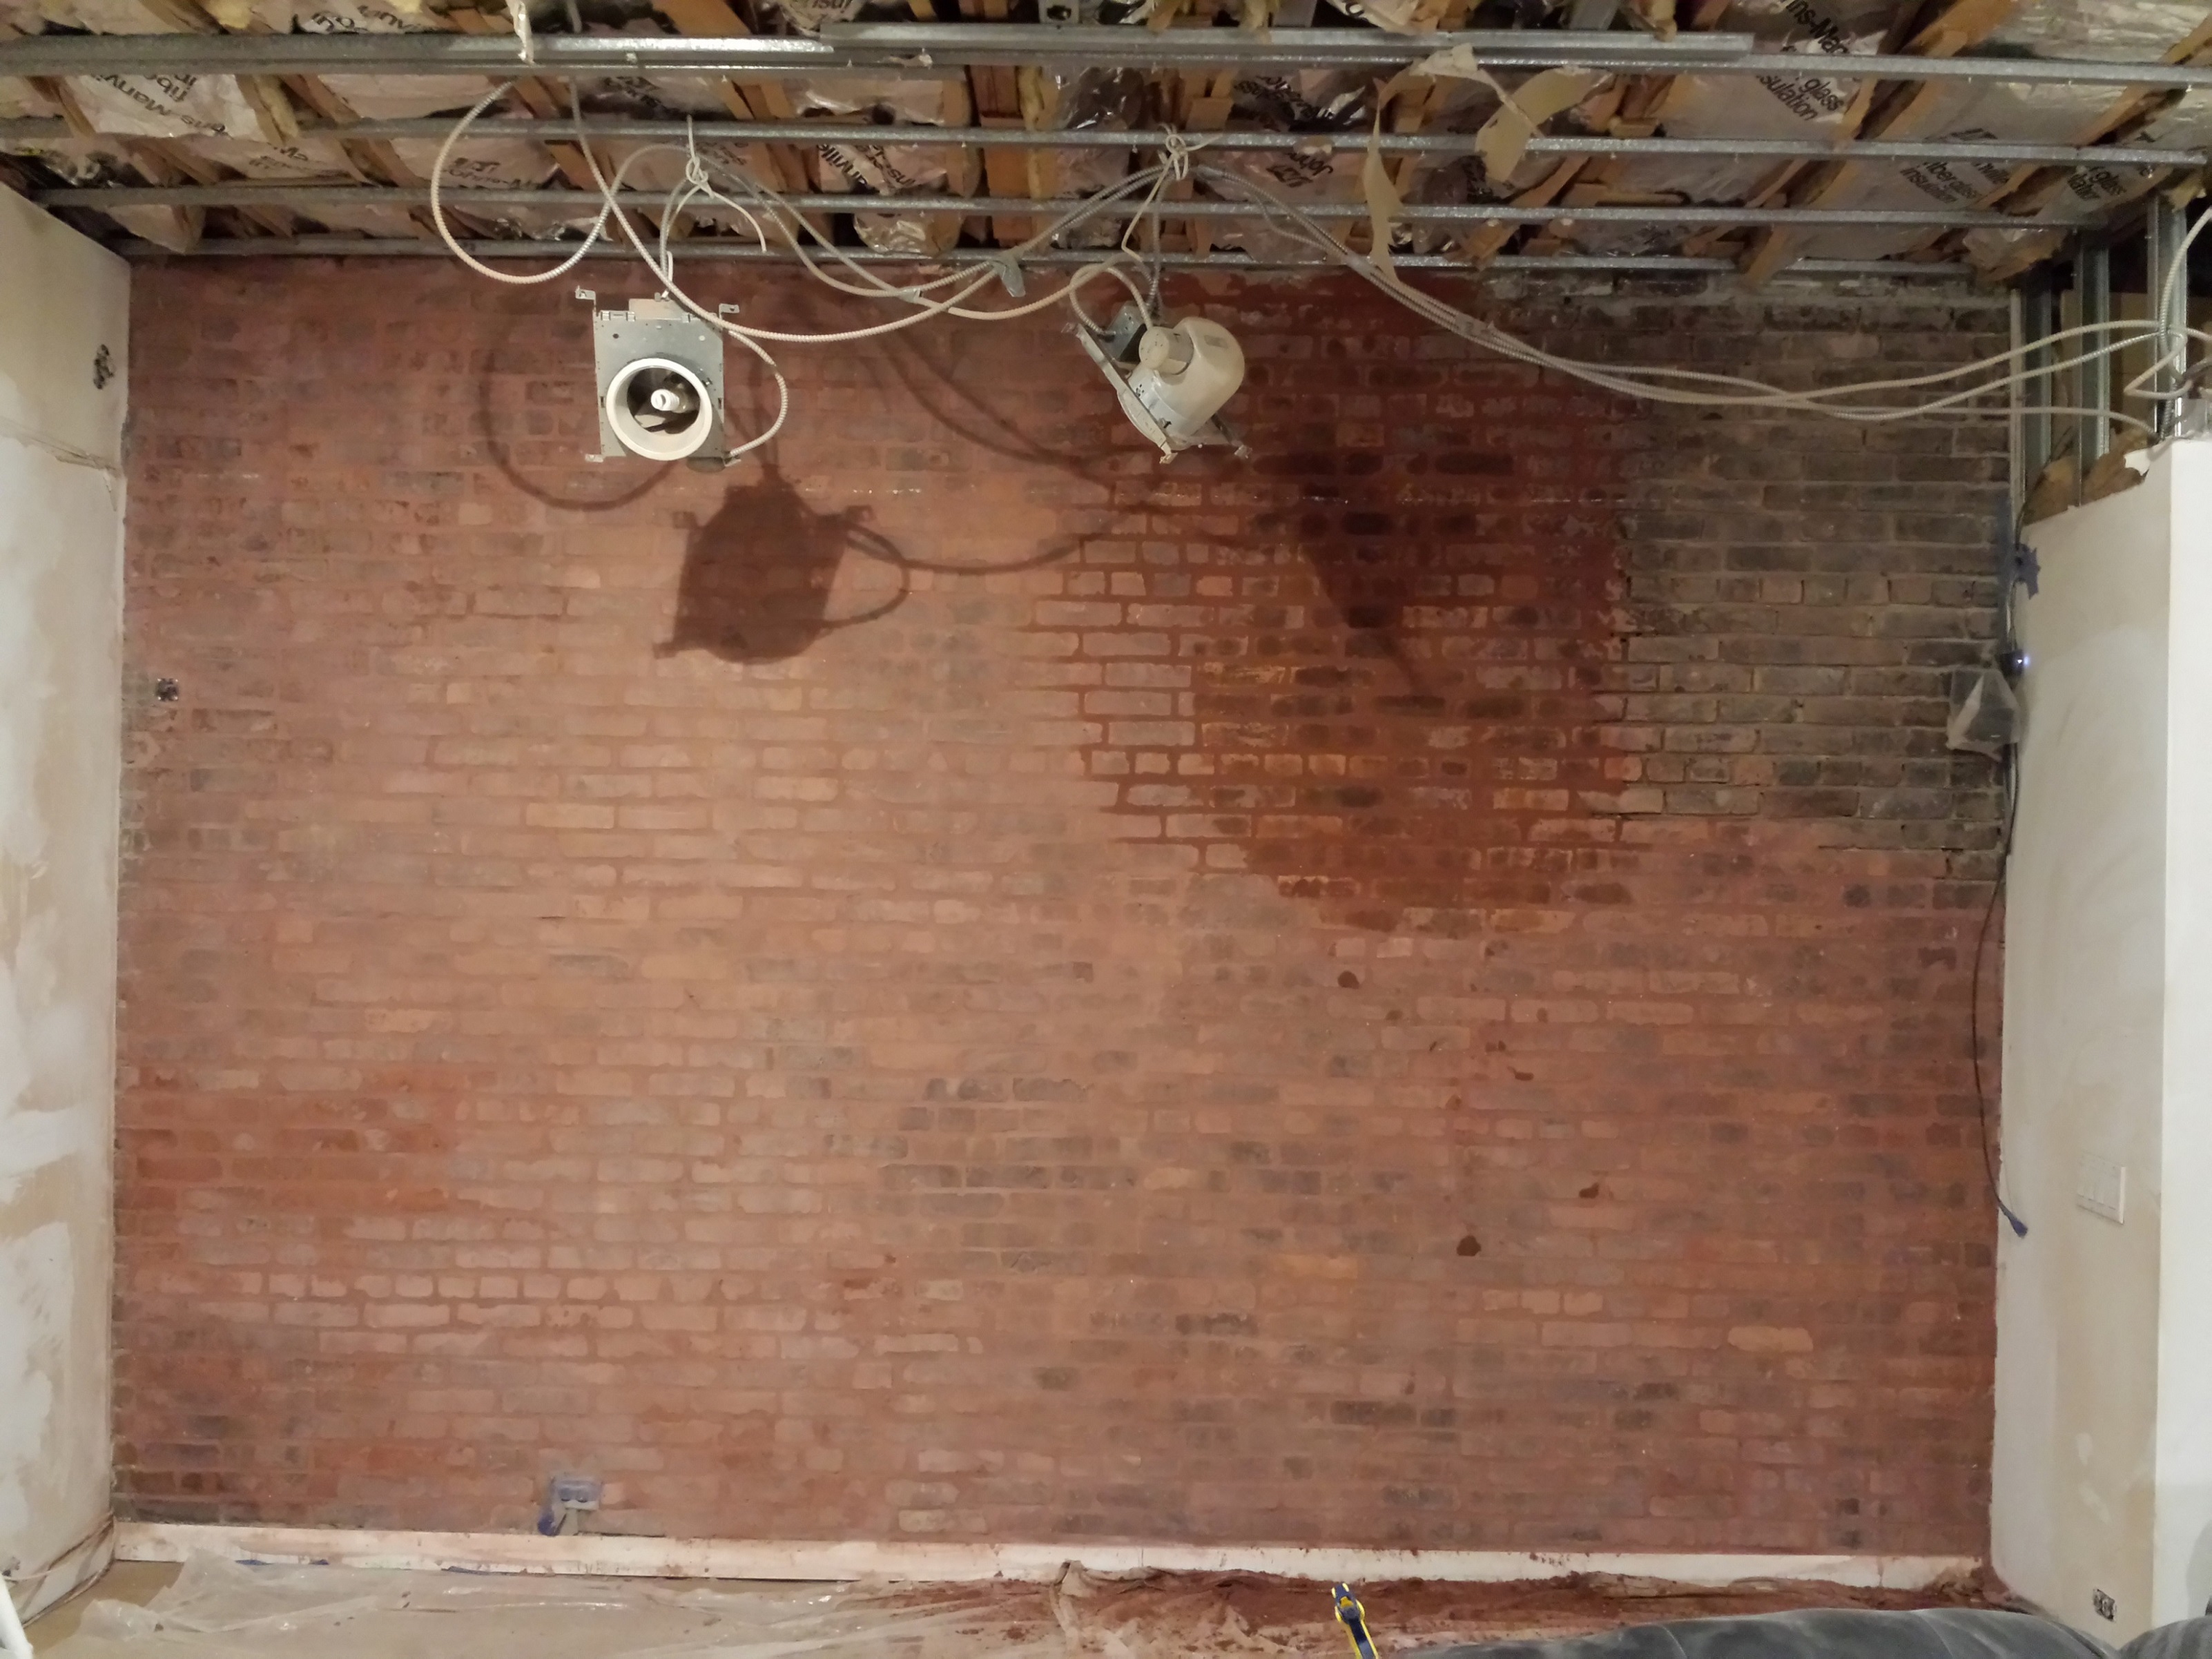
At this point the wall has had mortar removed to an 1/2″ depth. The surface of the bricks have also been ground down to remove old mortar, paint, etc.
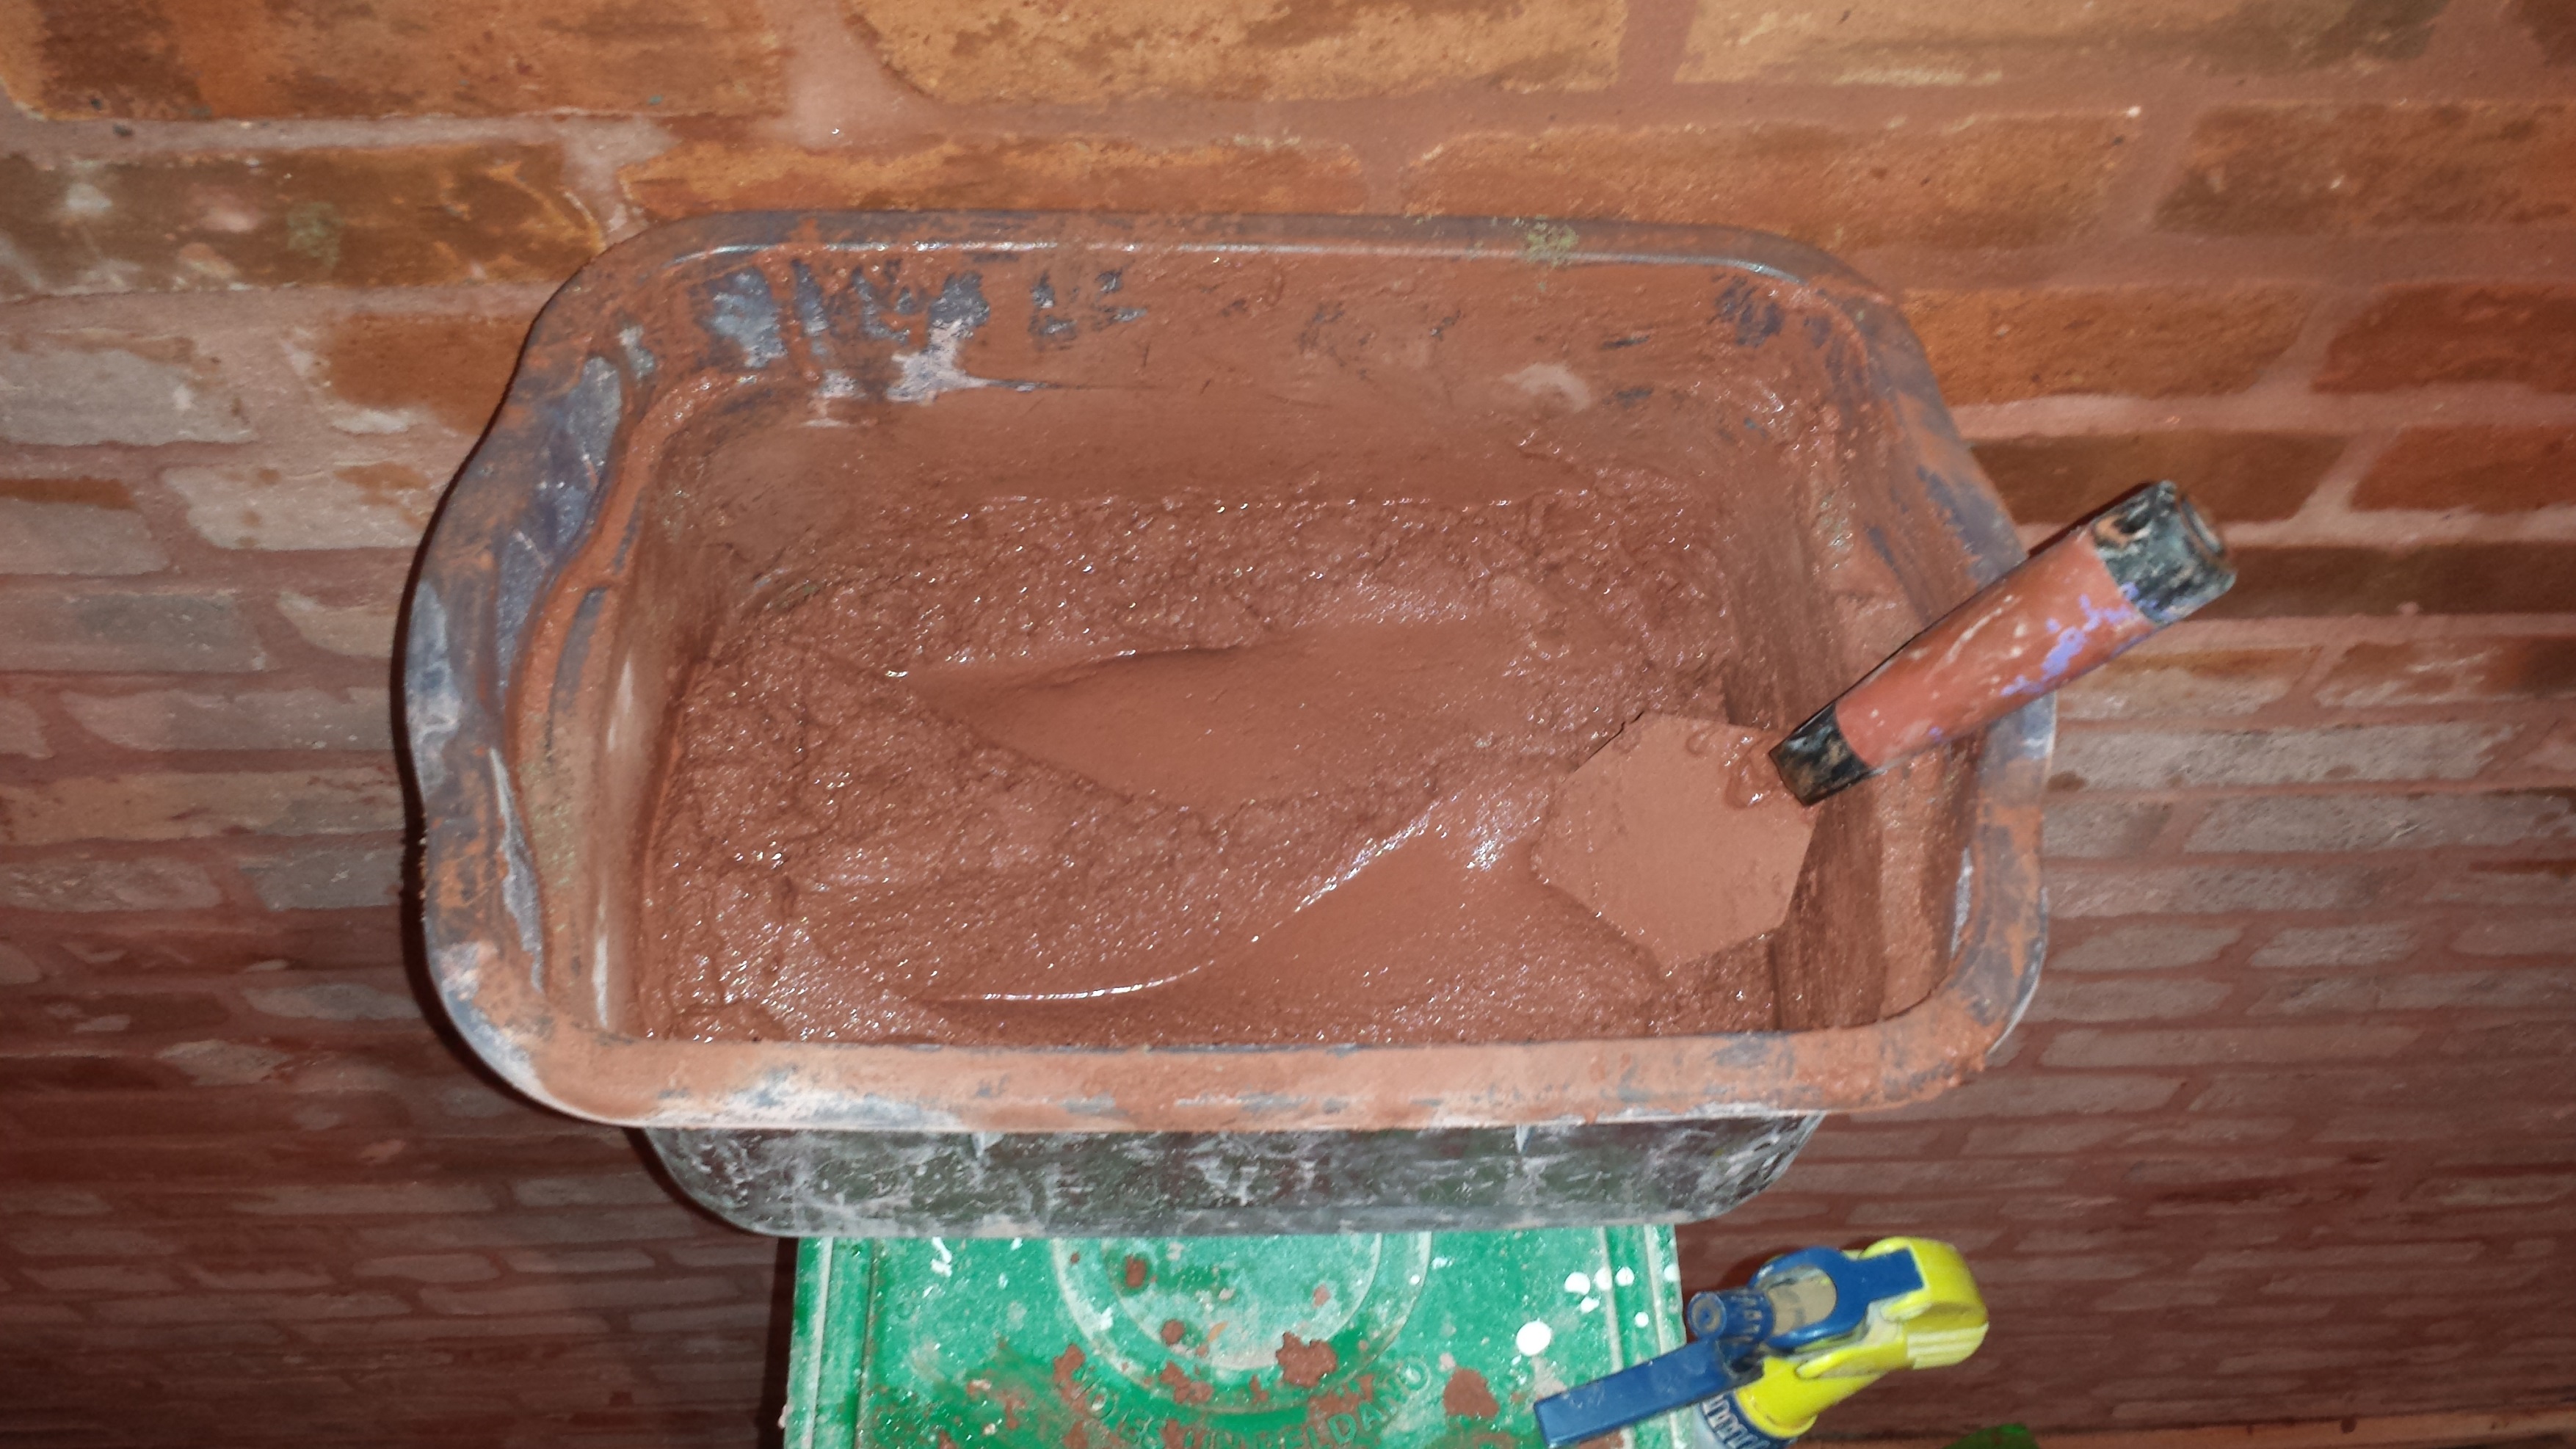
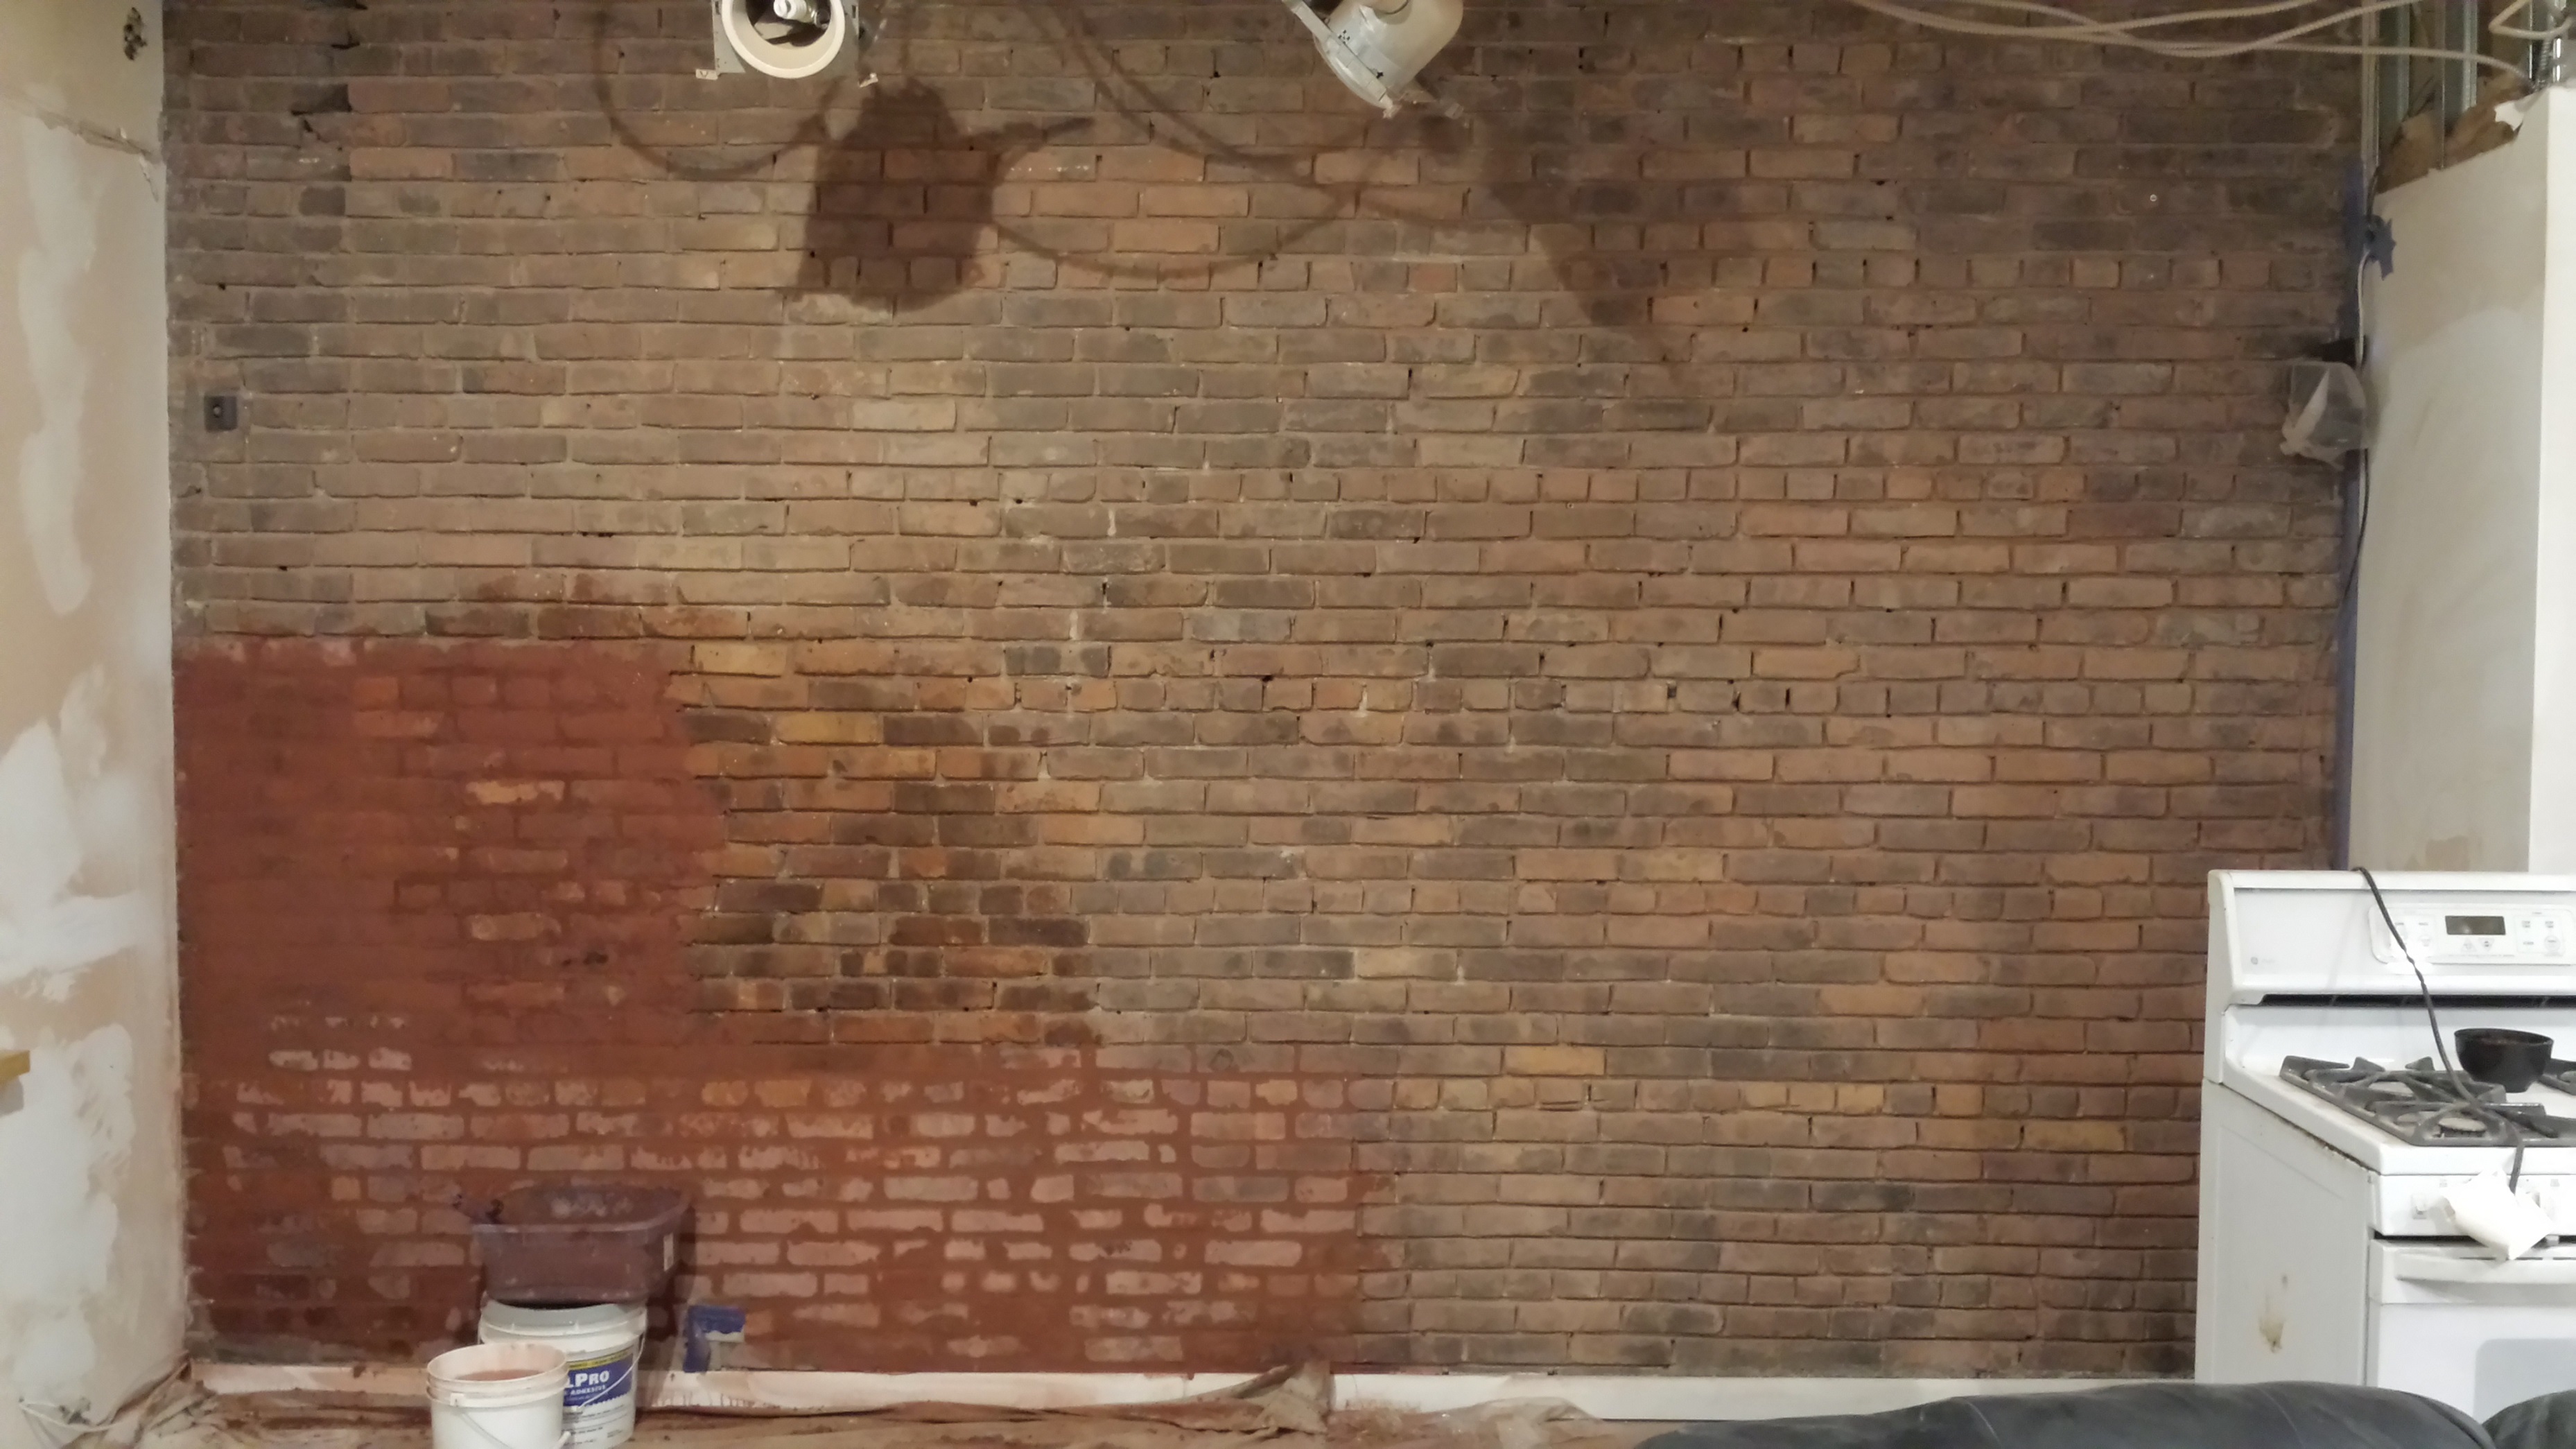
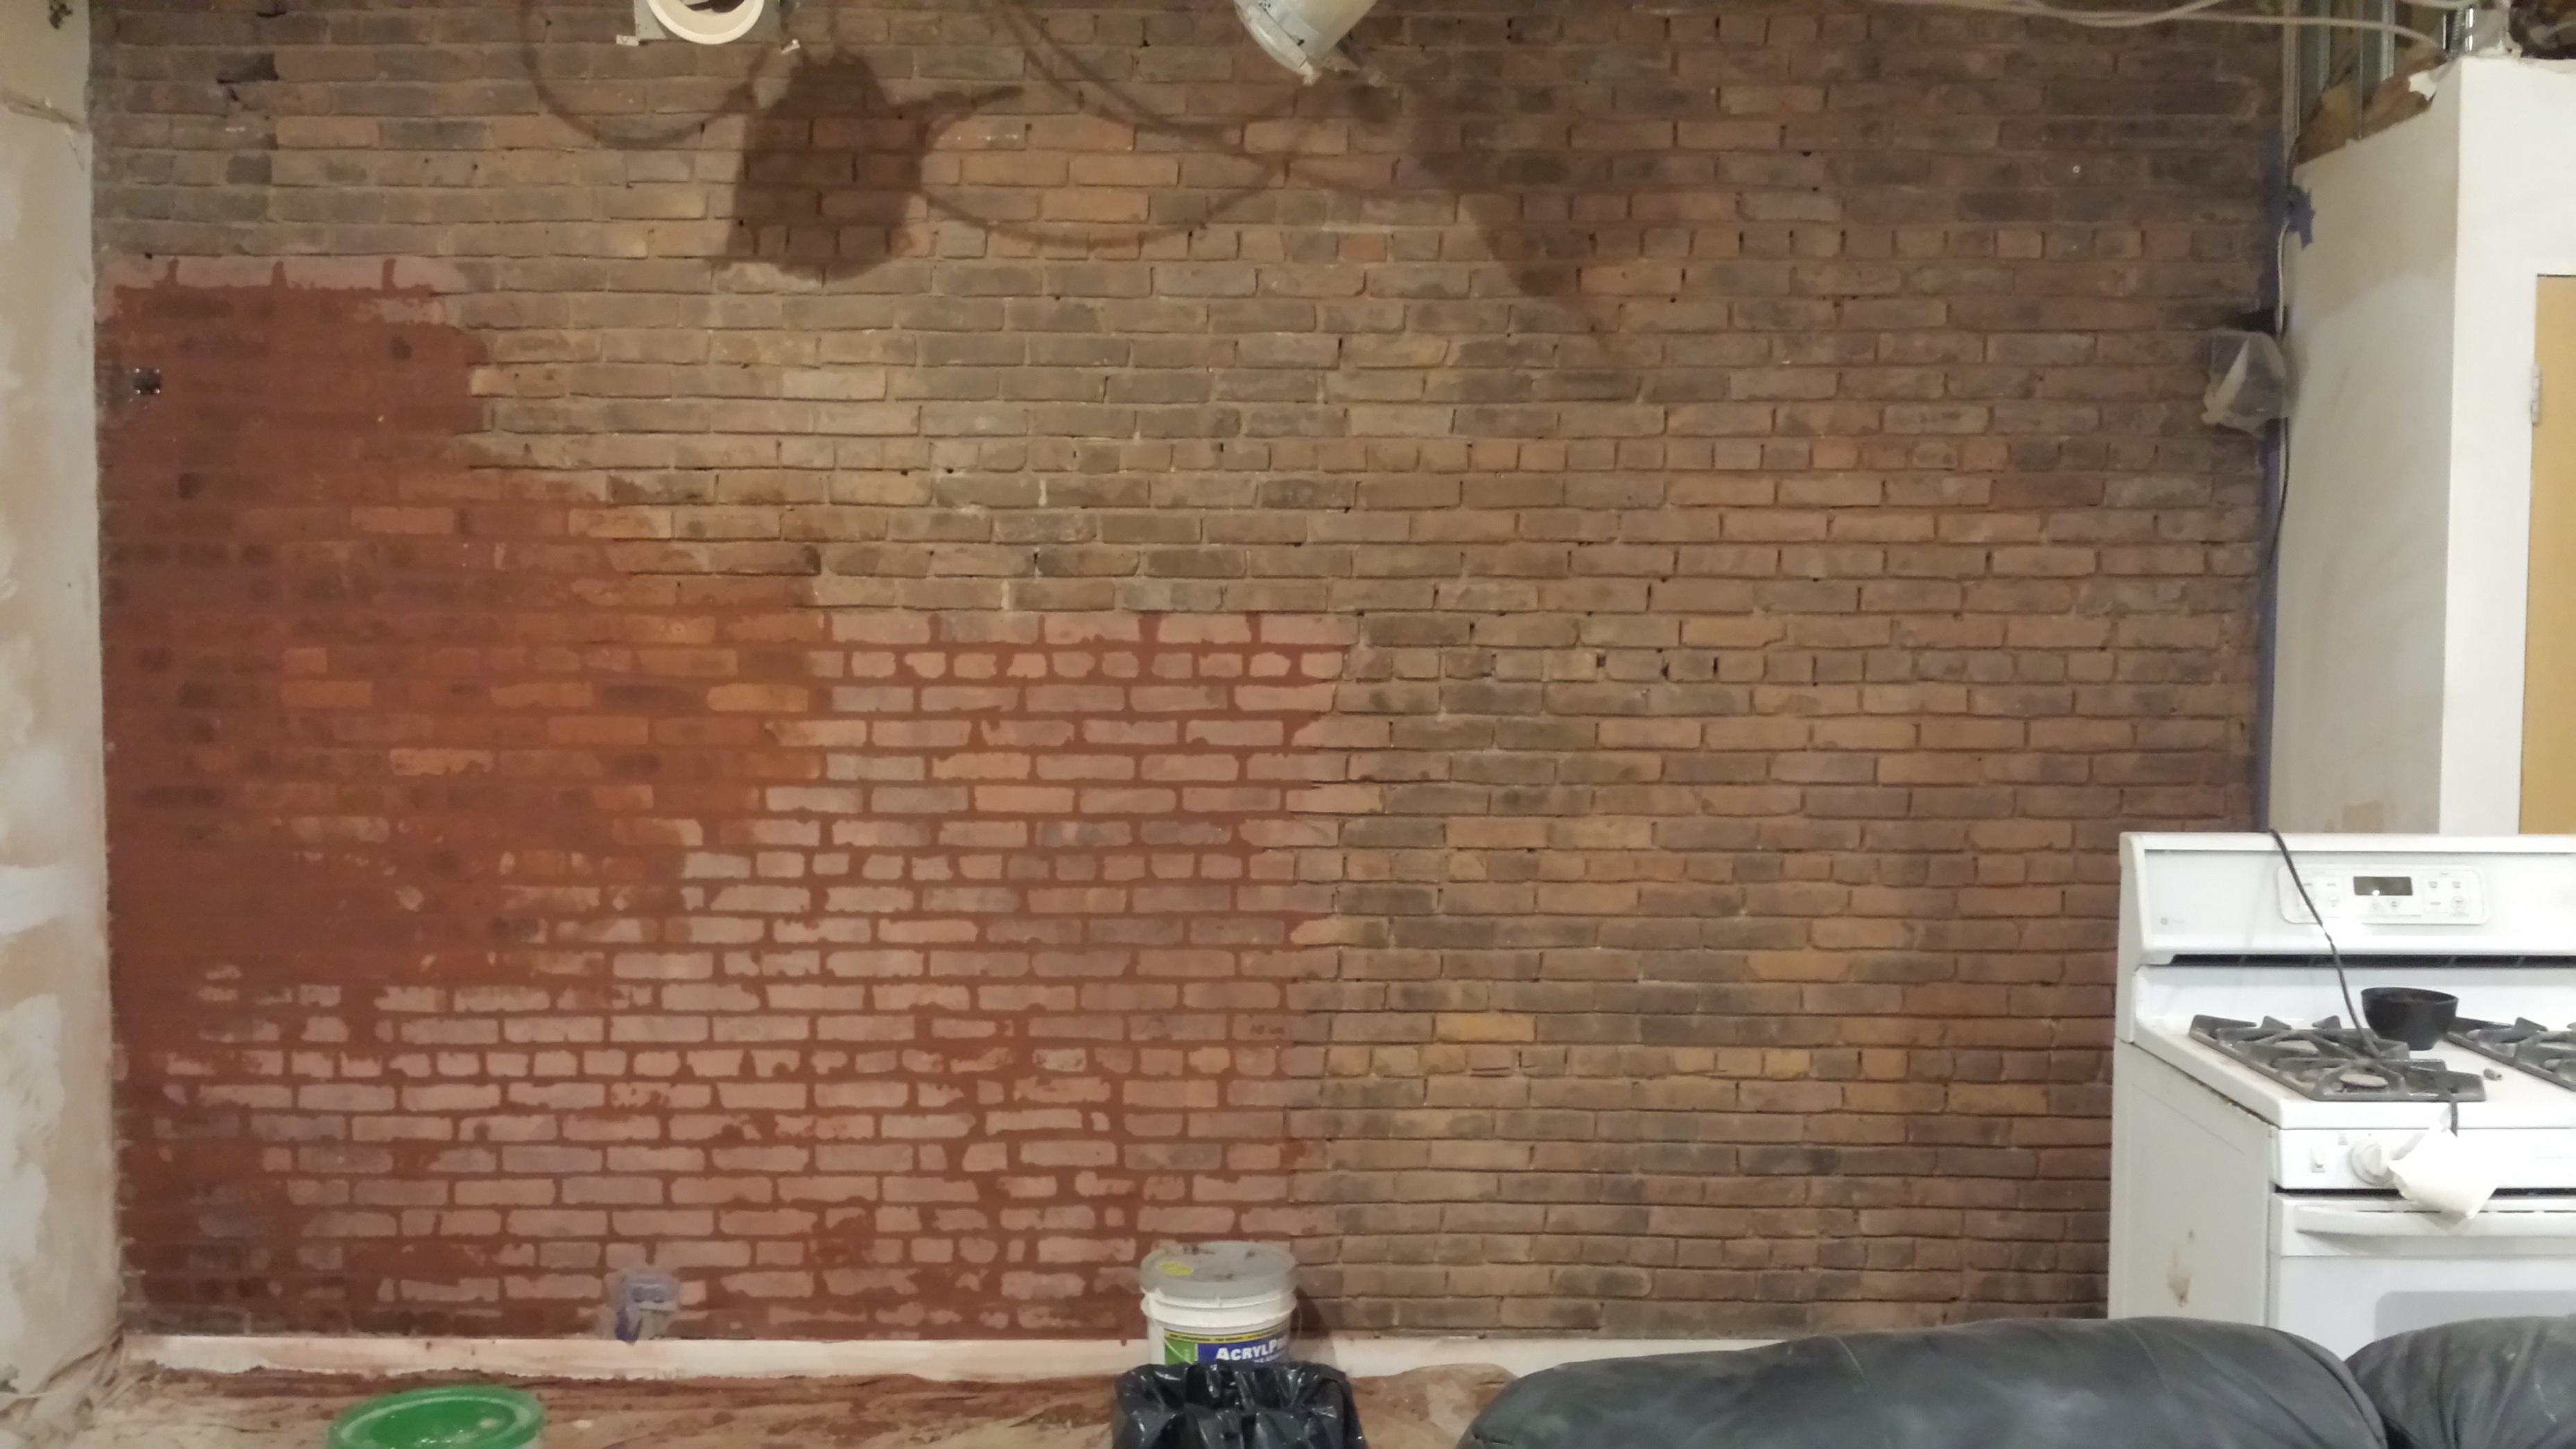
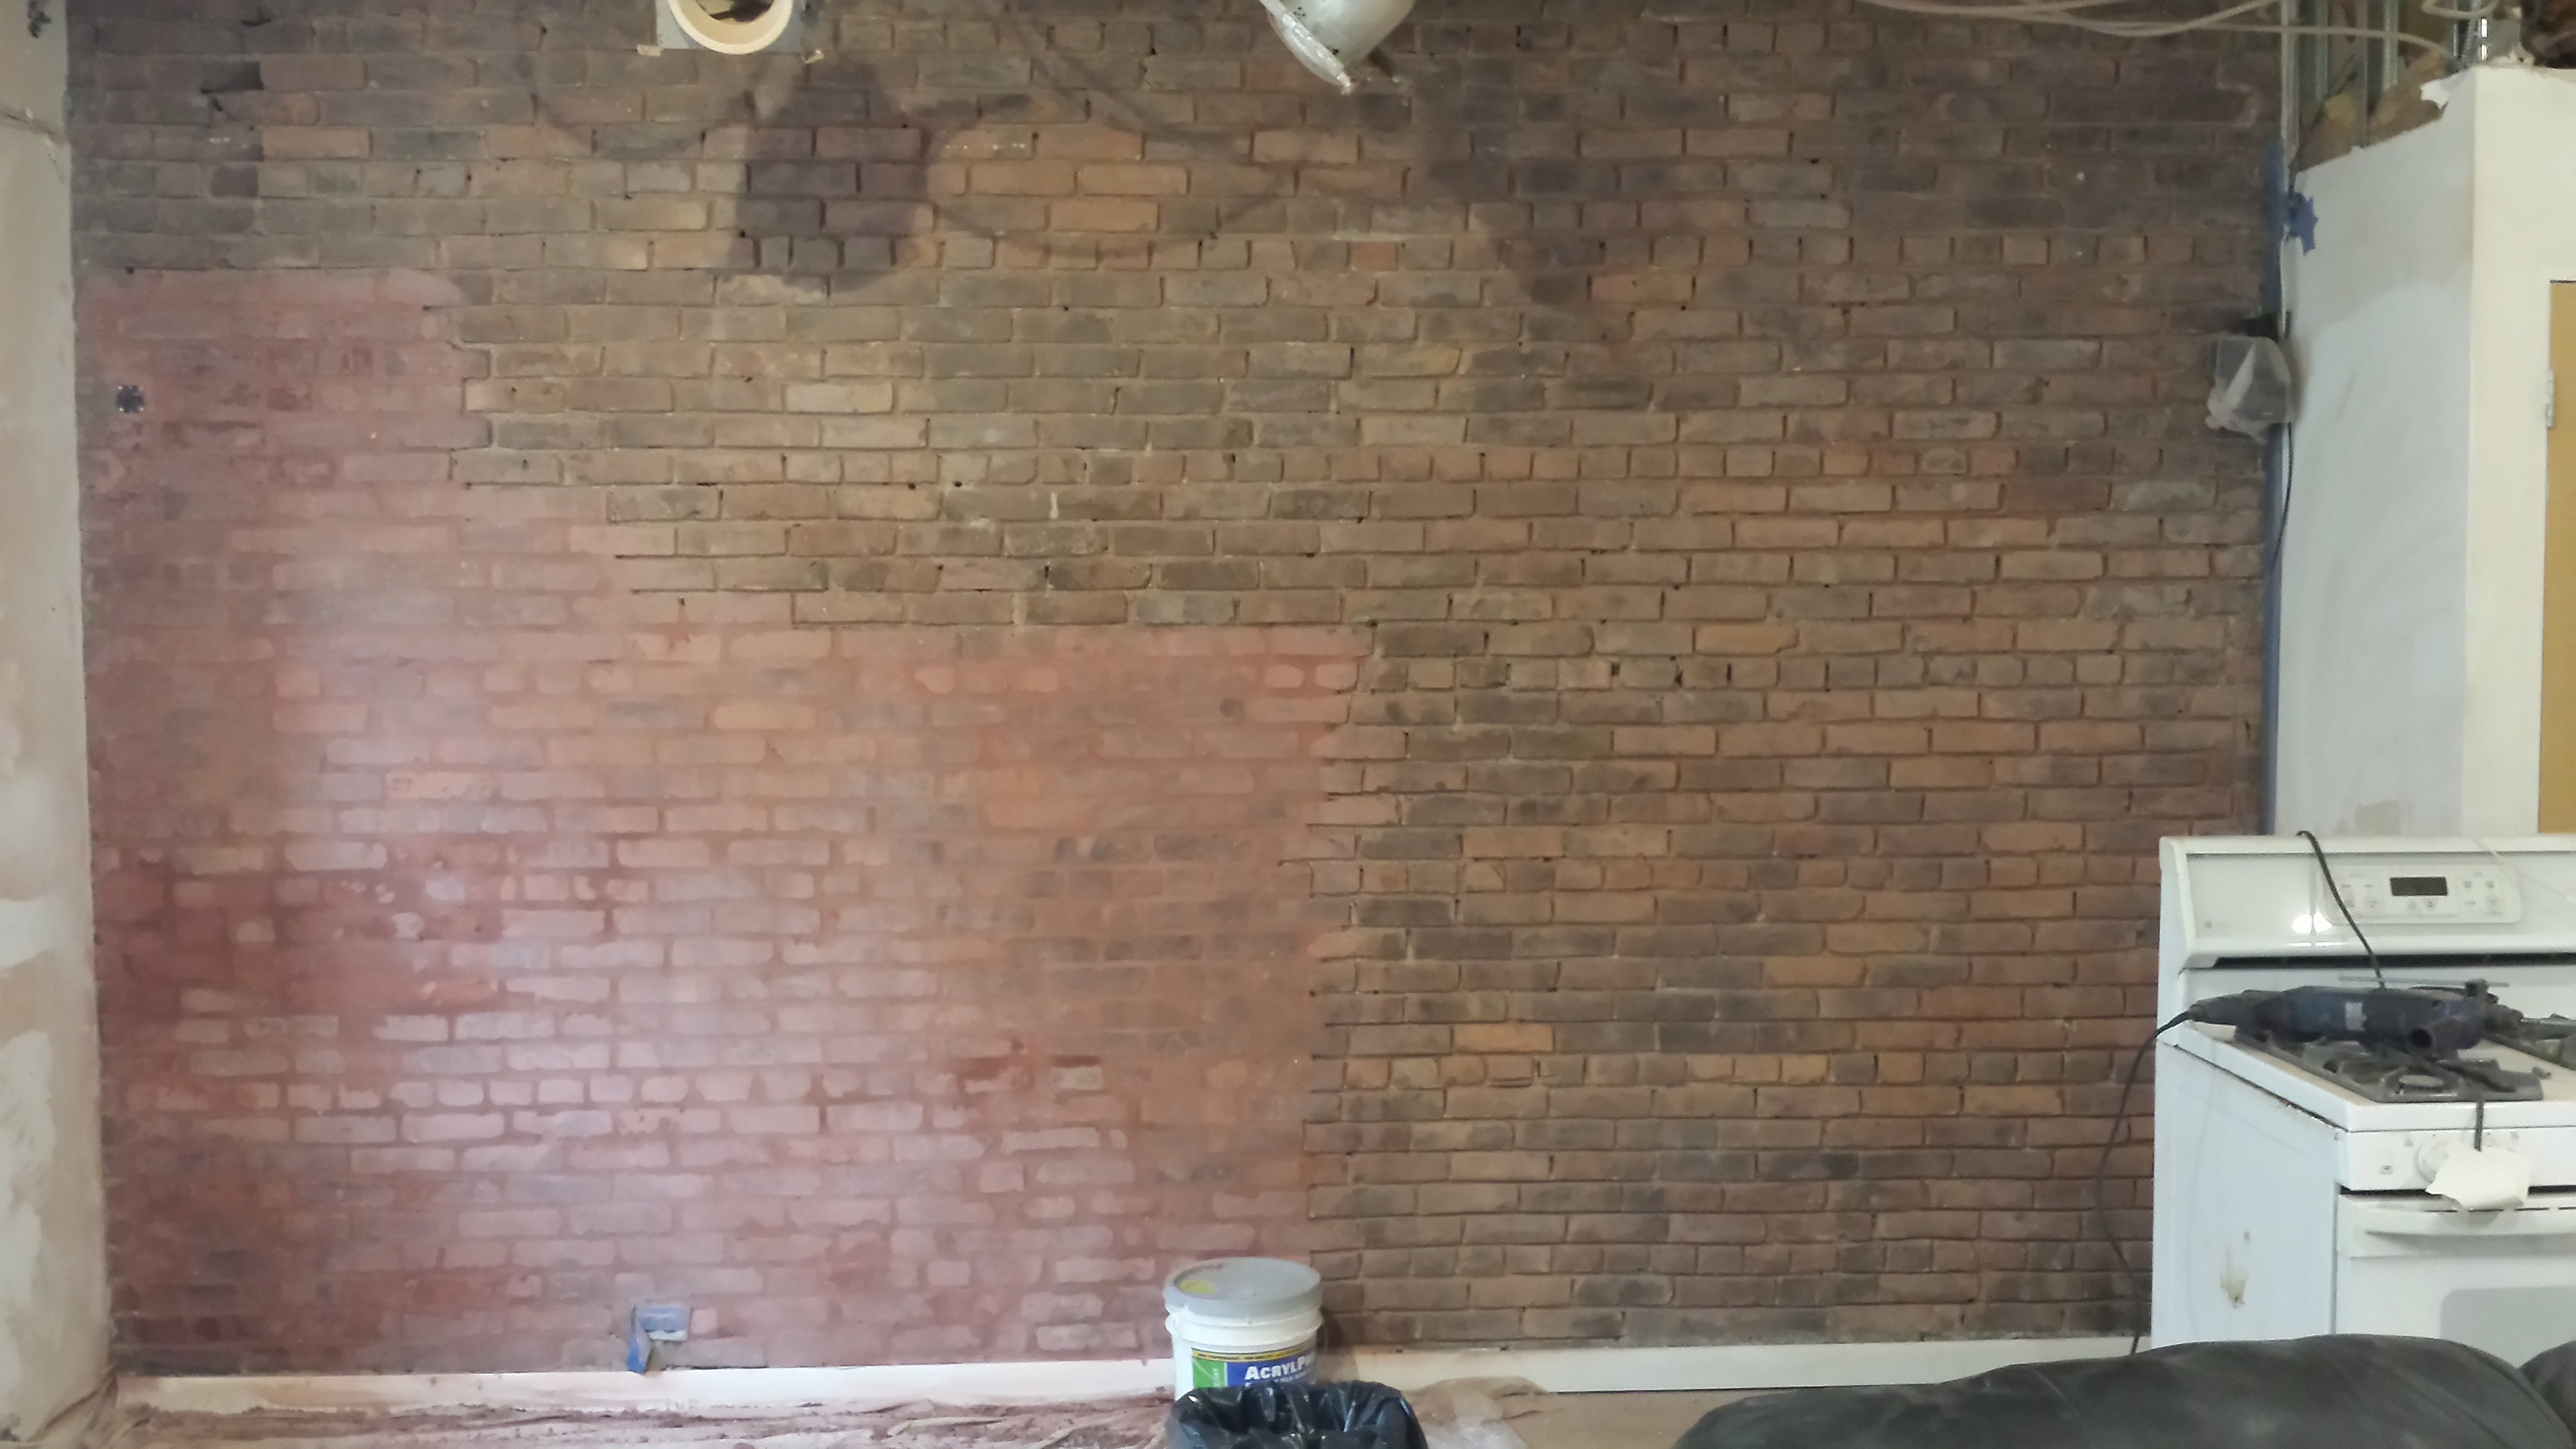
The pictures that follow show the re-pointing of the wall one batch of mortar at a time. It took around a hour to use up each batch of mortar. Bigger batches would have been wasted because they dry to much to become workable.
1

2
3
4

5
6
7
8

9
10
11
12

13
14

15
16
17
18
19
20
21. That result I was working for. A fully re-pointed wall.
A closer detail look at the finished wall.
I just completed the re-pointing this week. The final finish (most likely a flat oil-based polyurethane) won’t be done until the other renovation on the apartment is finished. More details to come.